How I built a shed with free pallets.
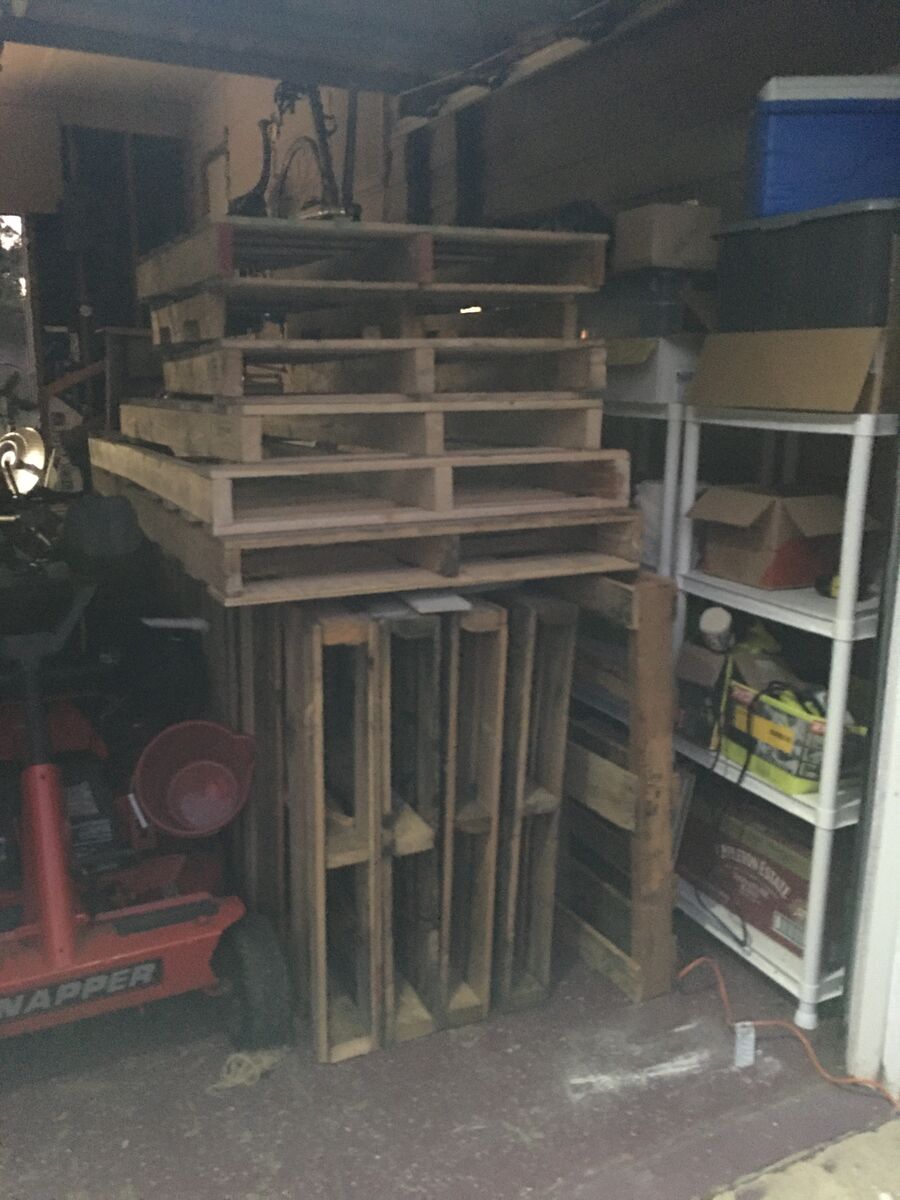
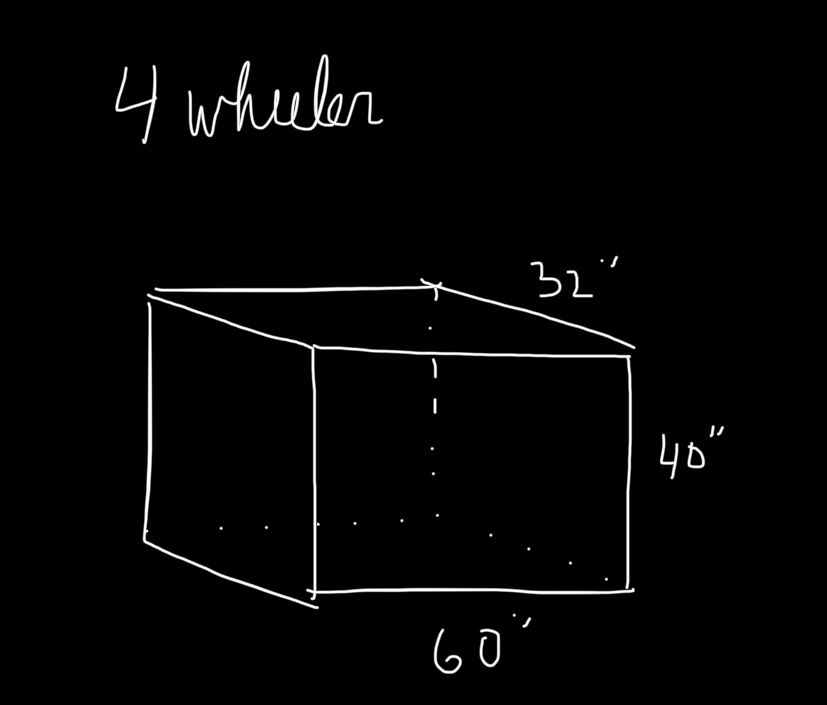
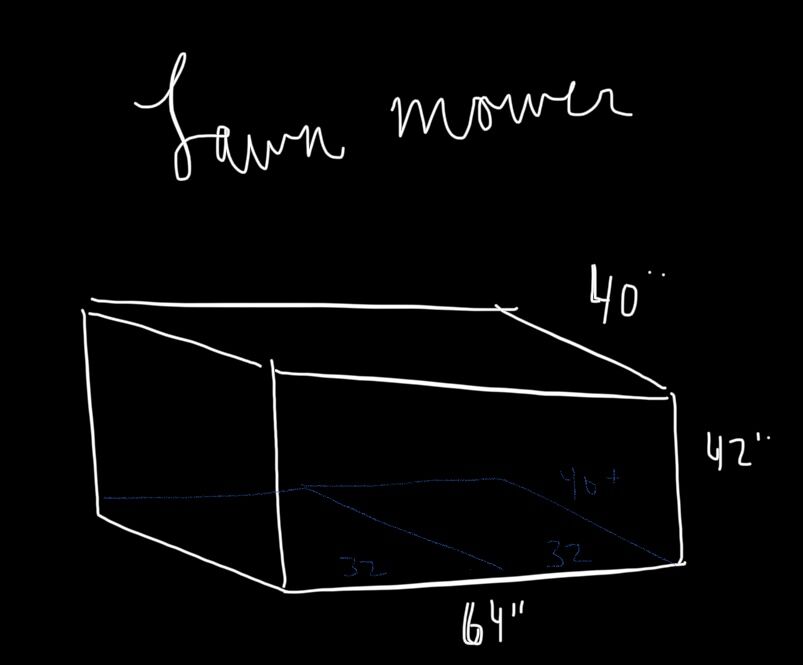
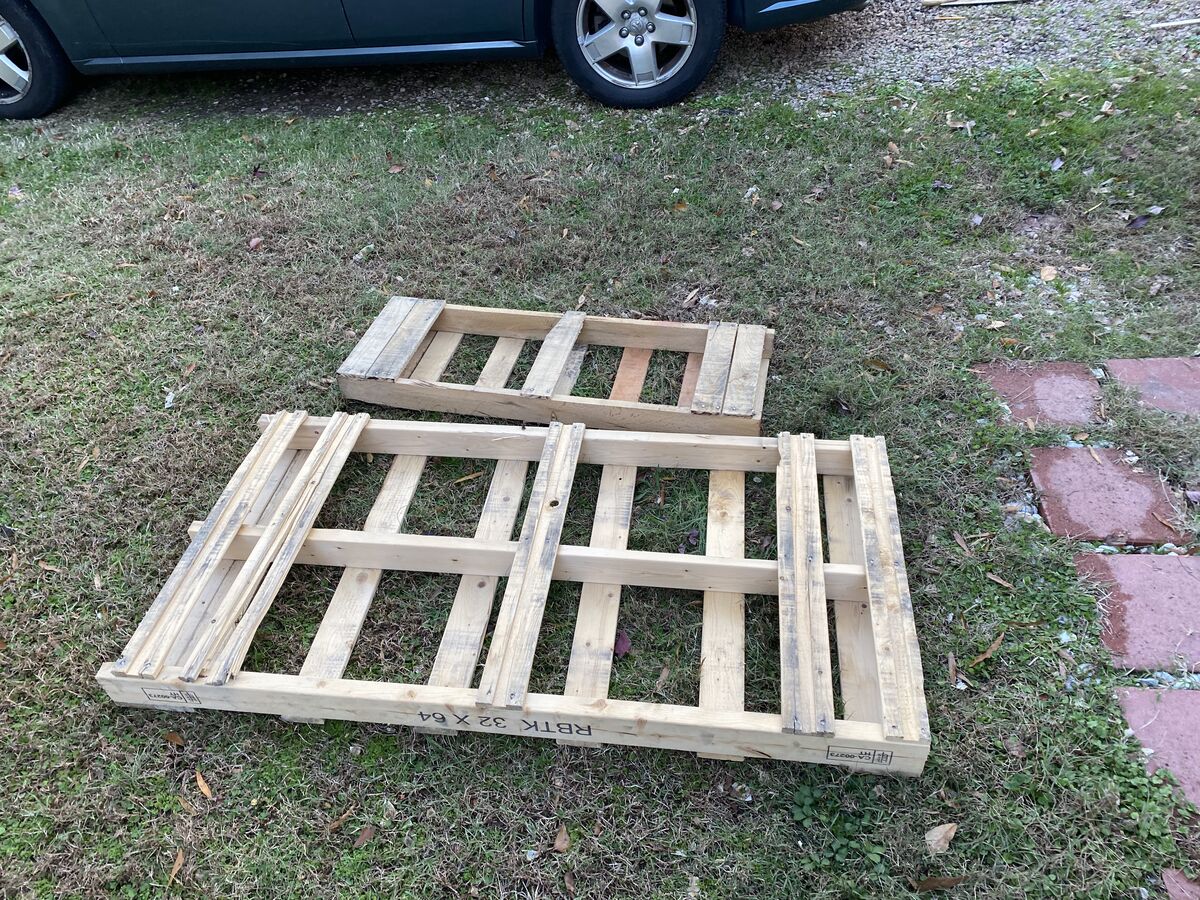
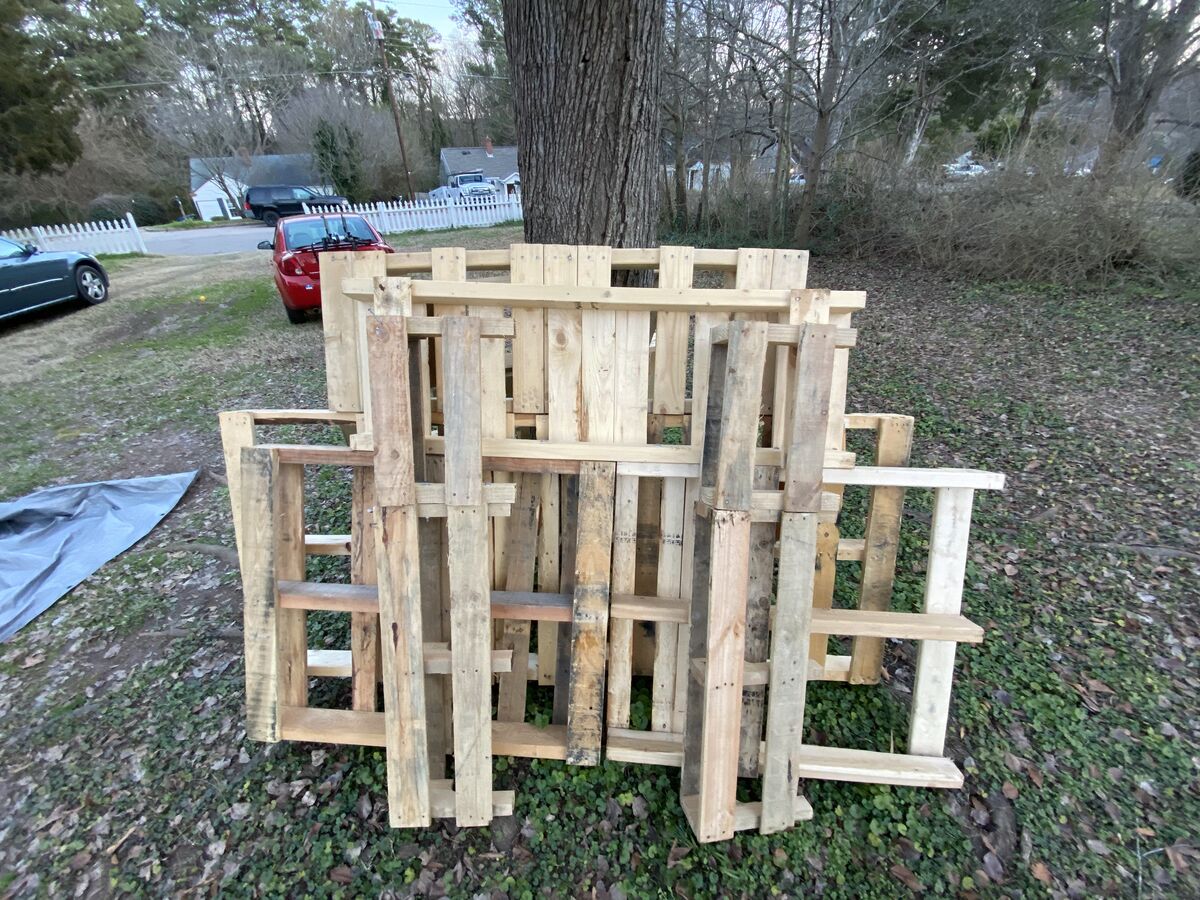
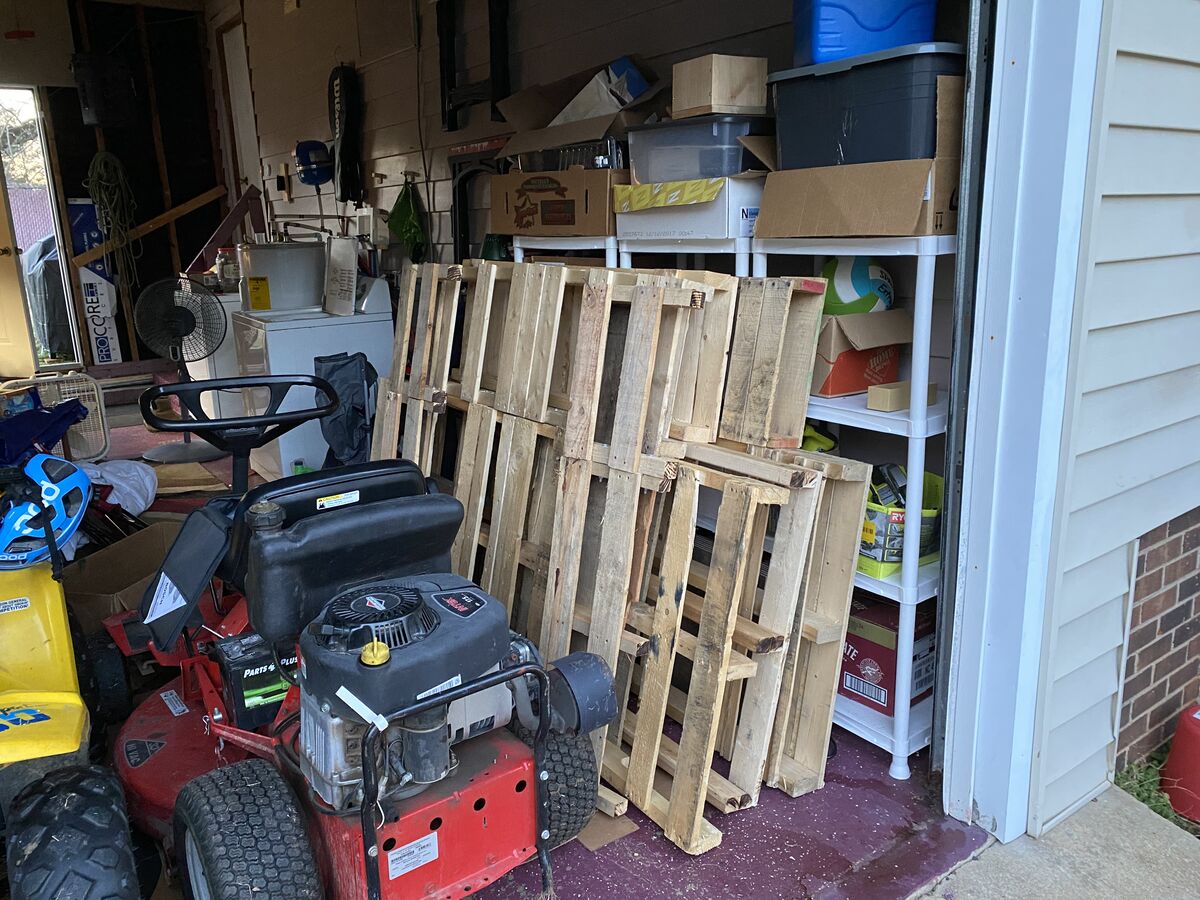
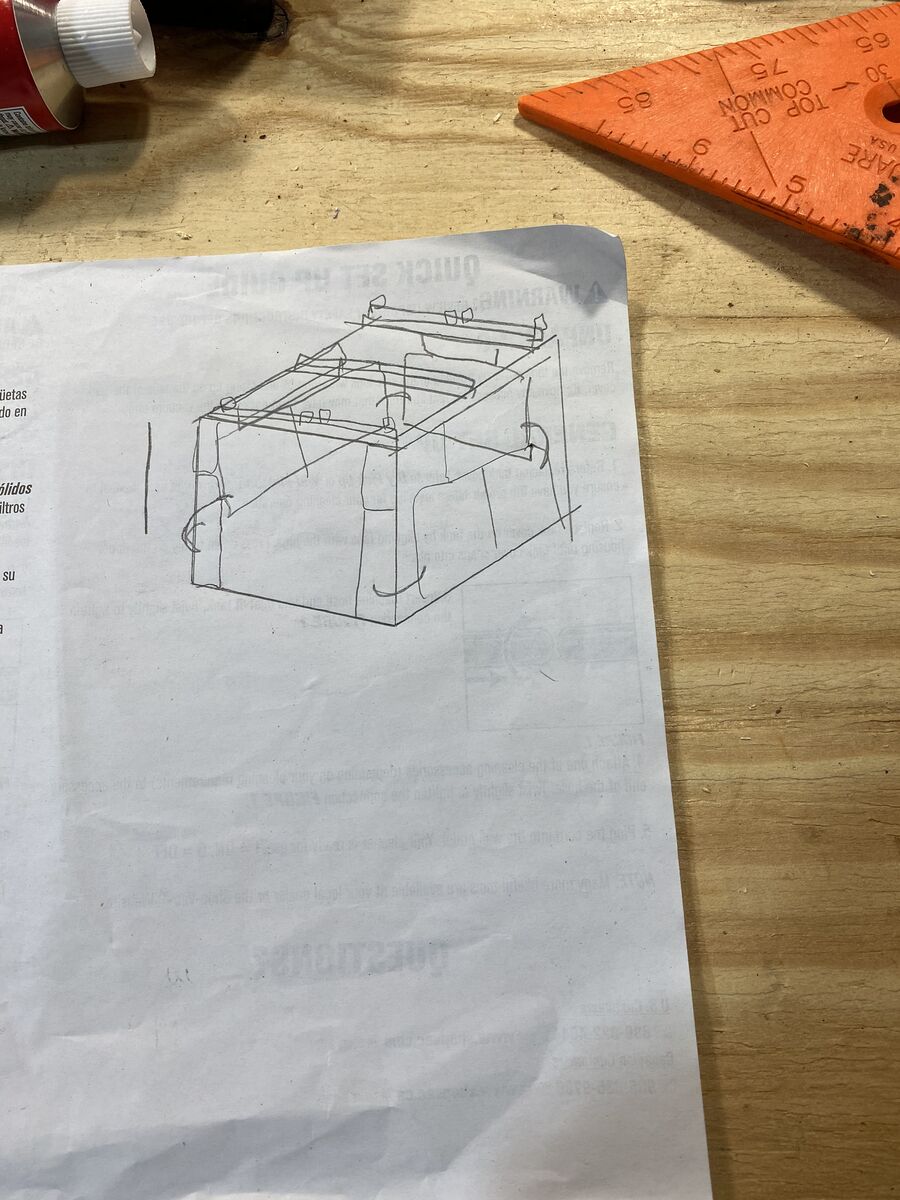
In planning this, I looked at every example I could find on YouTube and Pinterest, while collecting pallets from Craigslist for free. As I collected the pallets, I kept a list of each pallet and the size. I knew I wanted to put my 4 wheeler and lawn mower inside, so I measured those as well.
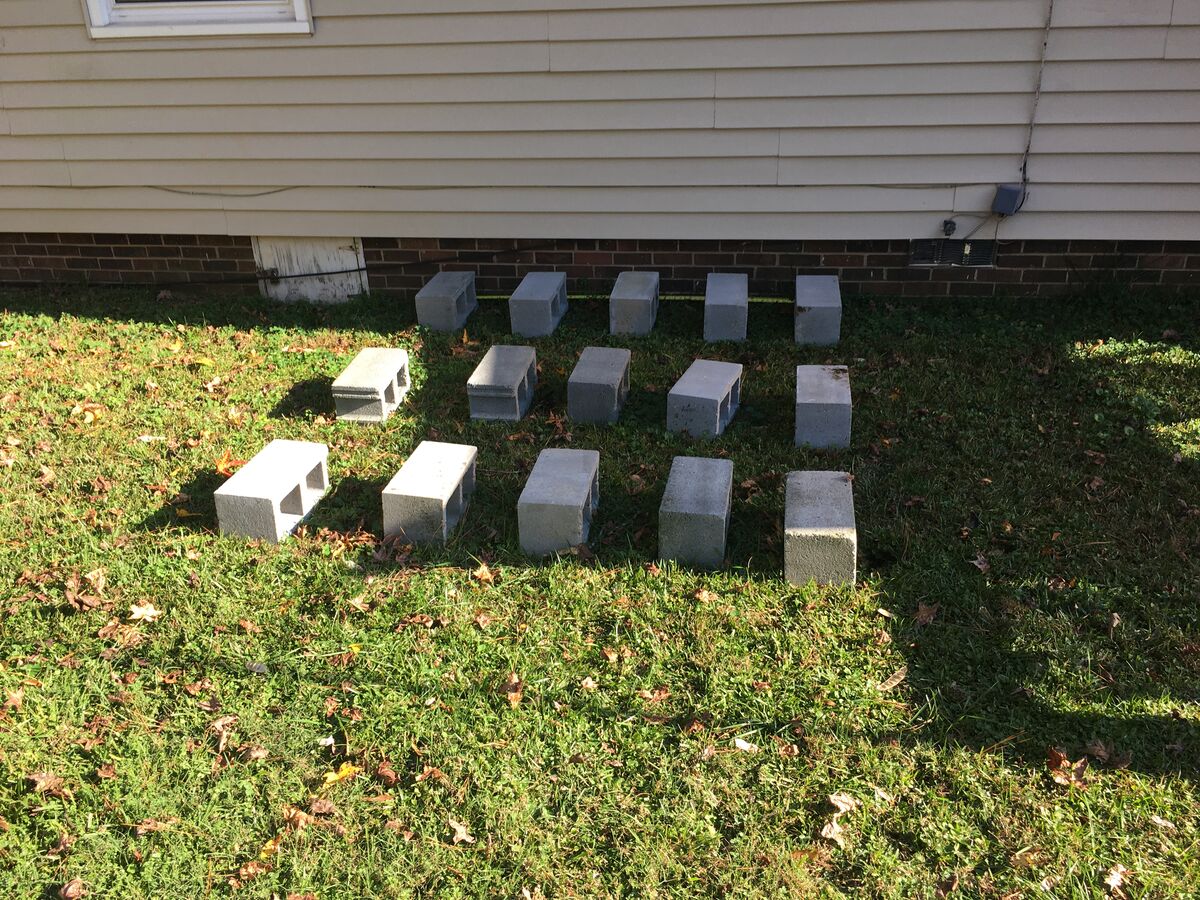
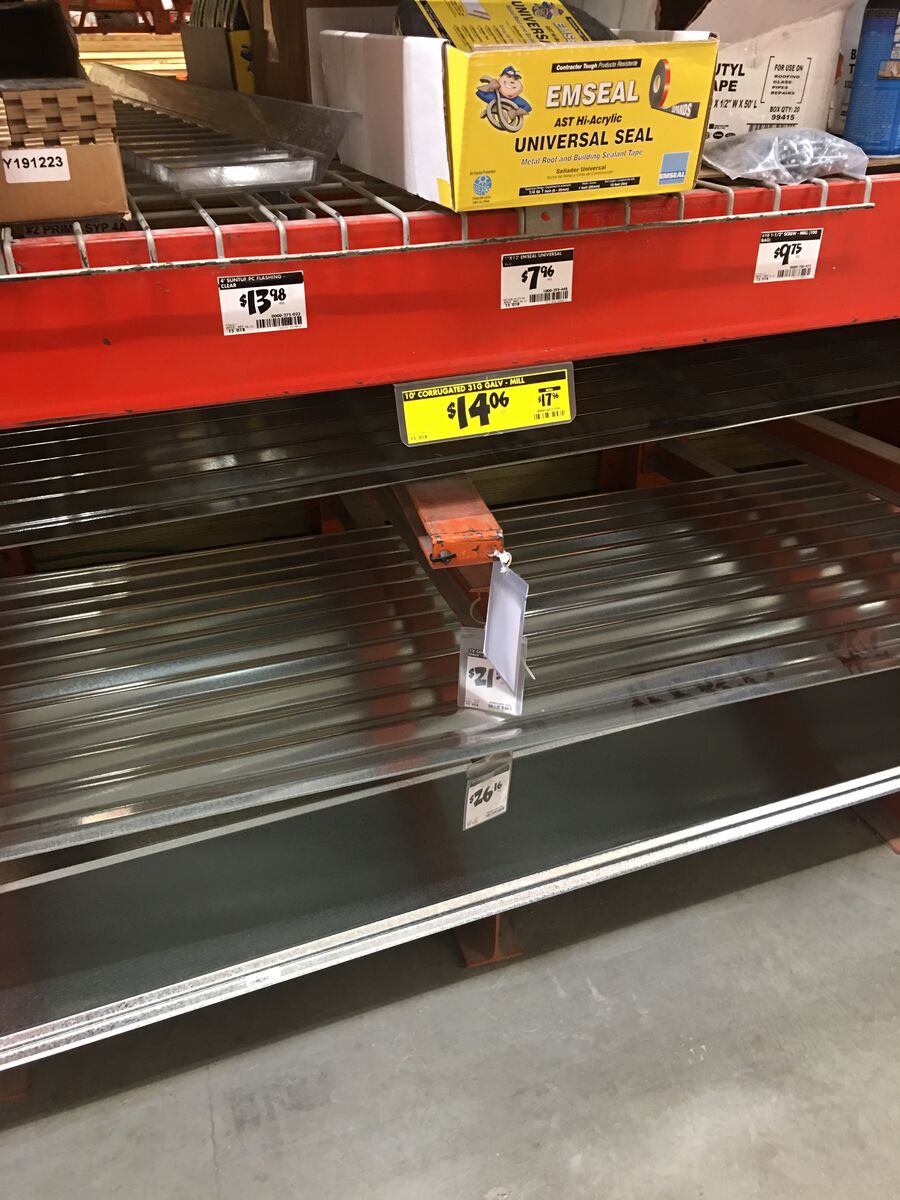
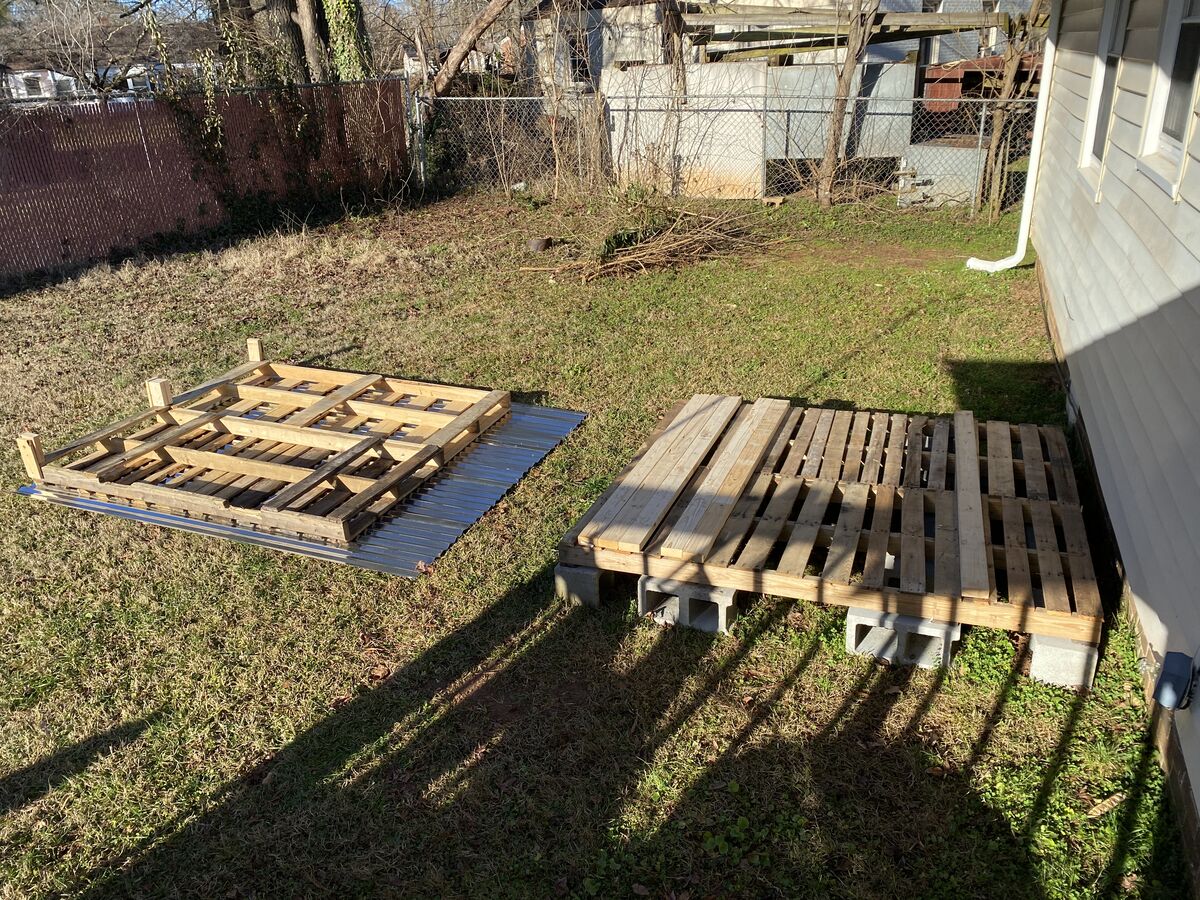
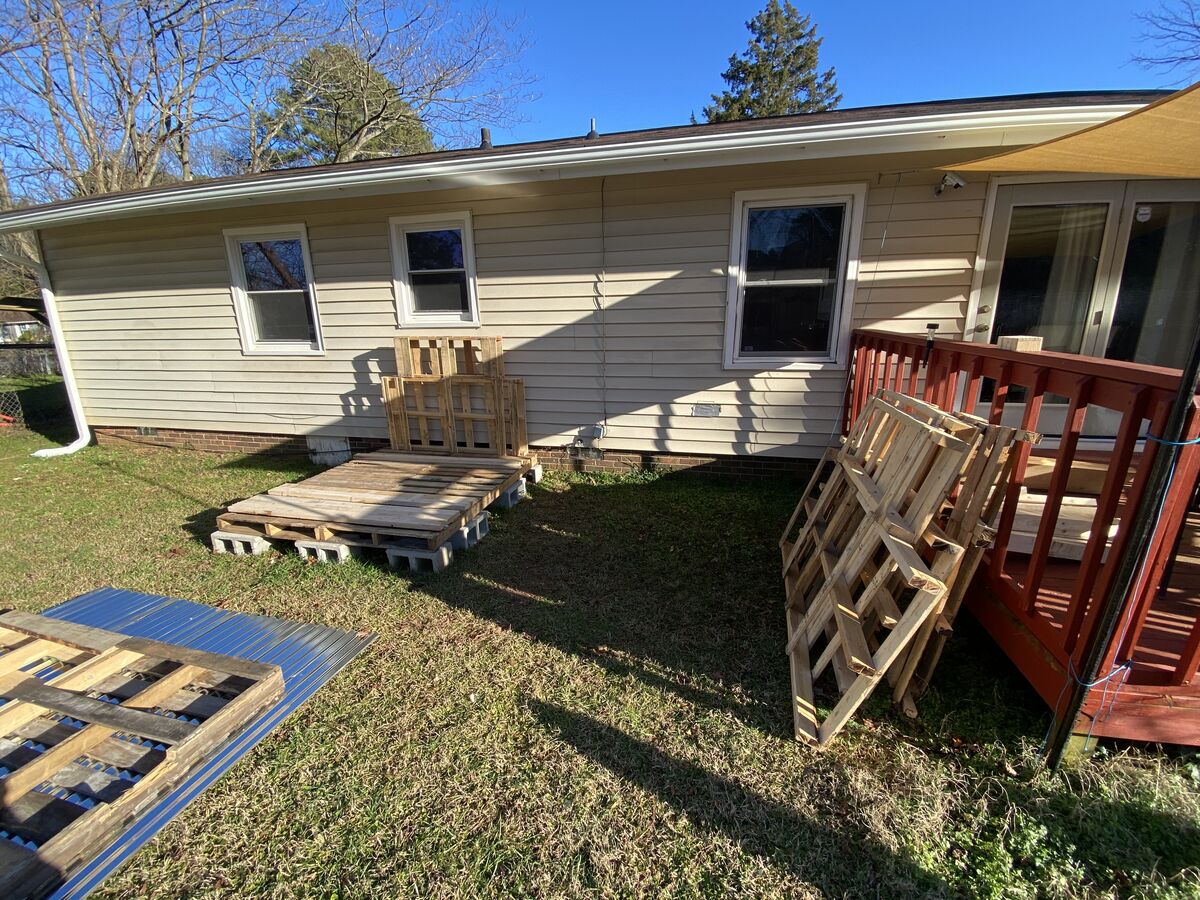
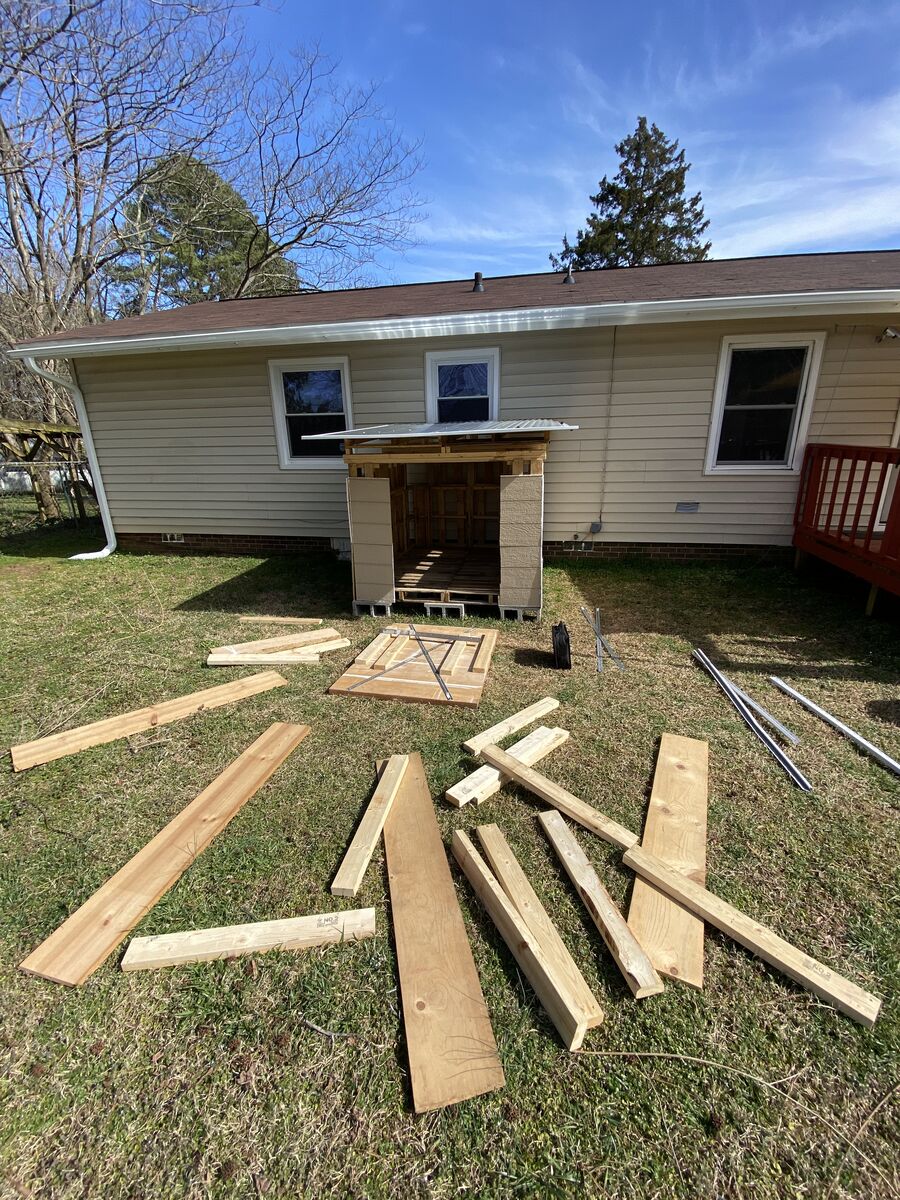
A trip to home depot kicked off the official building phase. I bought 15 cinder blocks, a decision I second-guessed but eventually conceded to when there were exactly 15 cinder blocks left on the shelf. It was fate. They were heavy.
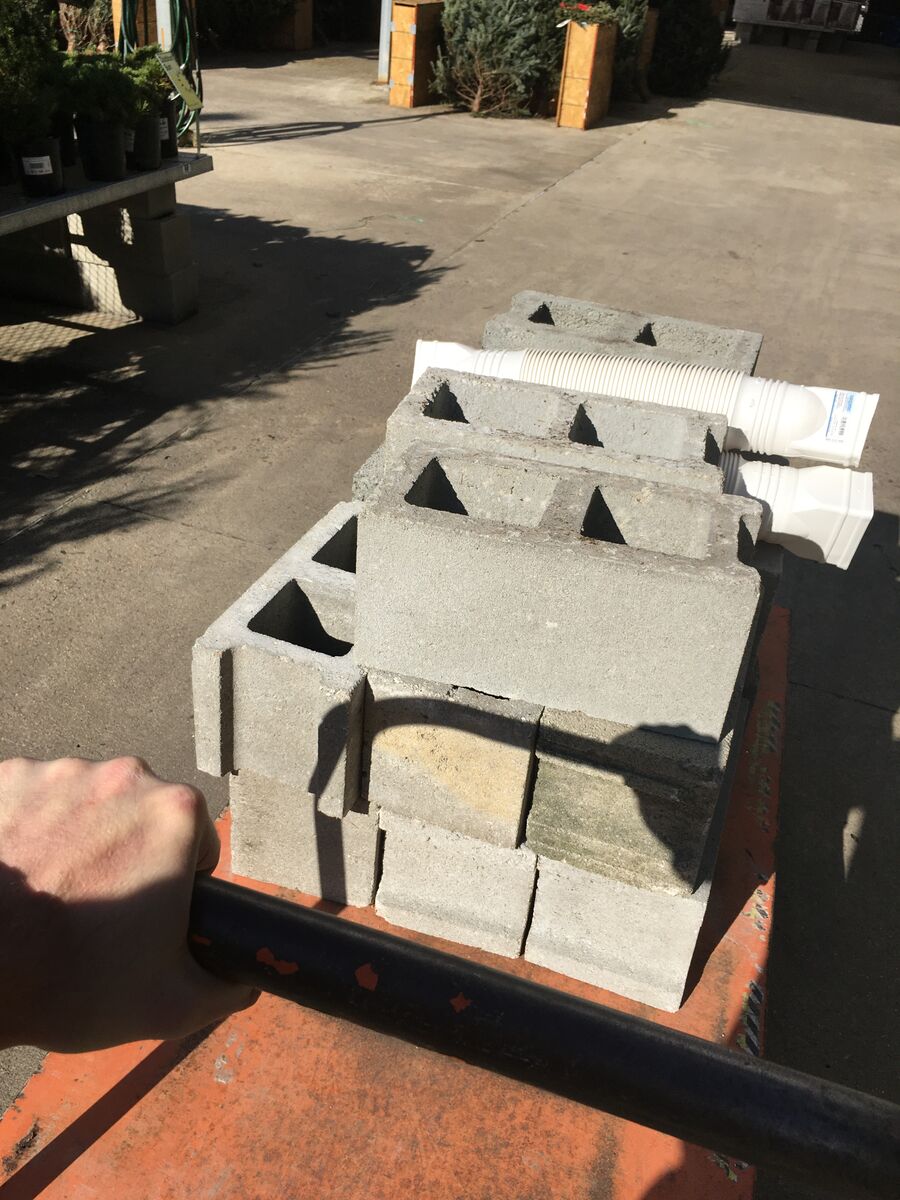
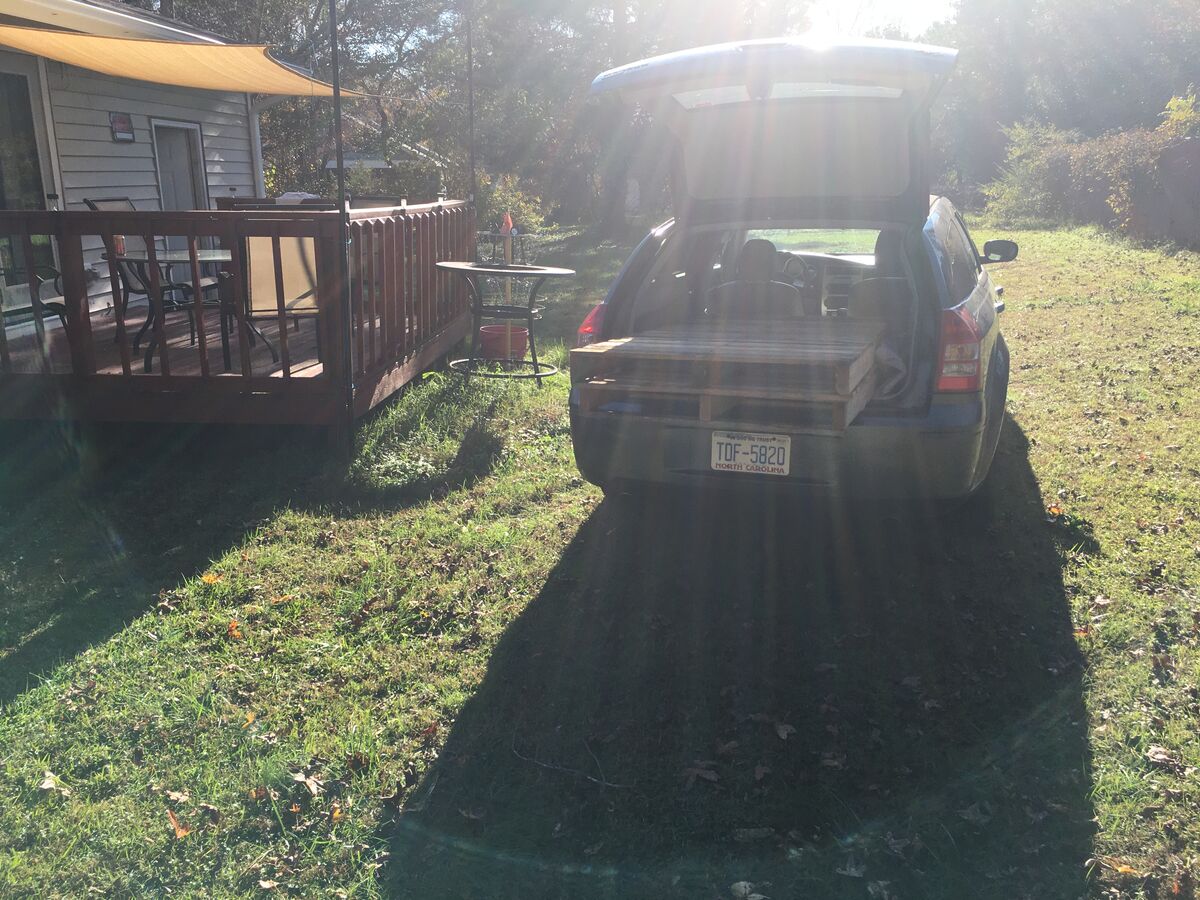
So heavy, in fact, that when I got home, I drove my car around back so I could just throw them on the ground straight from the trunk.
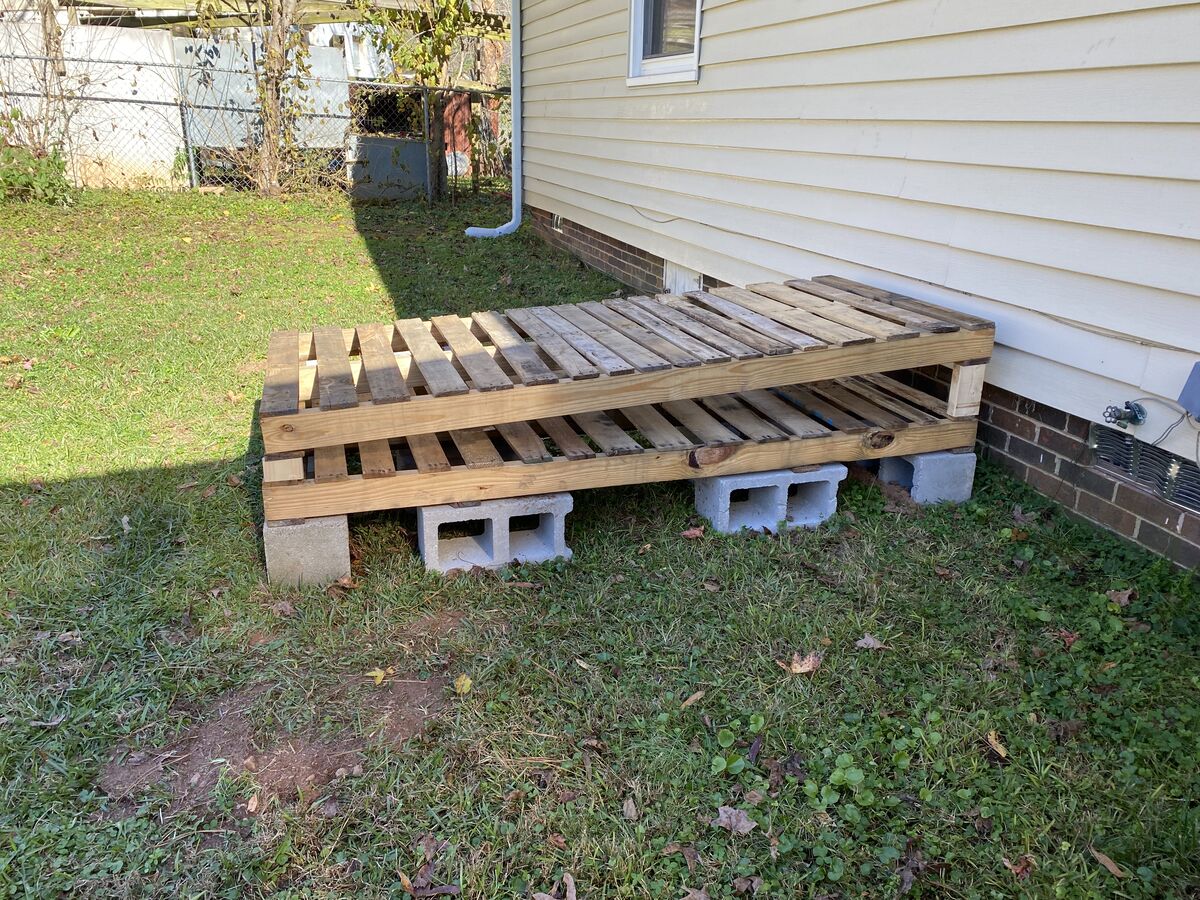
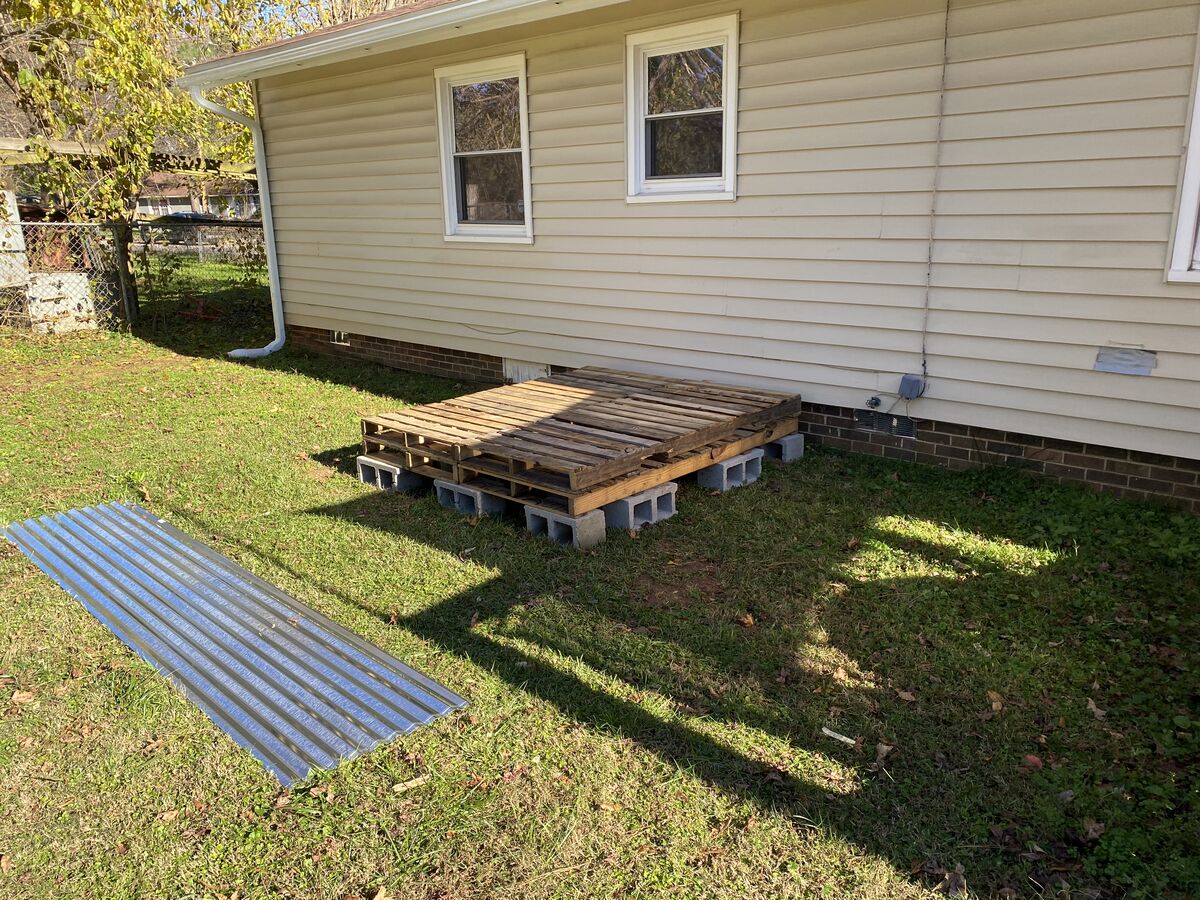
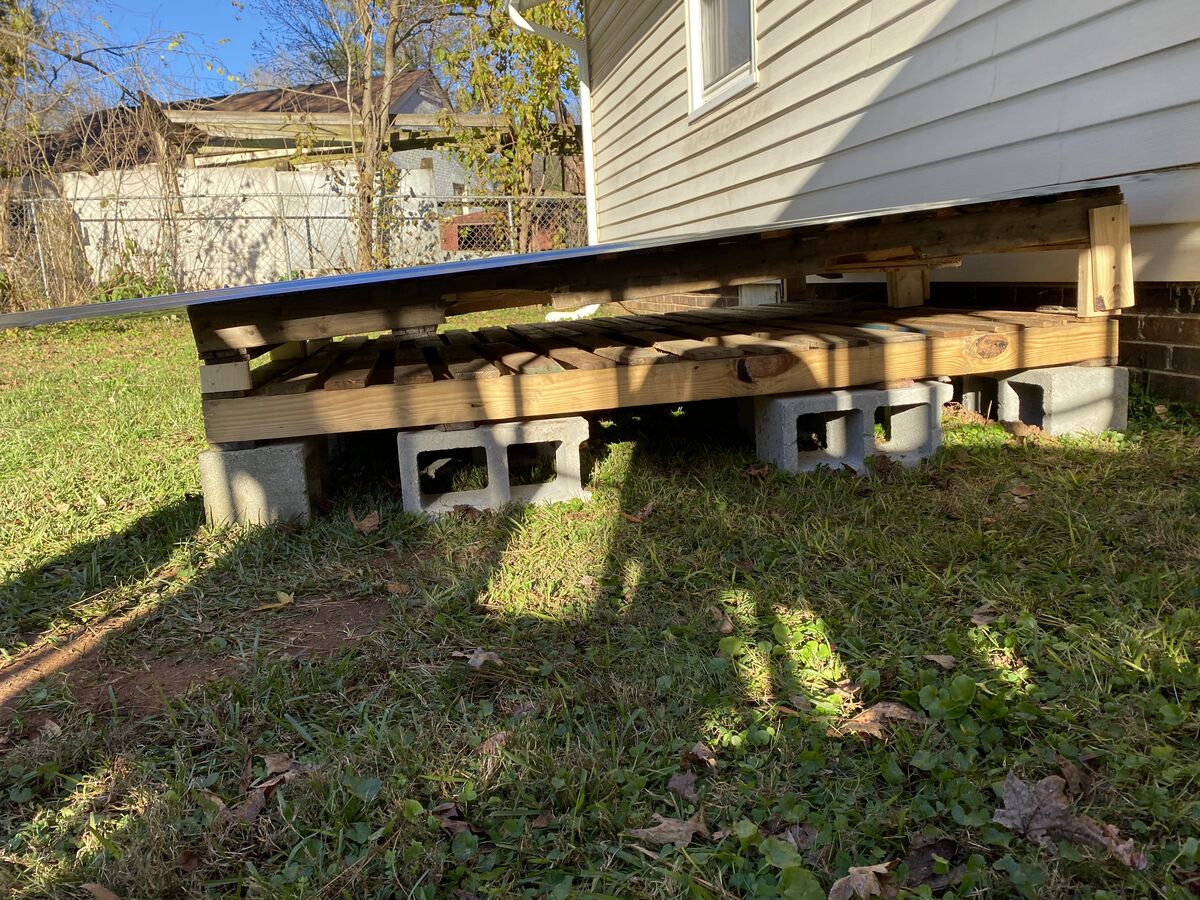
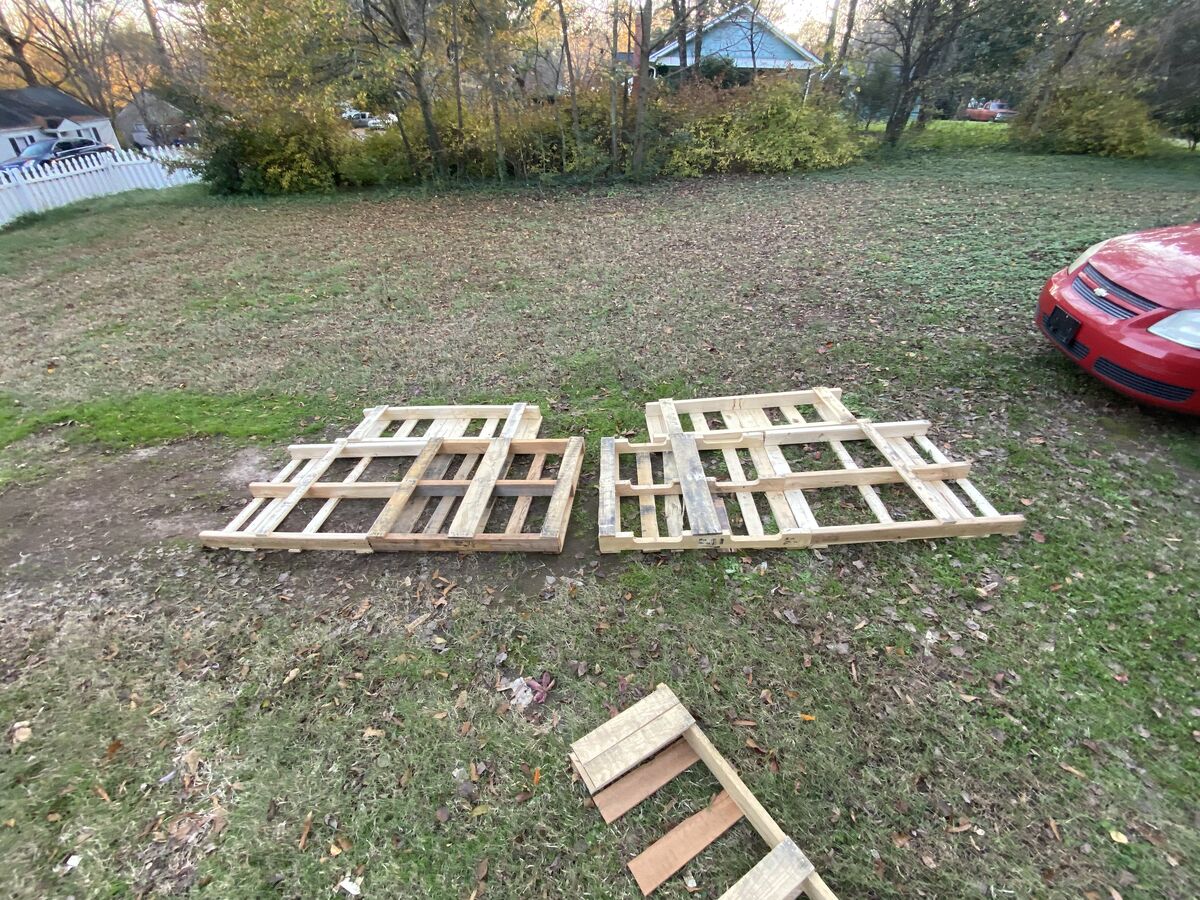
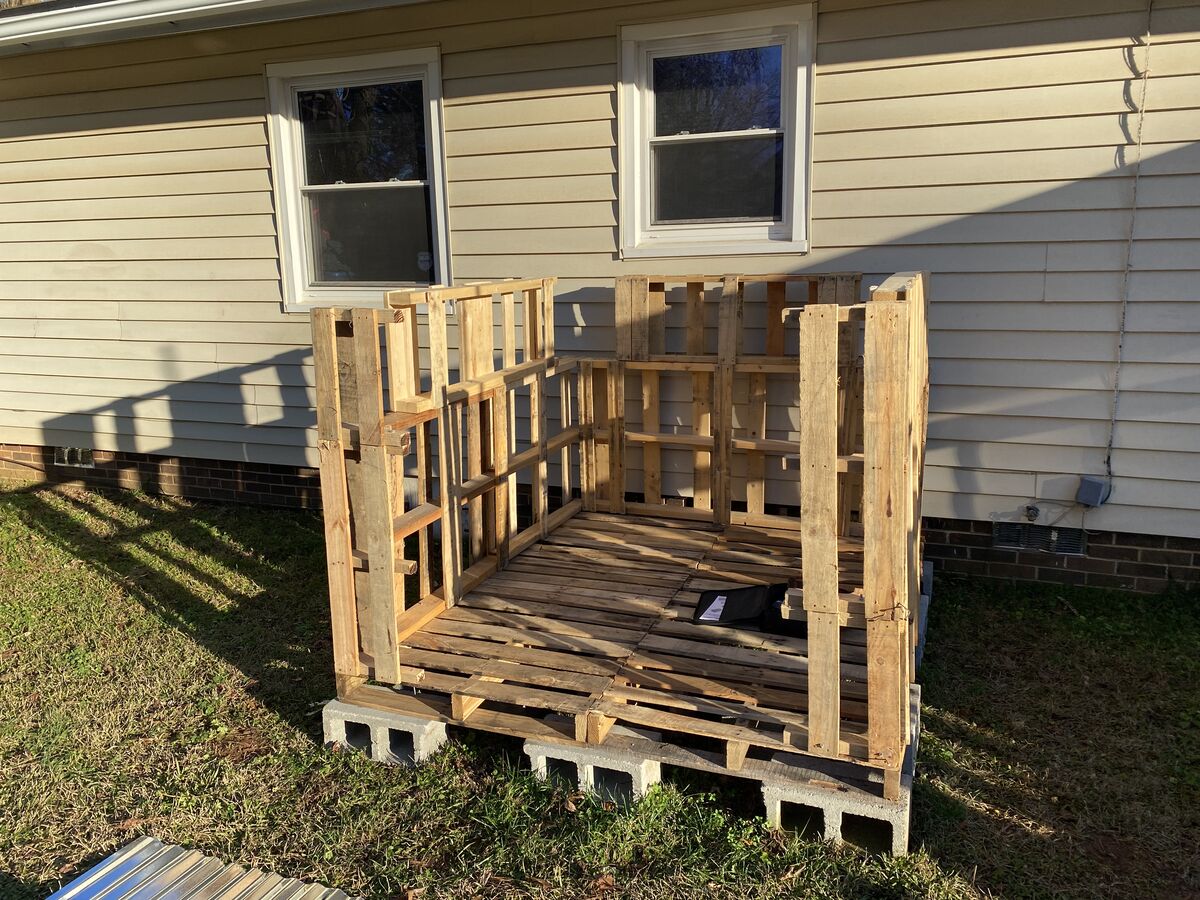
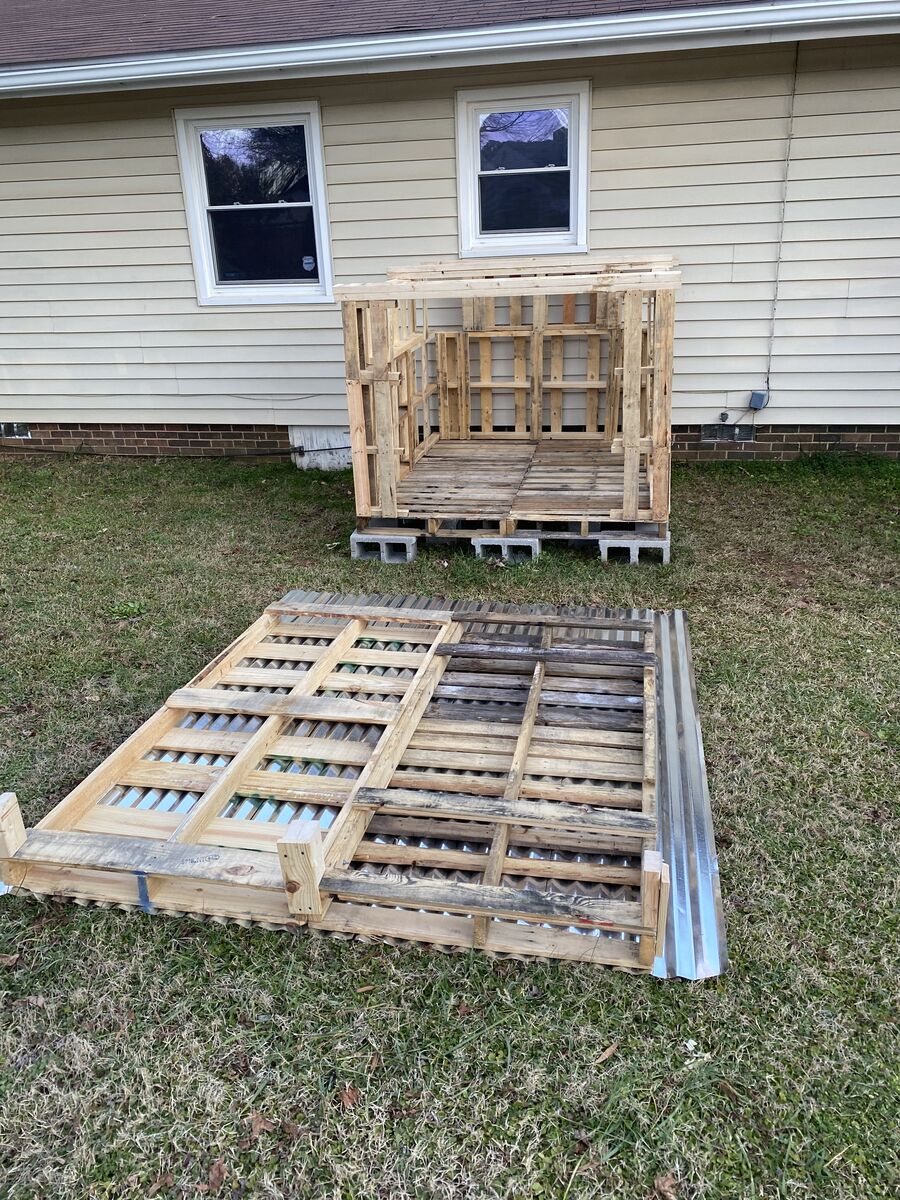
I set them out as I planned, 5 wide and 3 long. I took the two floor pallets to the back yard the same way, taking advantage of the fact that I don't care about my lawn by driving all over it.
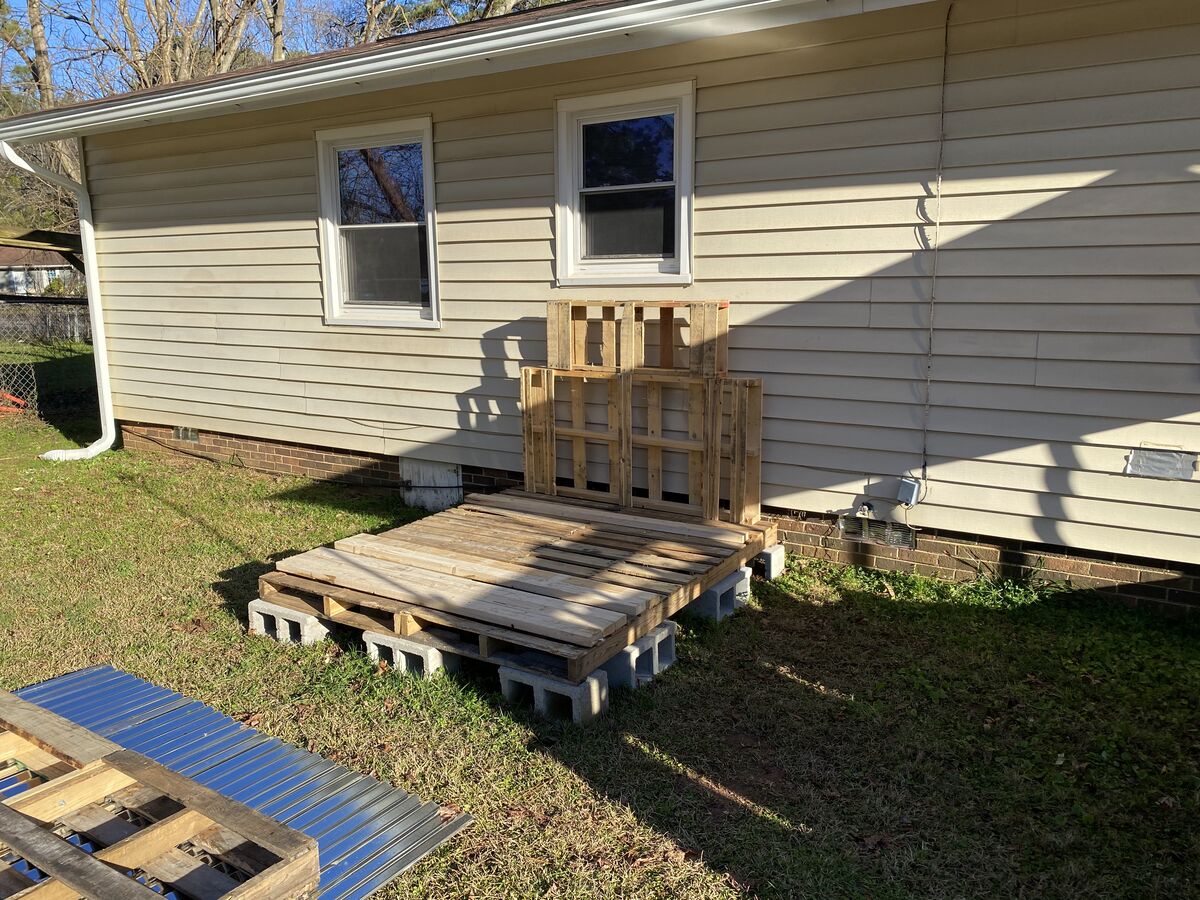
When I set down the pallets, I realized I had to rearrange the cinder blocks to match the structural beams of the pallets.
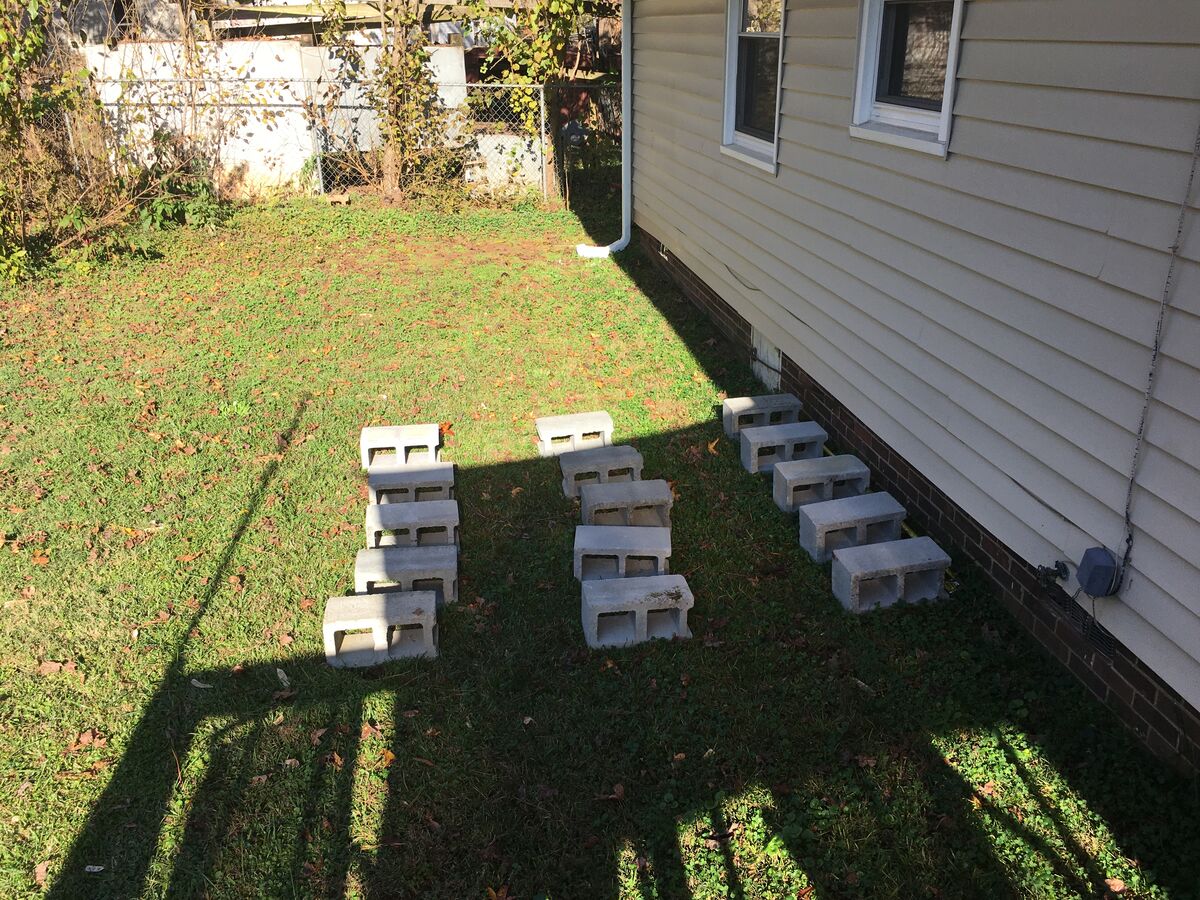
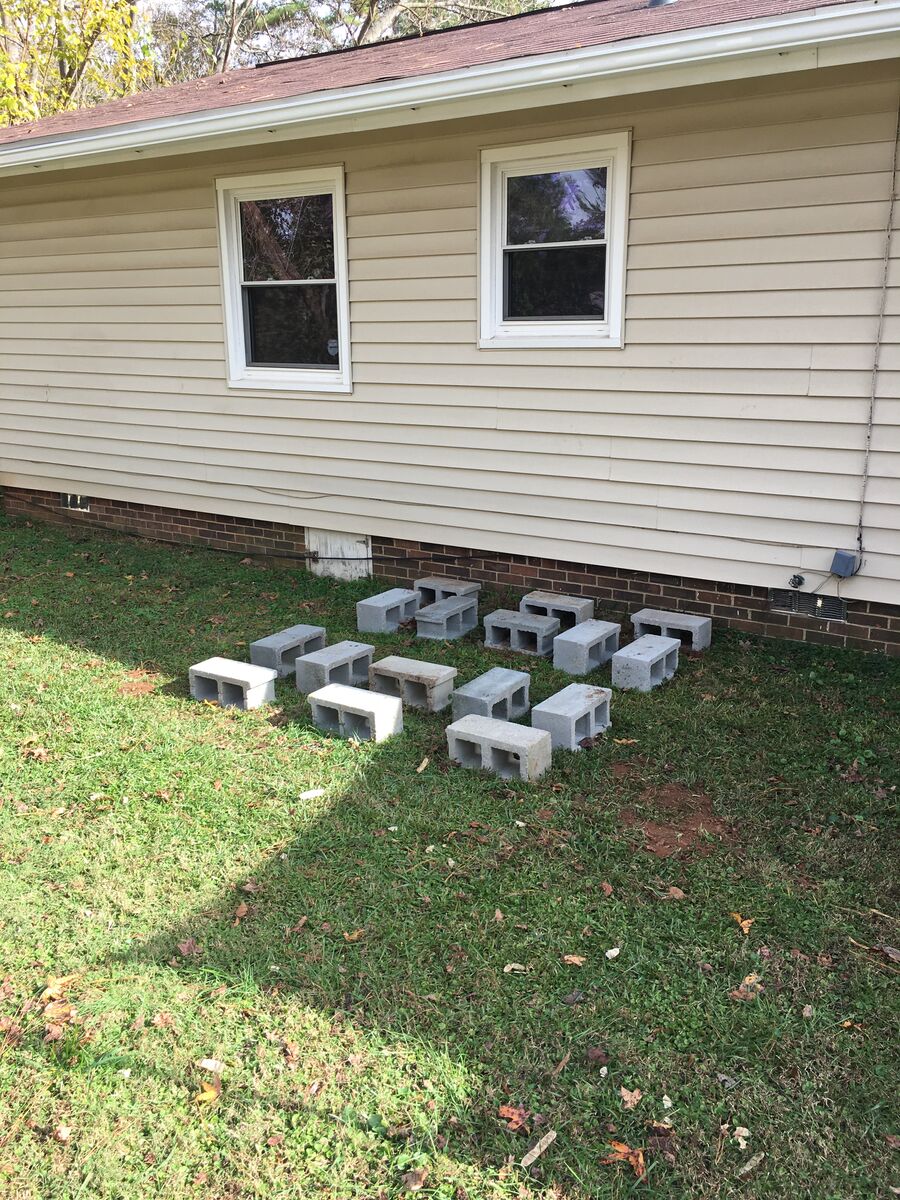
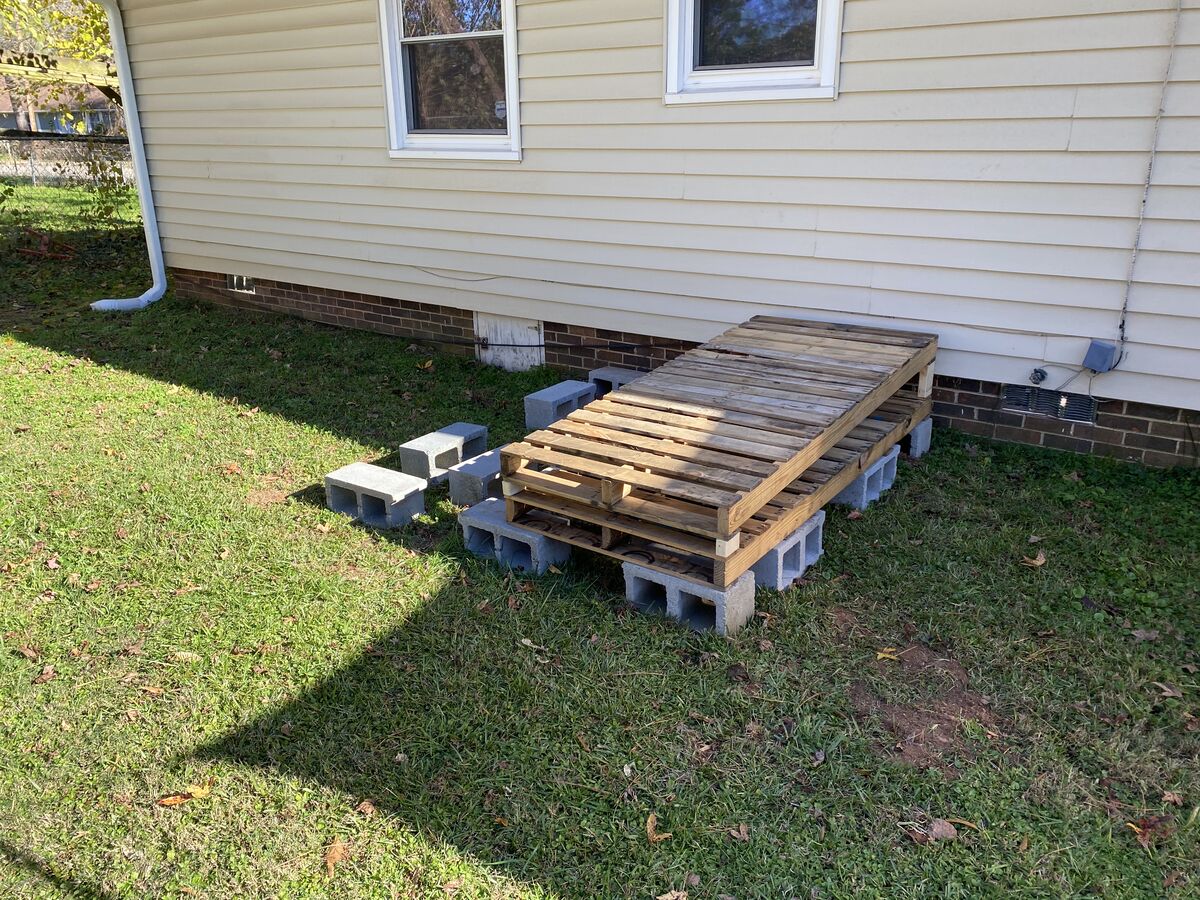
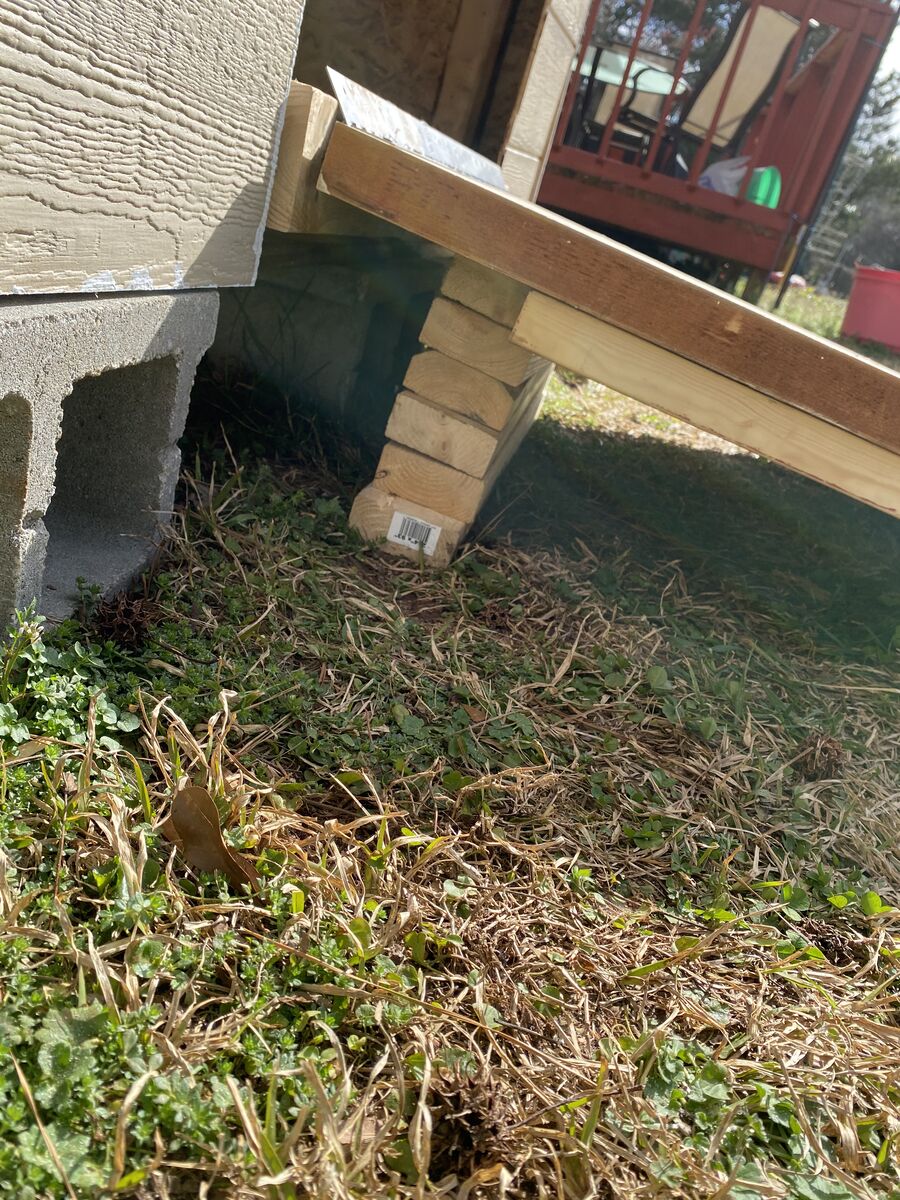
After I had the layout correct, came the part I was dreading: leveling the cinder blocks. Maybe I should've put rocks down below everything, but I didn't. I wanted to get this done today, I'd procrastinated long enough. I got them all level and put the pallets down, the floor pallets looked great!
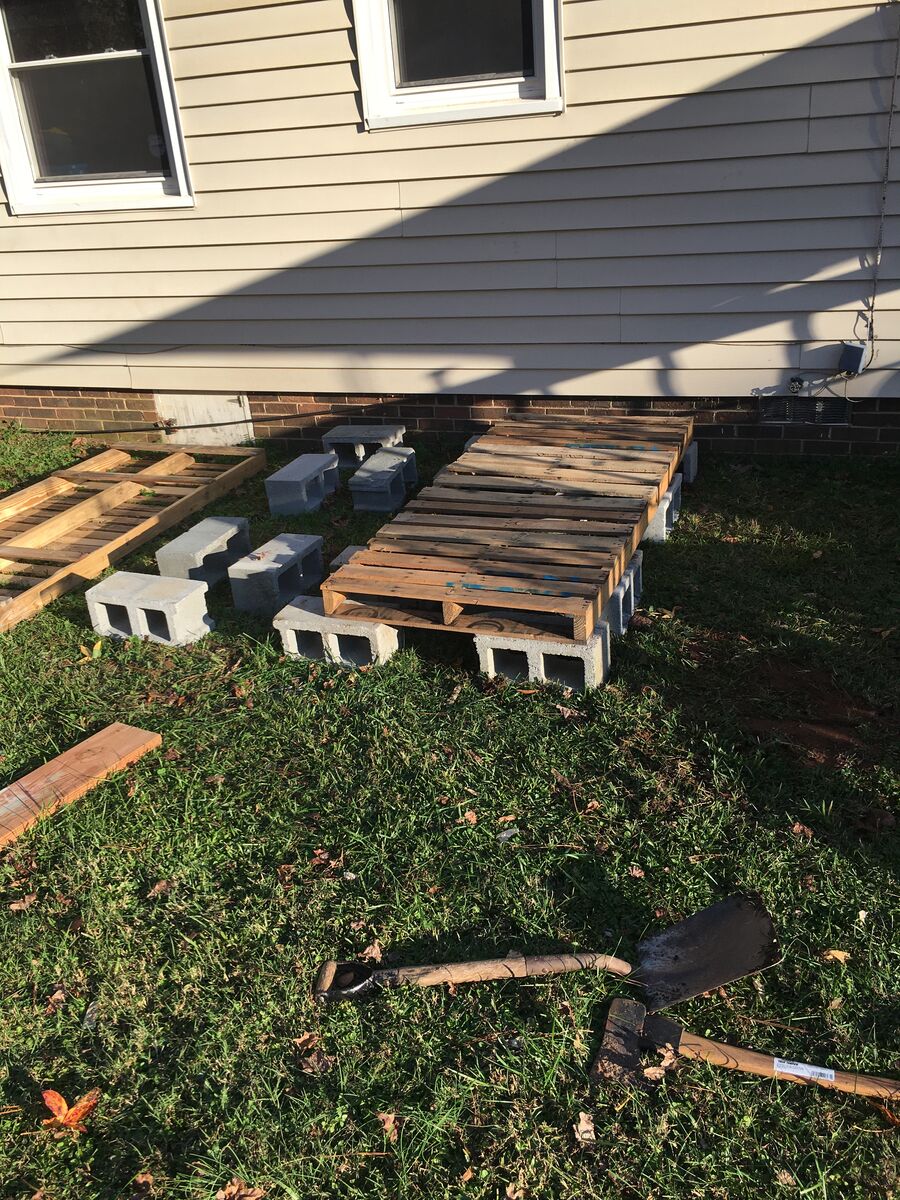


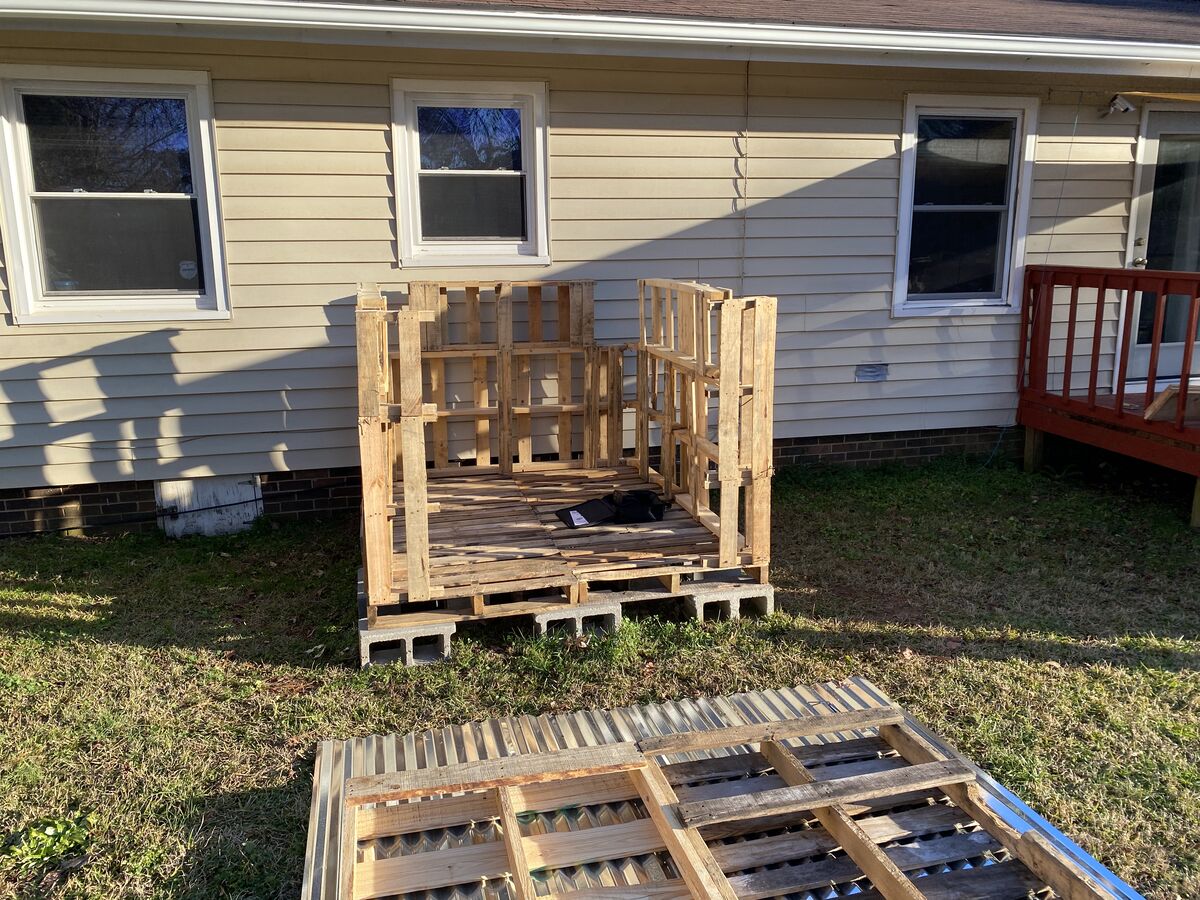
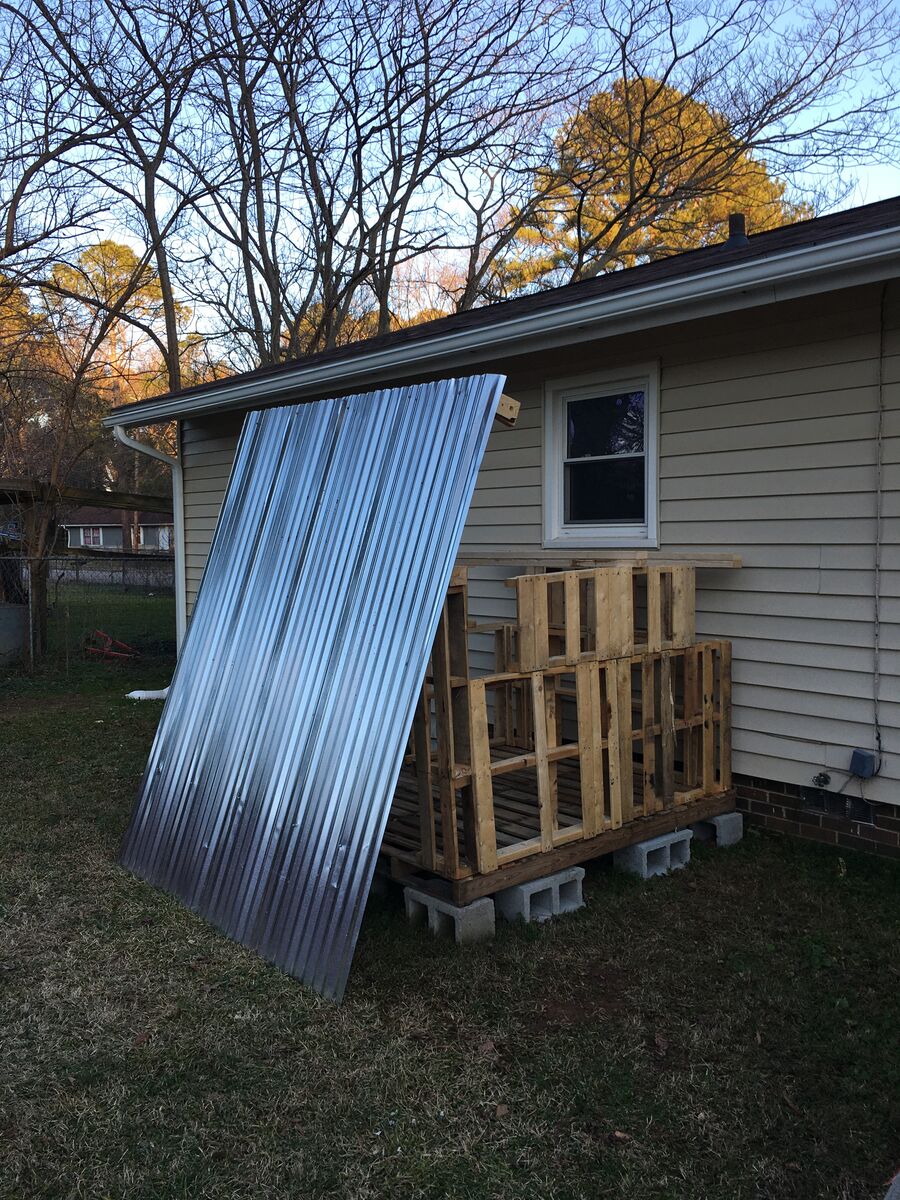
Of course, it turned out it was going to rain the next day. I didn't want to let the pallets get rained on, so i brought them inside. Back in the garage, but now they were in the other half of my garage, blocking access to my workbench. I had to get these out of my garage. The whole point of this project is to get more space in my garage by having a place for the 4 wheeler and lawn mower, but now I just have tons of pallets. I need to get moving on this project. So, I need a roof. Once I have a roof there, I can leave it outside, protected even if it rains. I found some metal panels at Home Depot, so I got four of them.
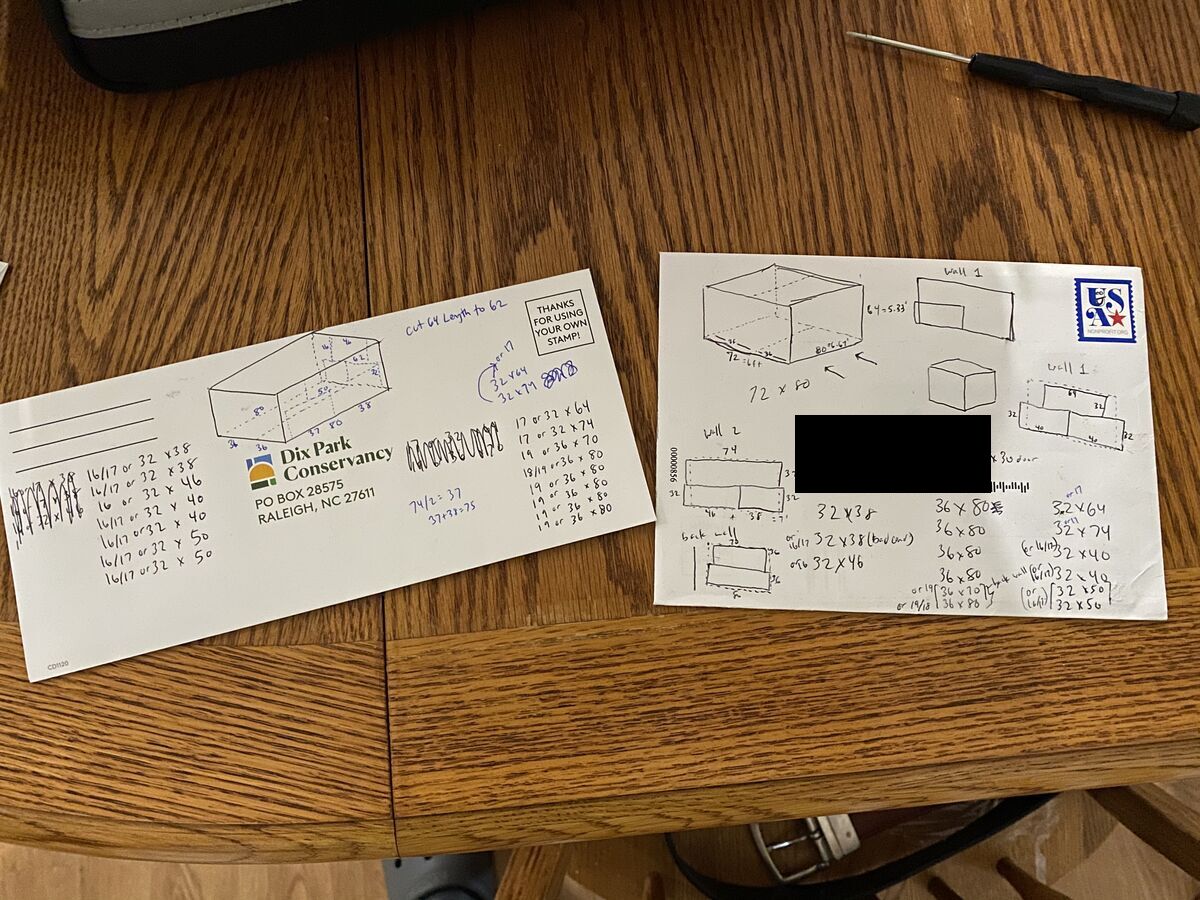
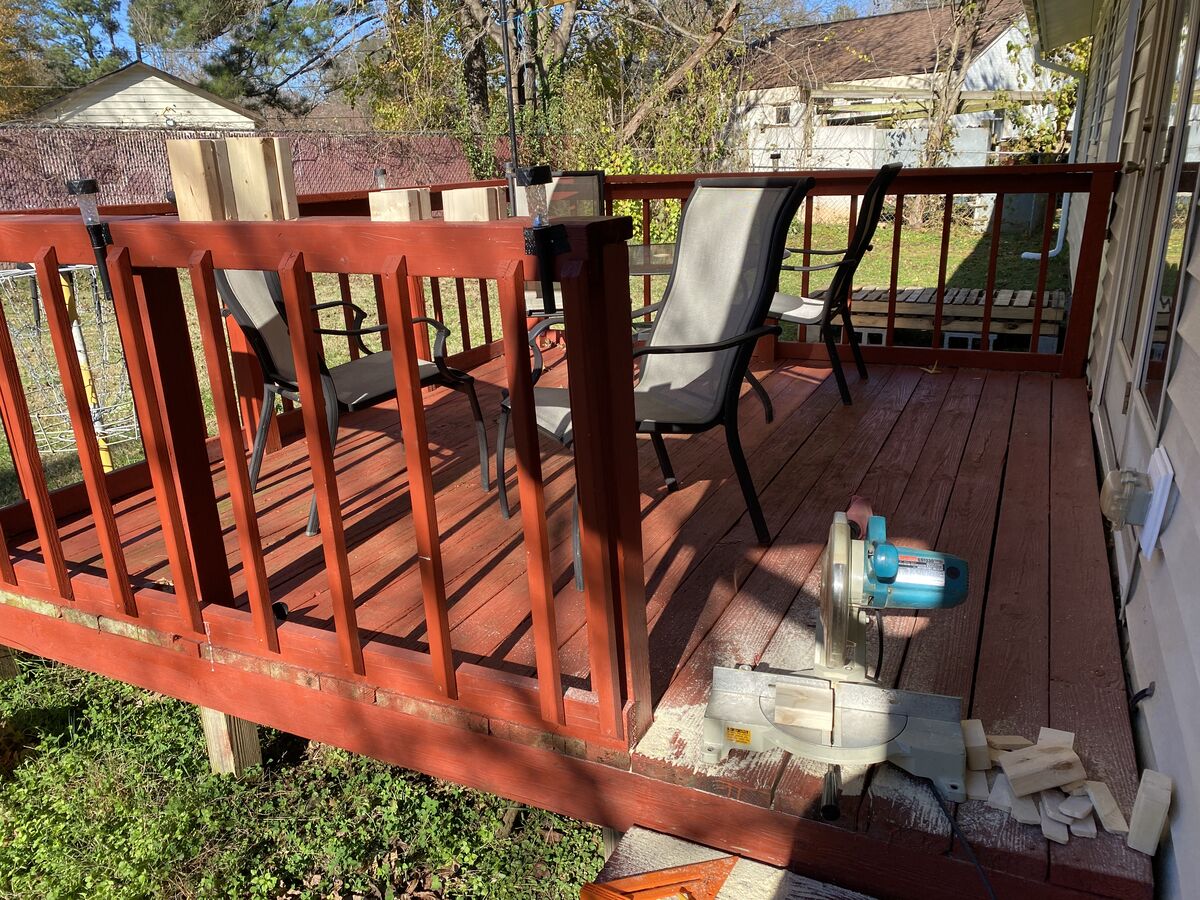
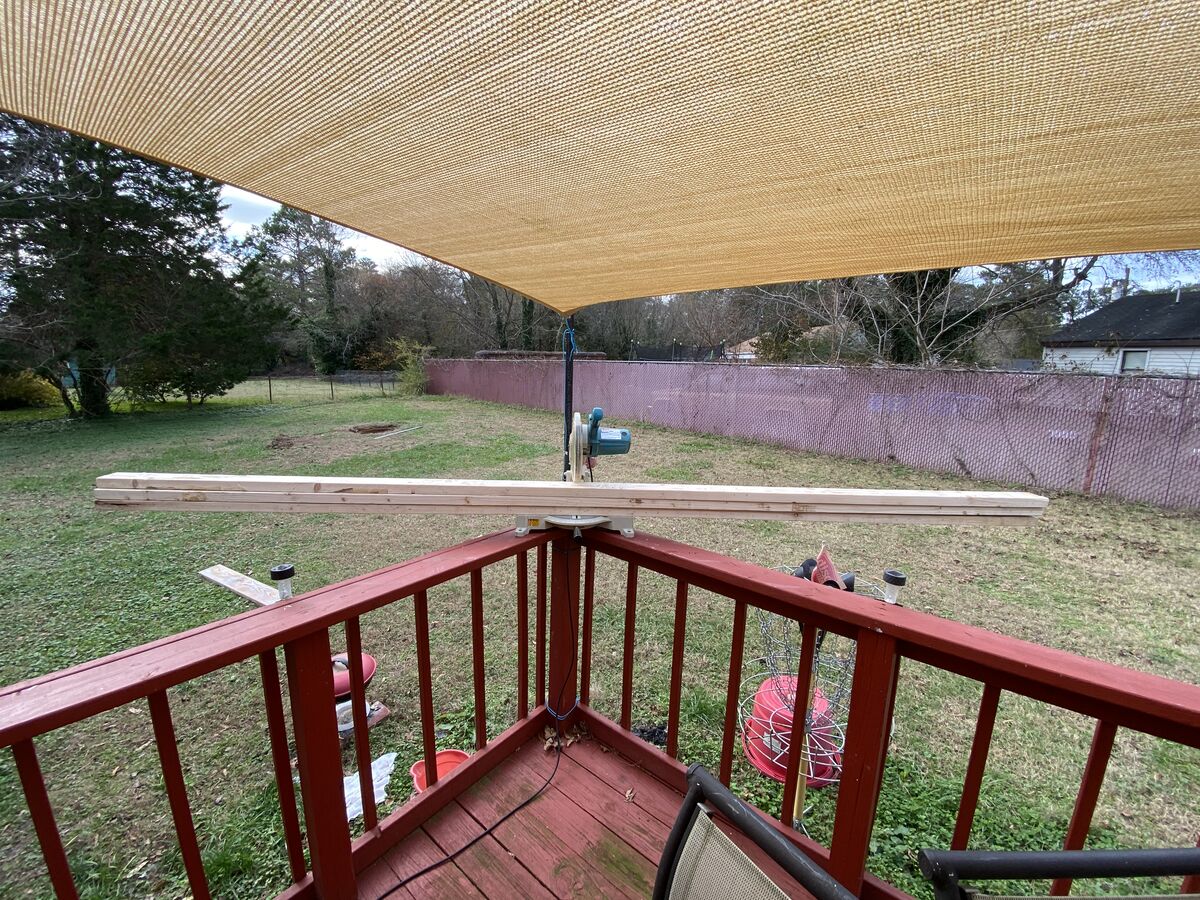
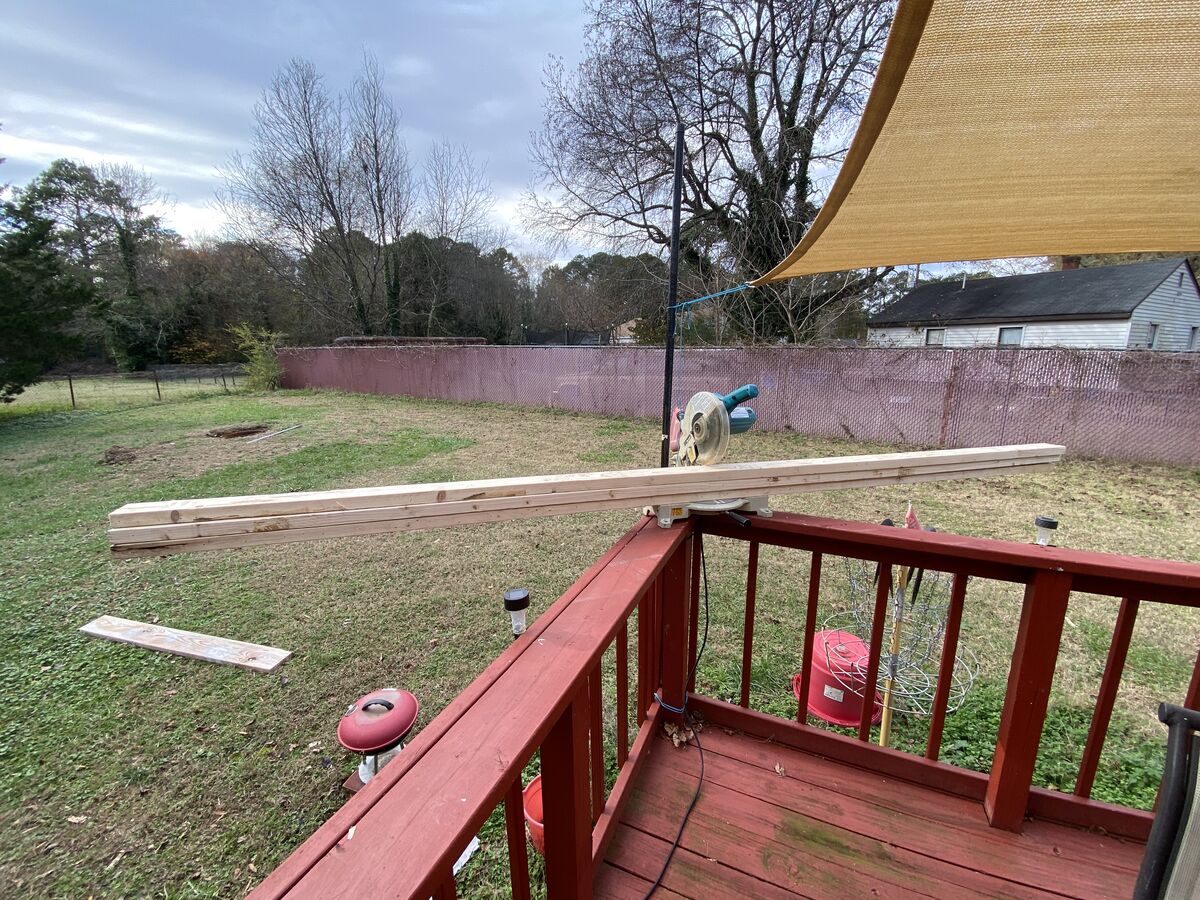
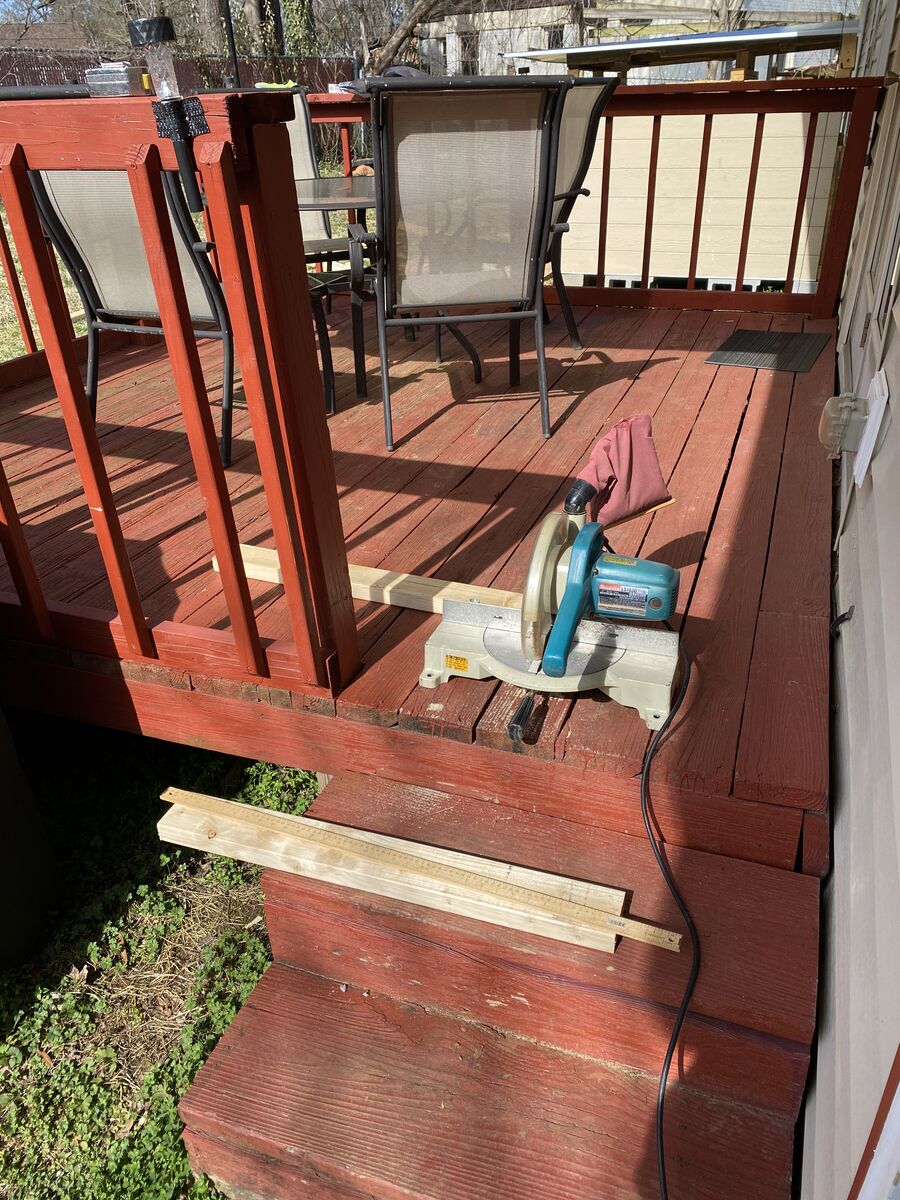
Finally a sunny day came when I had some free time at lunch. I got out the Mitre Saw and began cutting the pieces of 2 by 4 which would hold the roof at an angle. I used the back porch as my cutting station. A 2 degree angle slope. I used math to figure out the lengths I needed. You ever just use math?
After cutting the supports, I tested them out. Holy crap it actually works! Math!
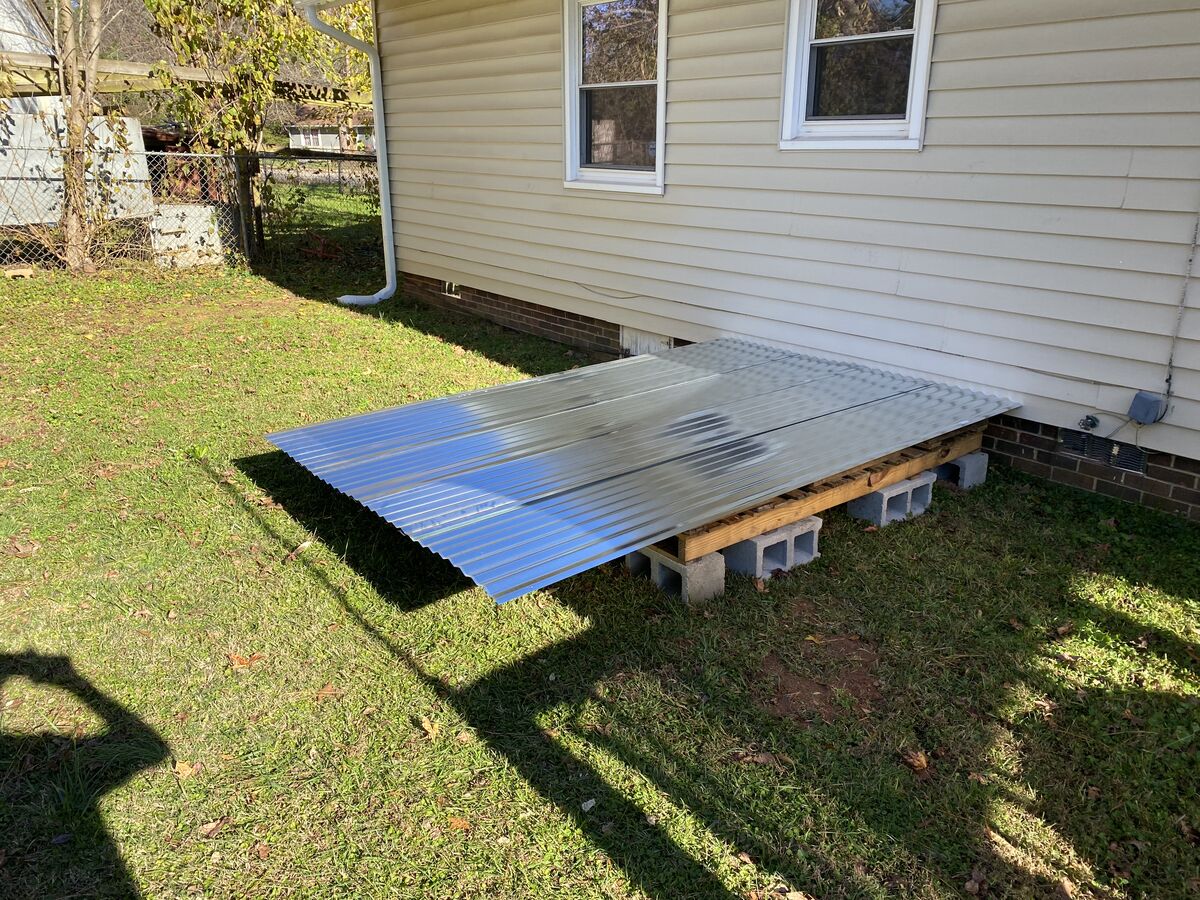
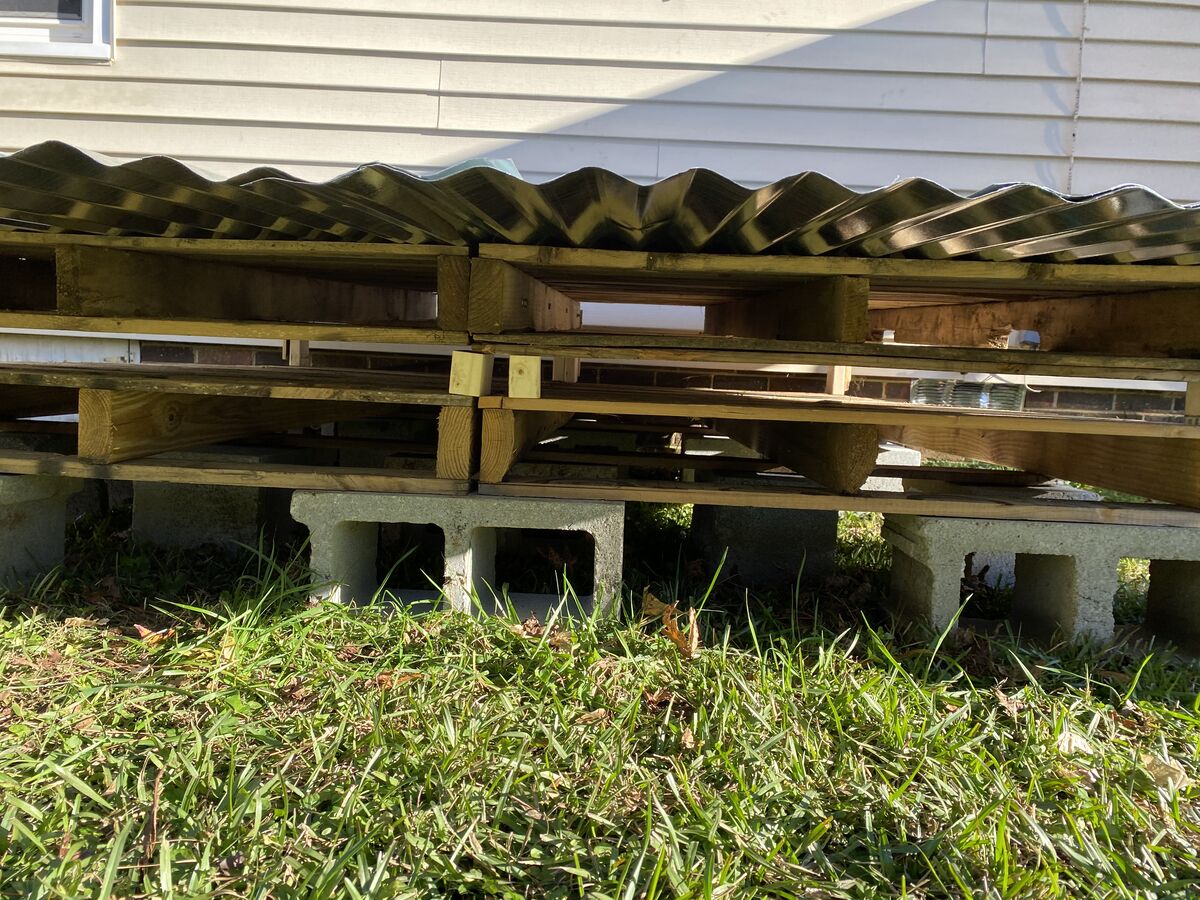
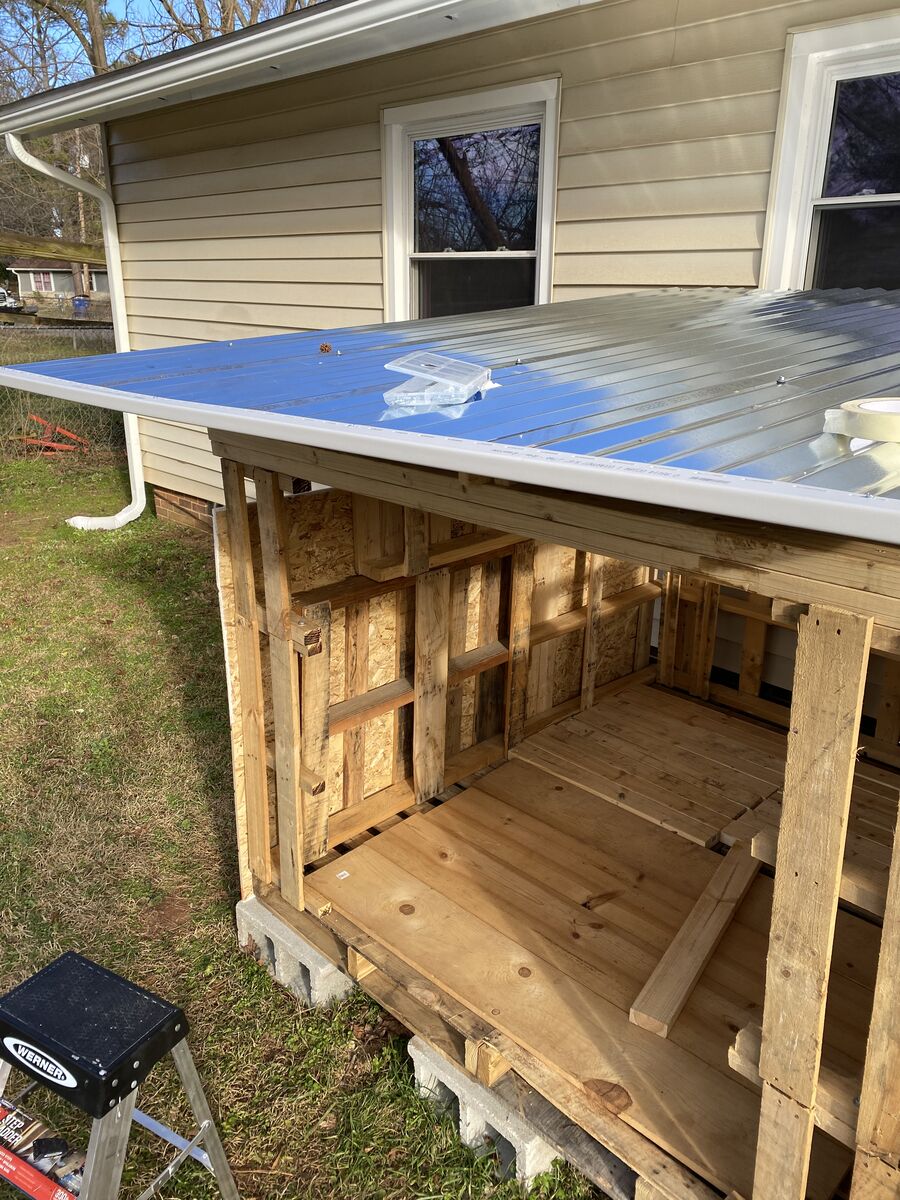
So now it's time to bring the other 2 pallets, same size as the floor pallets, out for the roof. I brought them out and laid them on top of the floor. My plan was to attach the roof panels, then prop up the roof on the floor using those 2 by 4 pieces.
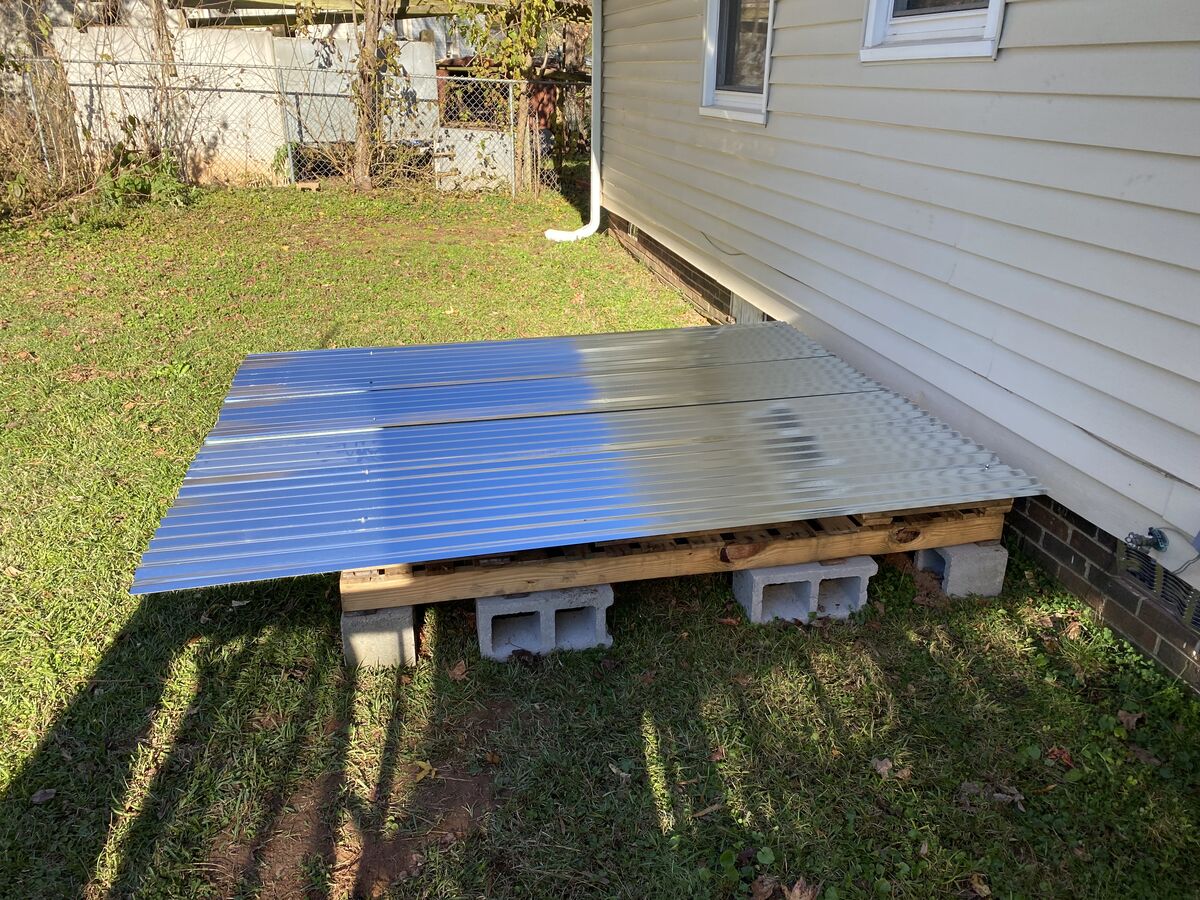
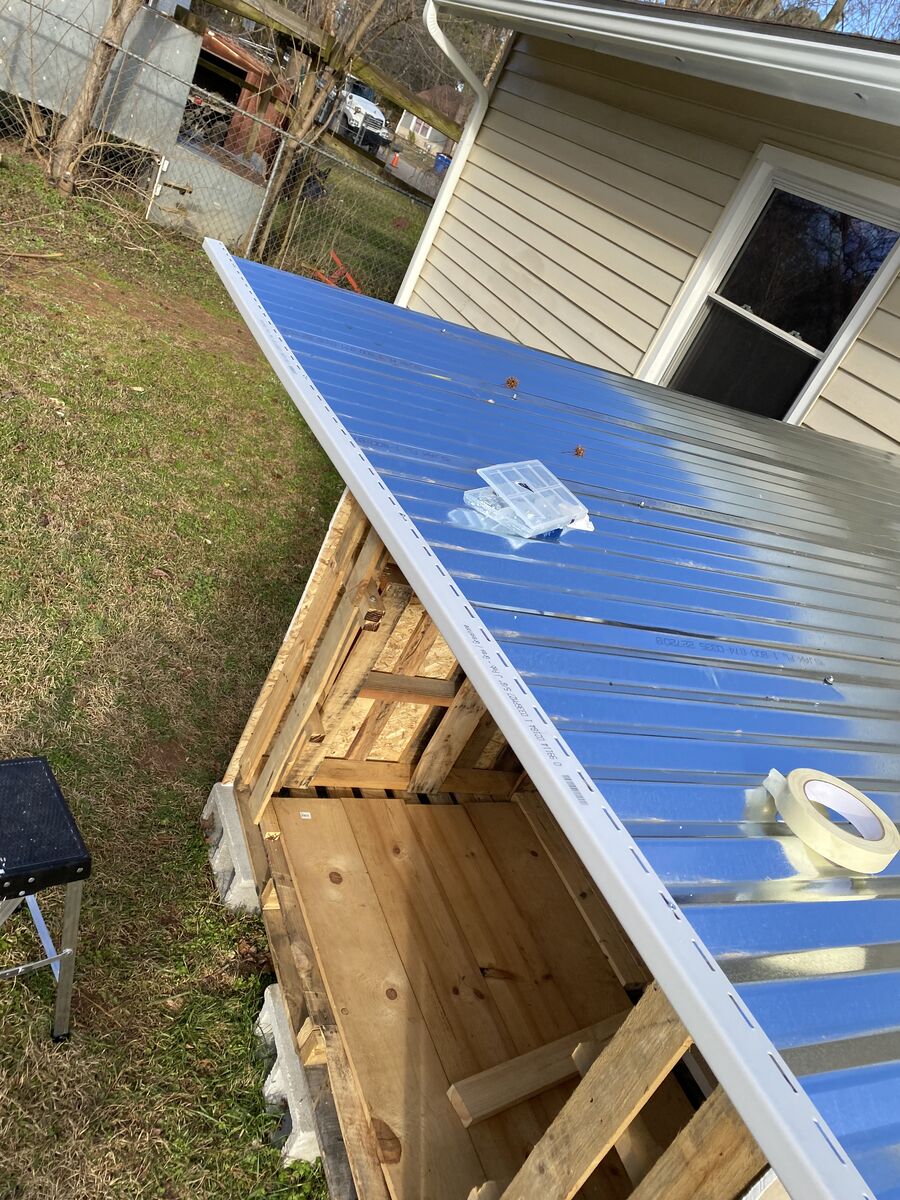
I placed the panels on to see how it would look. Had some overhang and about 3 inches of overlap between panels.
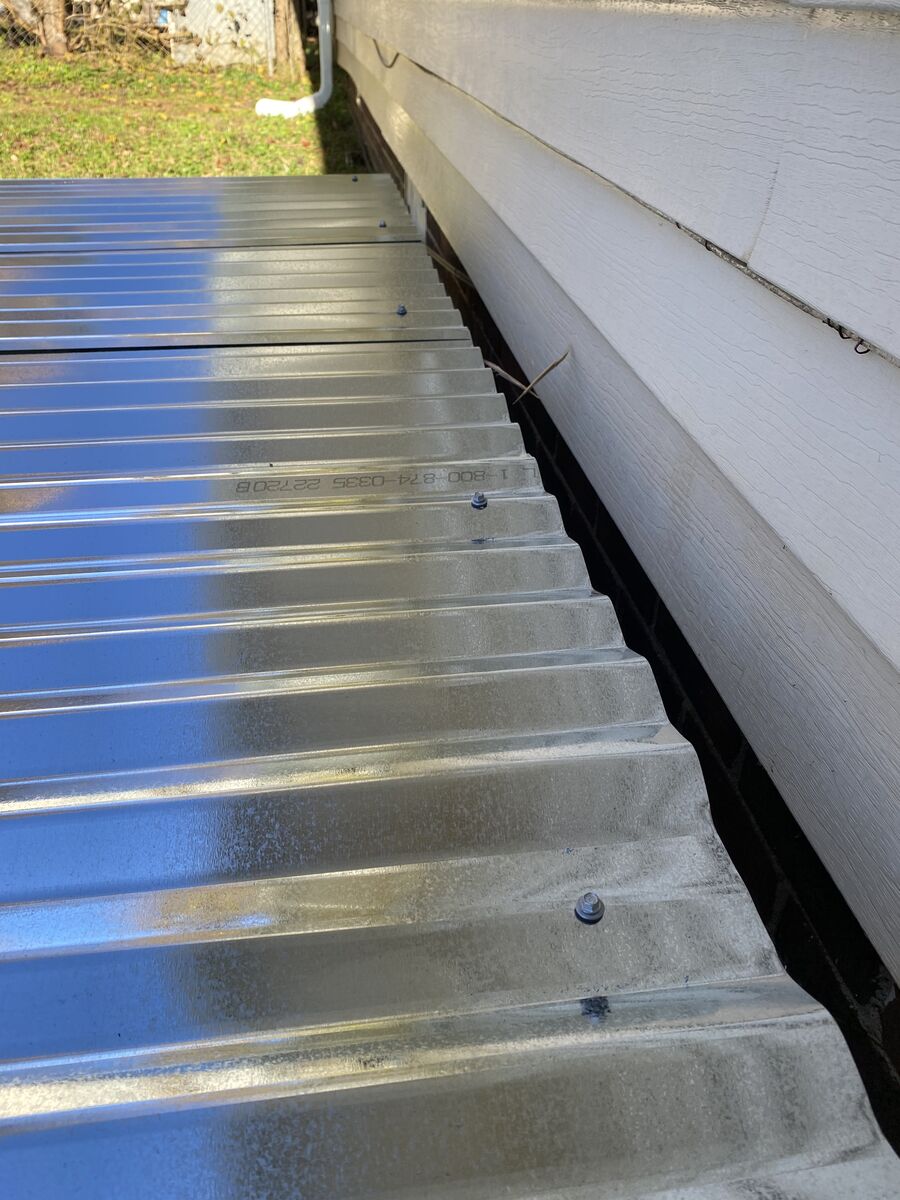
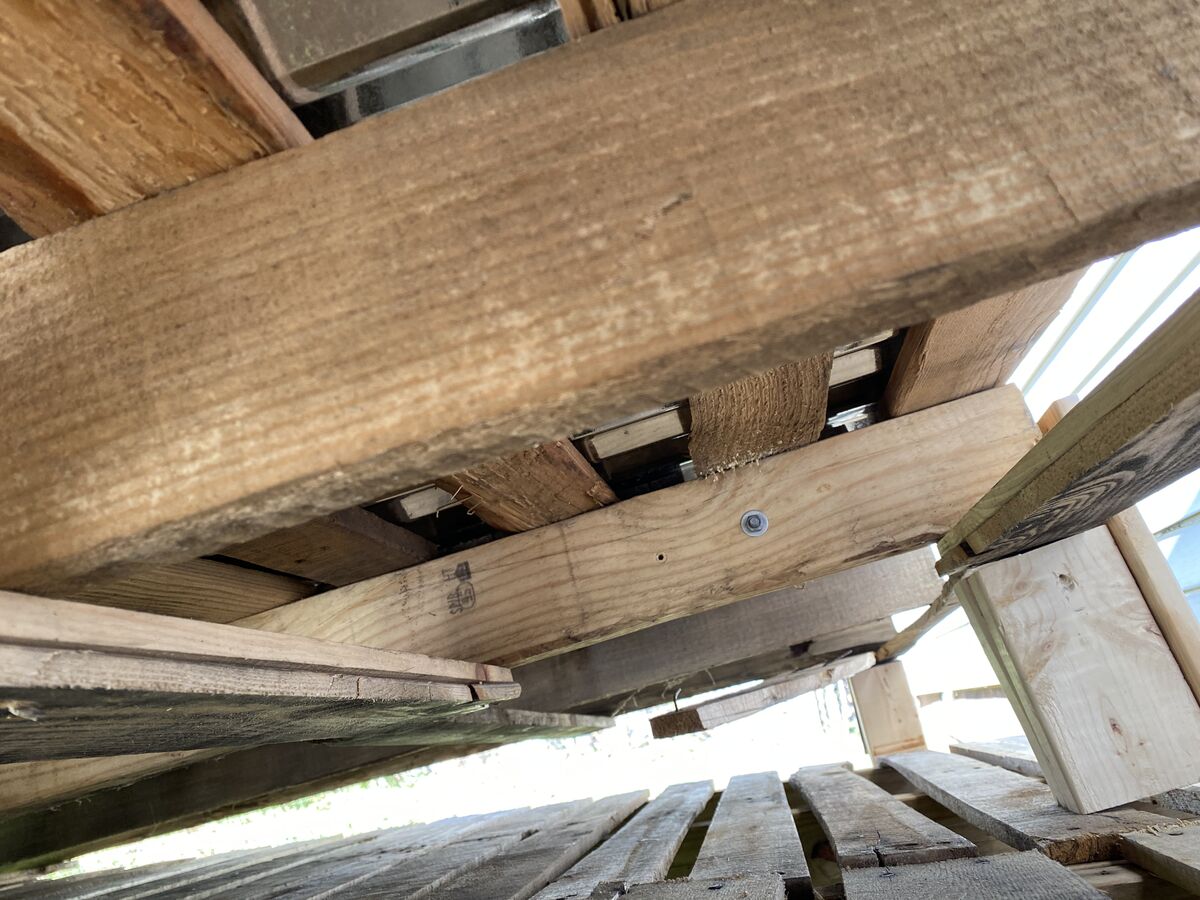
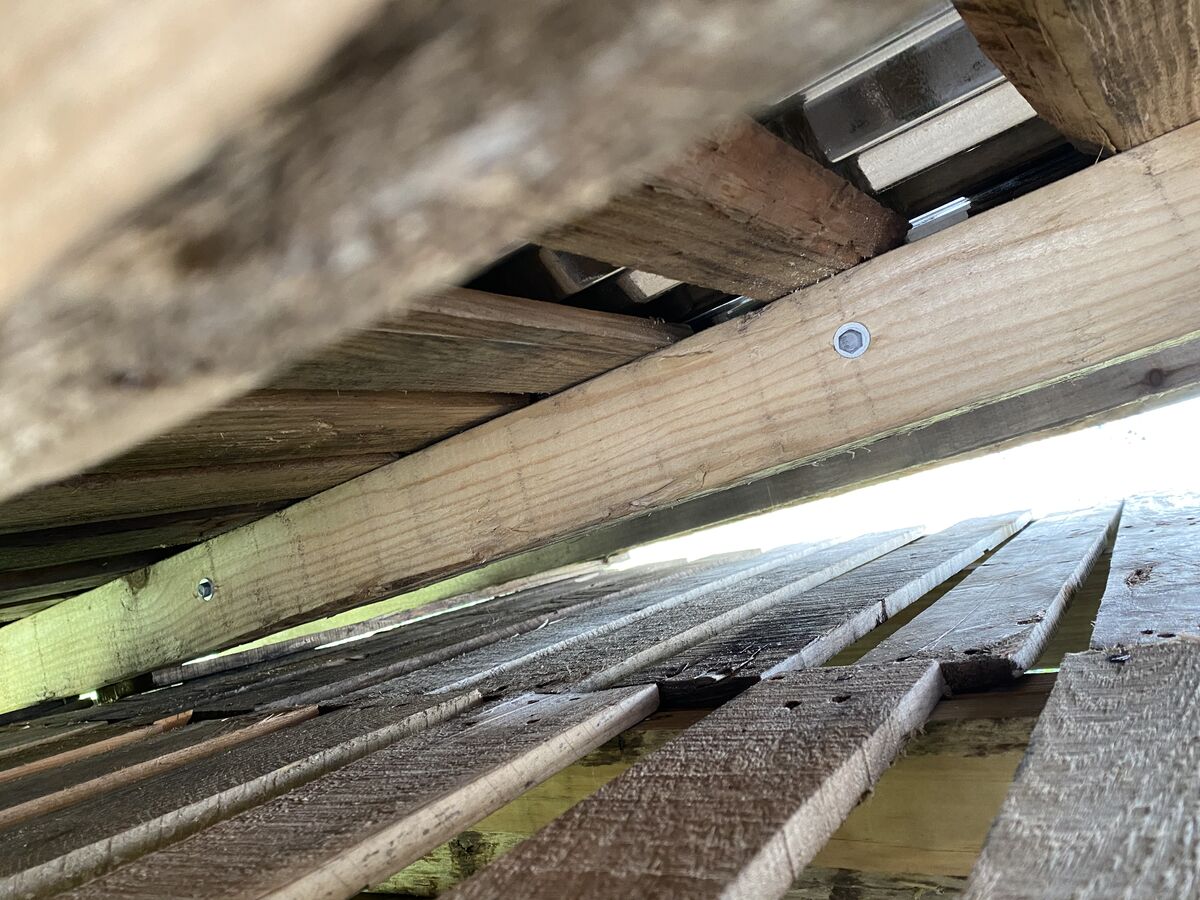
With that all laid out, I go ahead and put some screws in there. I bought screws meant for this roofing, so they have little rubber washers so water can't go through. I drilled pilot holes and screwed them in. I put them on the higher part of the ridges because that way less water will pass them.
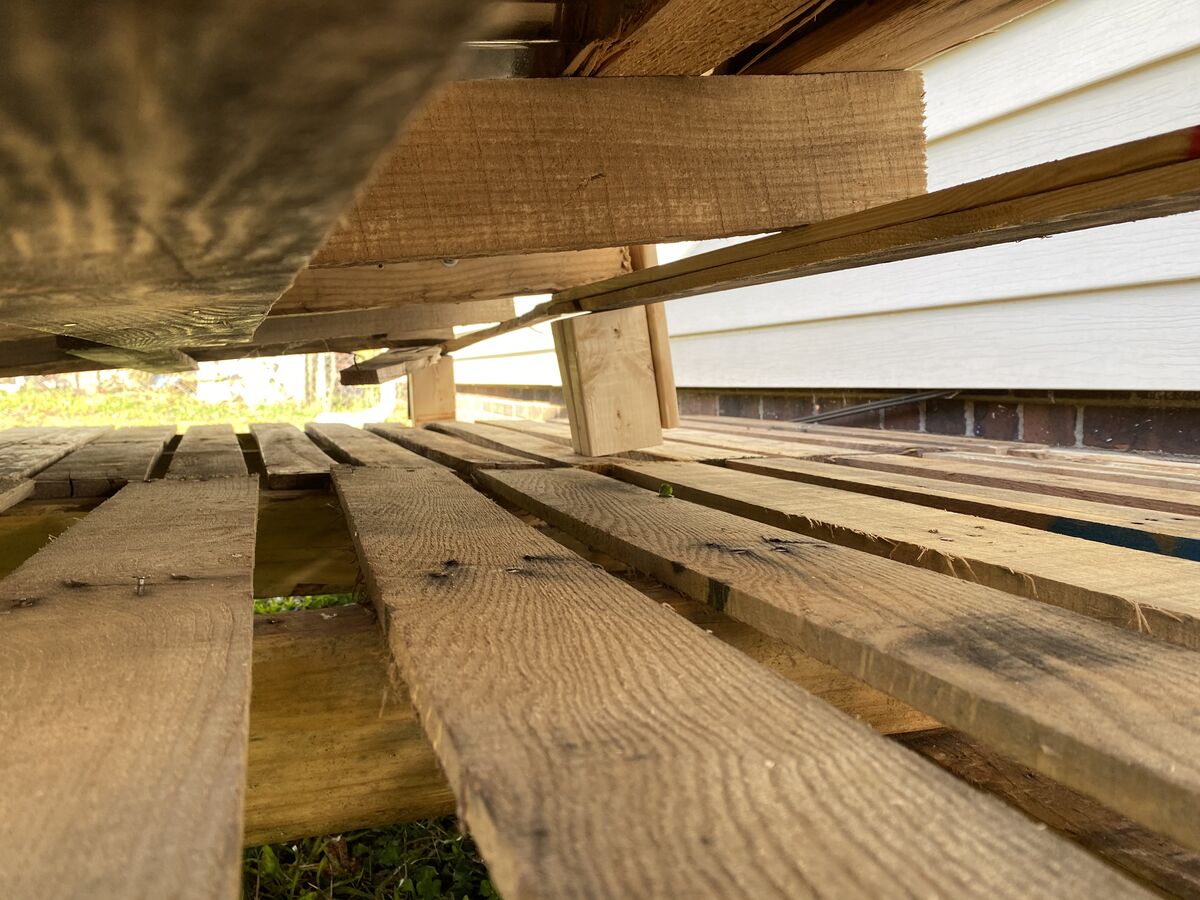
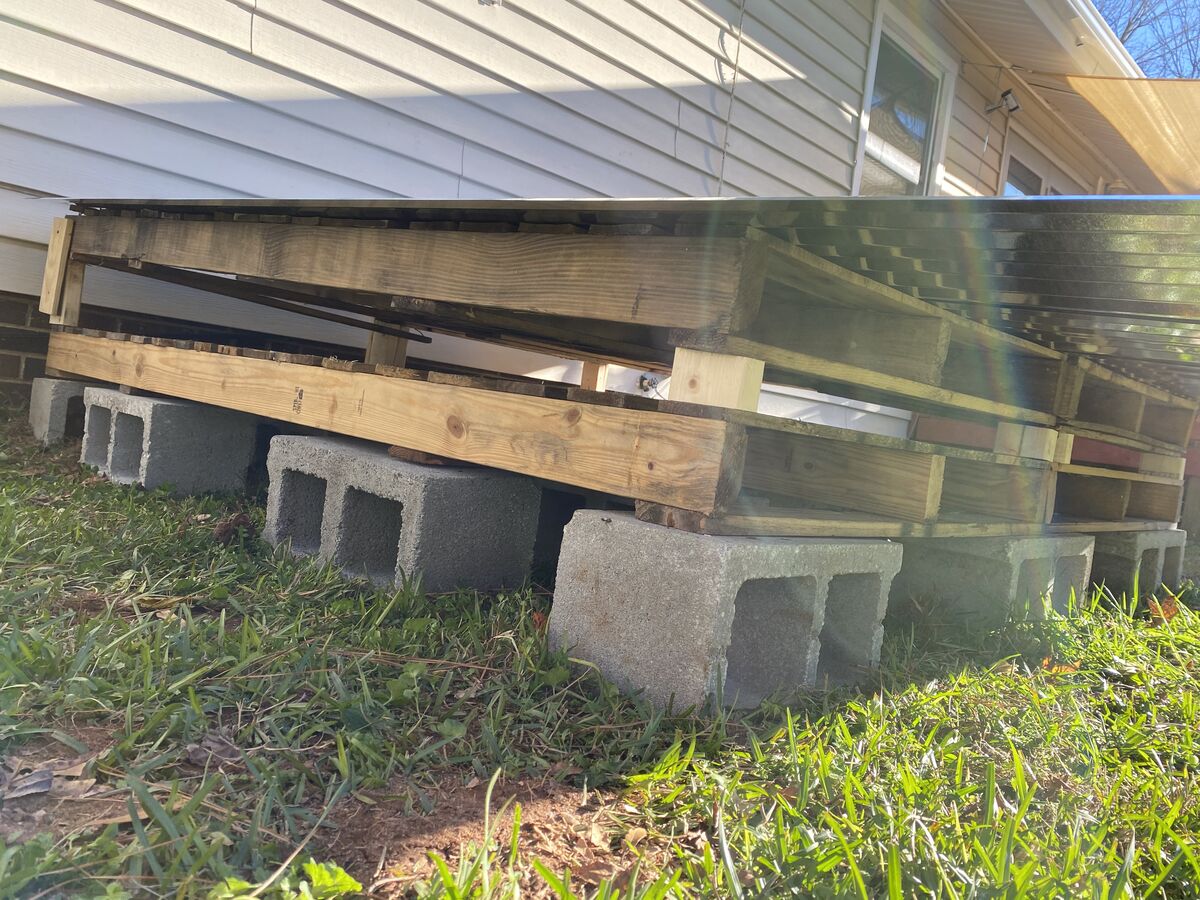
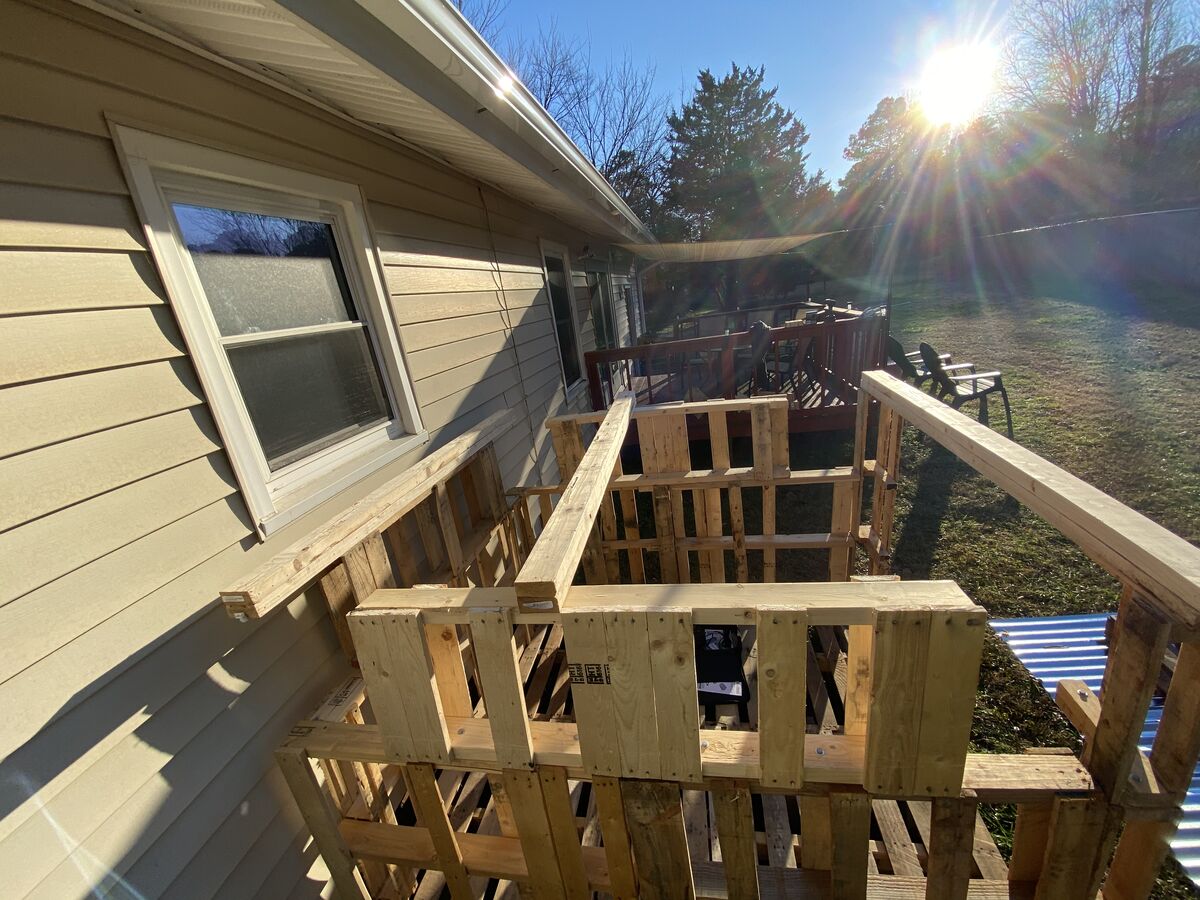
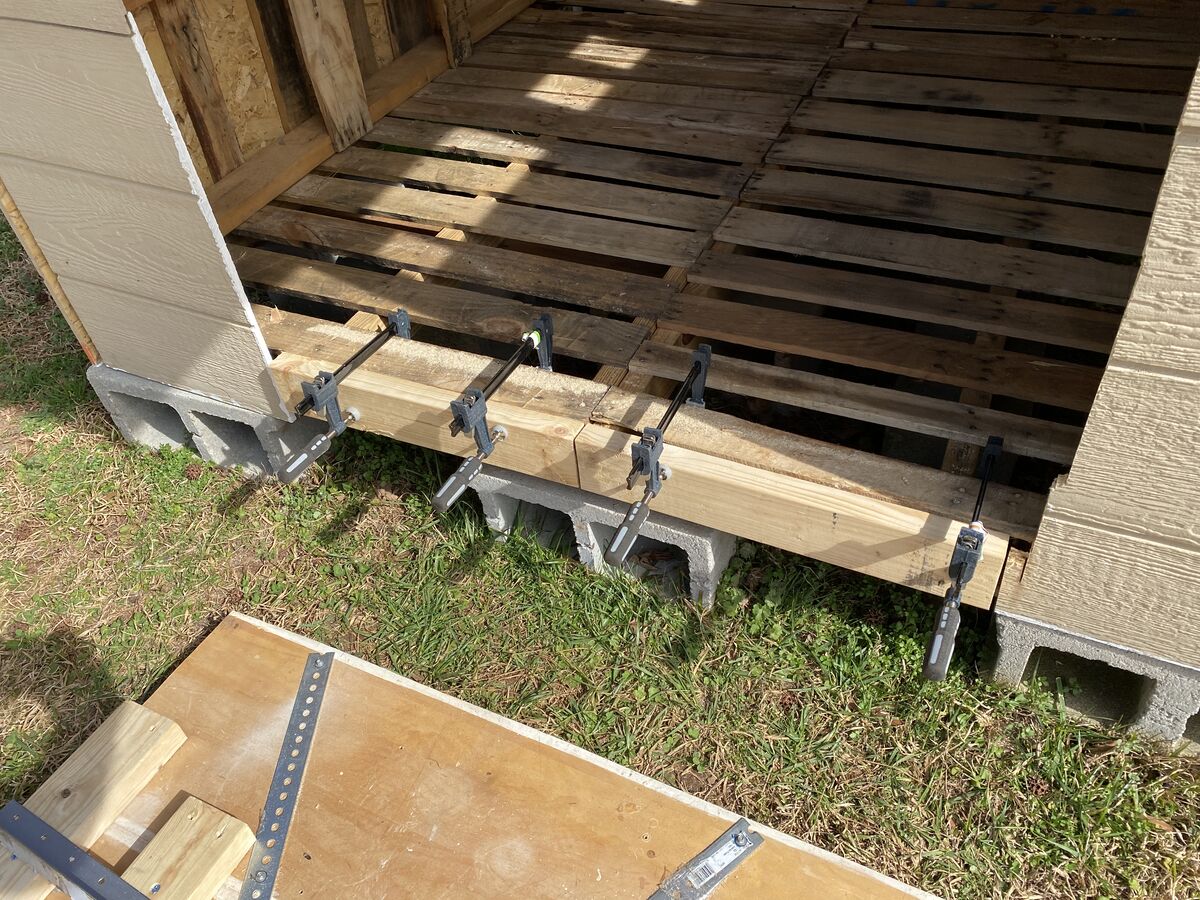
Now, I had to put the 2 by 4 supports under each support beam of the pallet. I didn't plan great here, because I couldn't reach the inner beams, and this thing was pretty heavy at this point. So I had to lift it up and flip it over.
But with it flipped over like this, I realized I also have to bolt together the 2 pallets. So first, I connected the angled 2 by 4 pieces to the pallet support beam (which is a 2 by 4) I used scrap wood to simply hold the 2 by 4 in place everywhere. I'll take off this piece of scrap wood later, but it works enough to just hold the 2 by 4 in place.
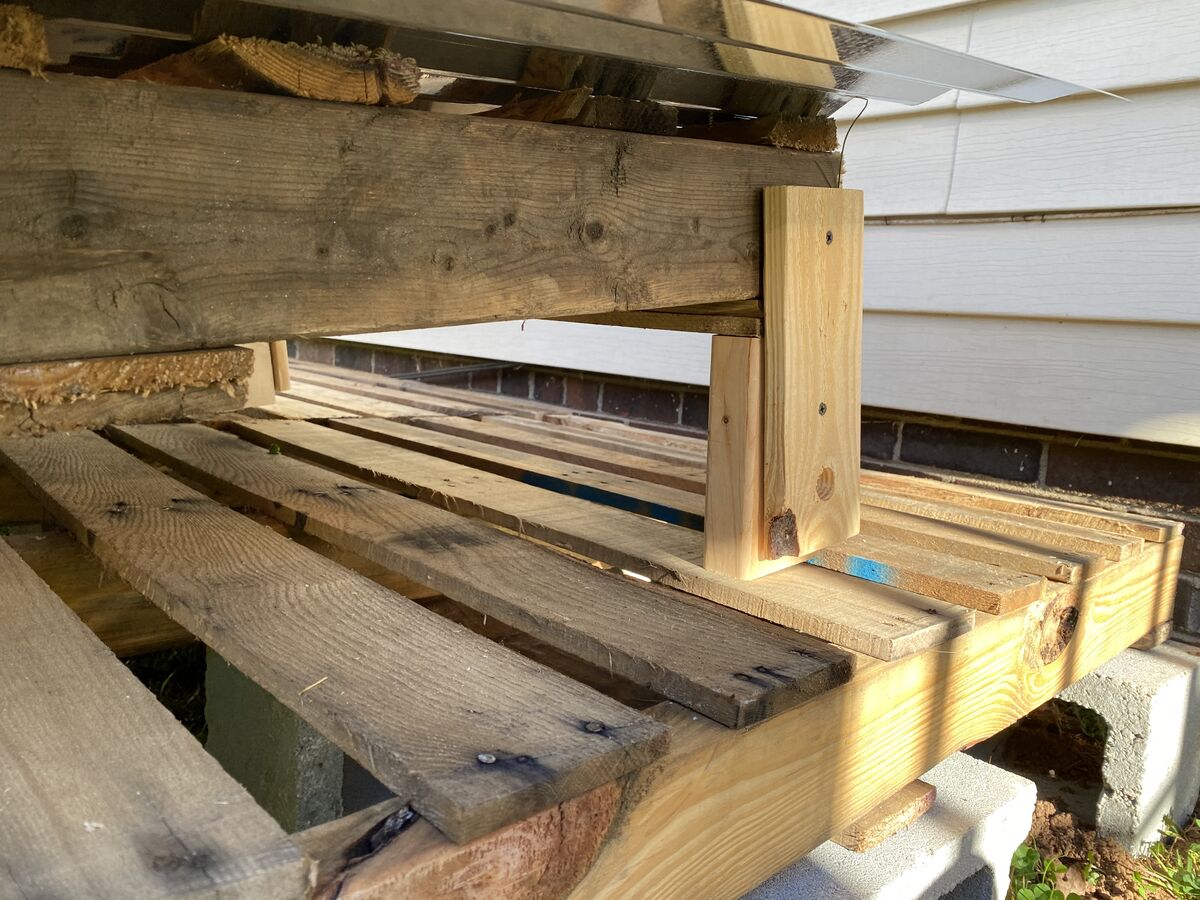
Then I bolted the 2 pallets together in 4 places.
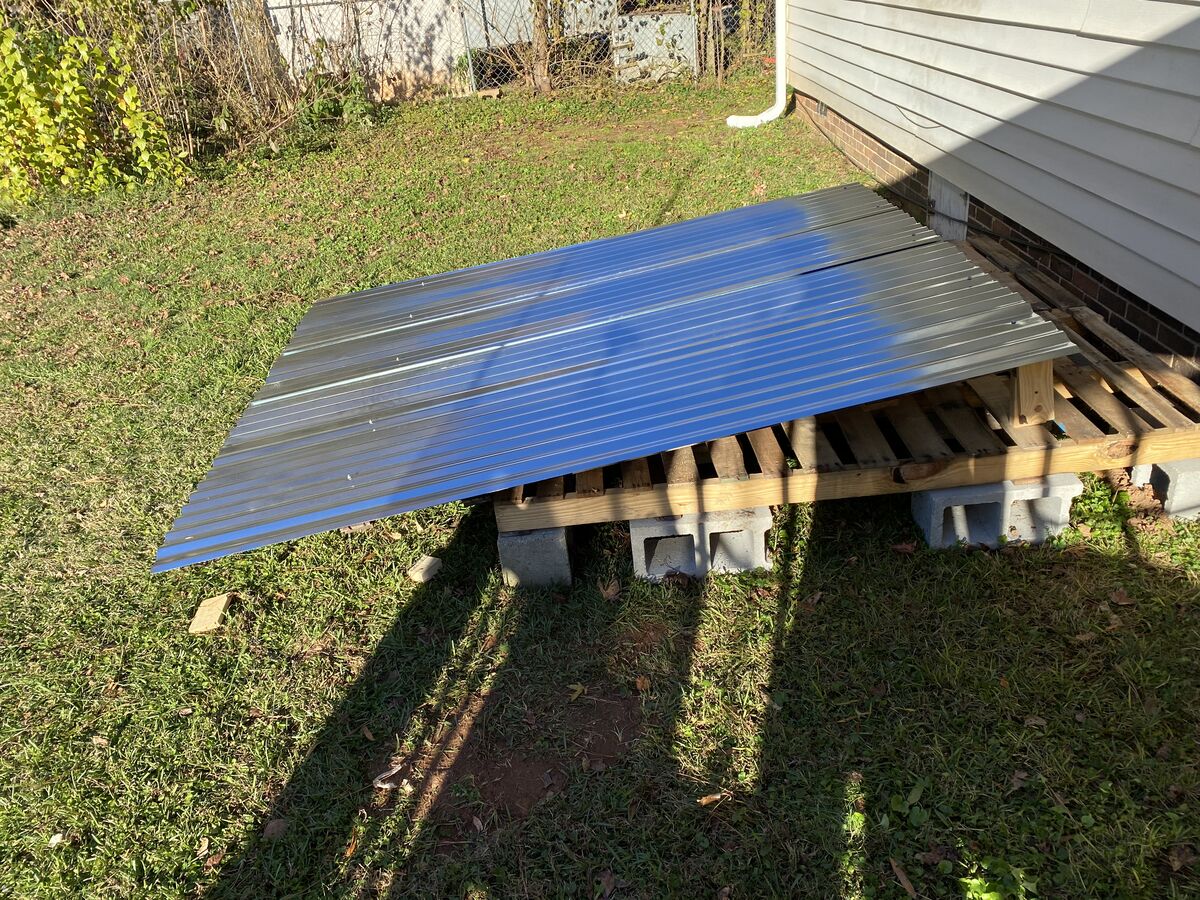
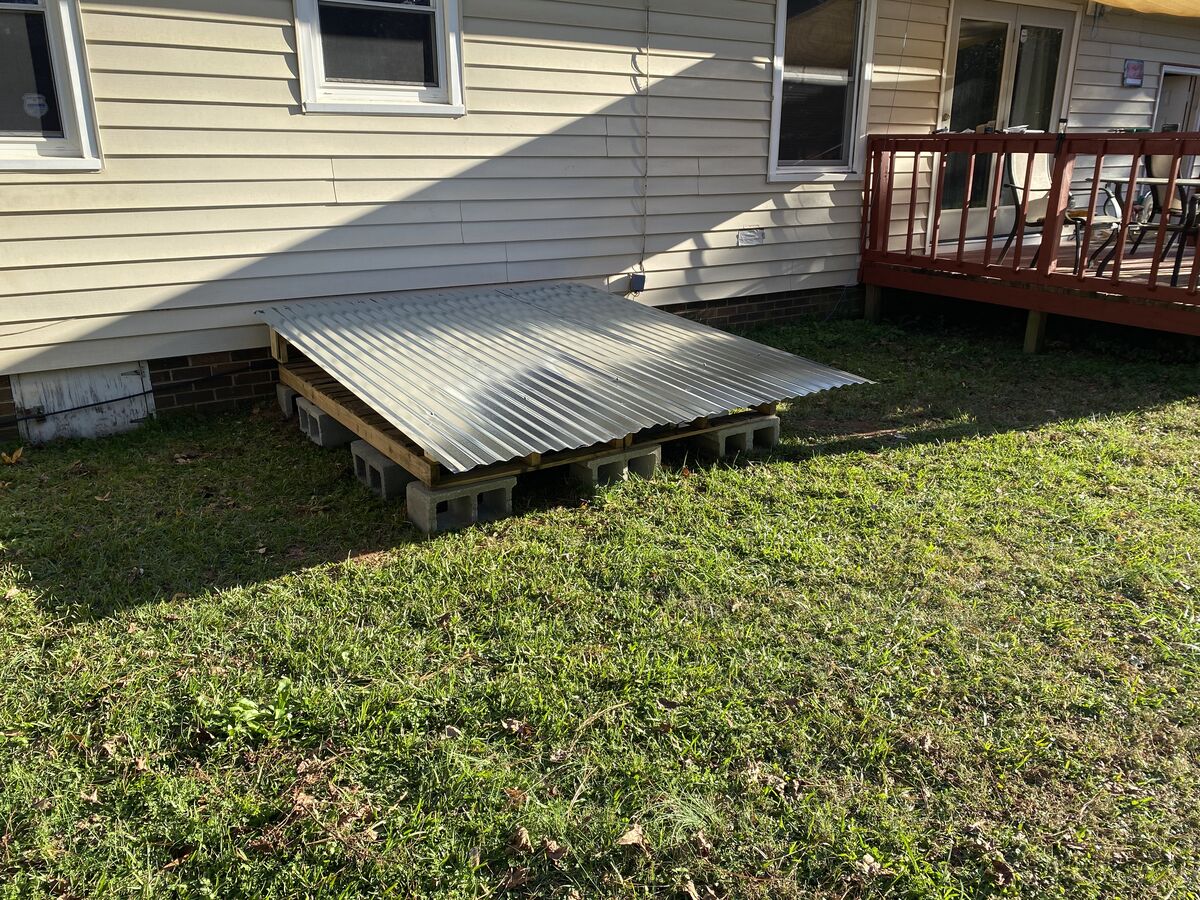
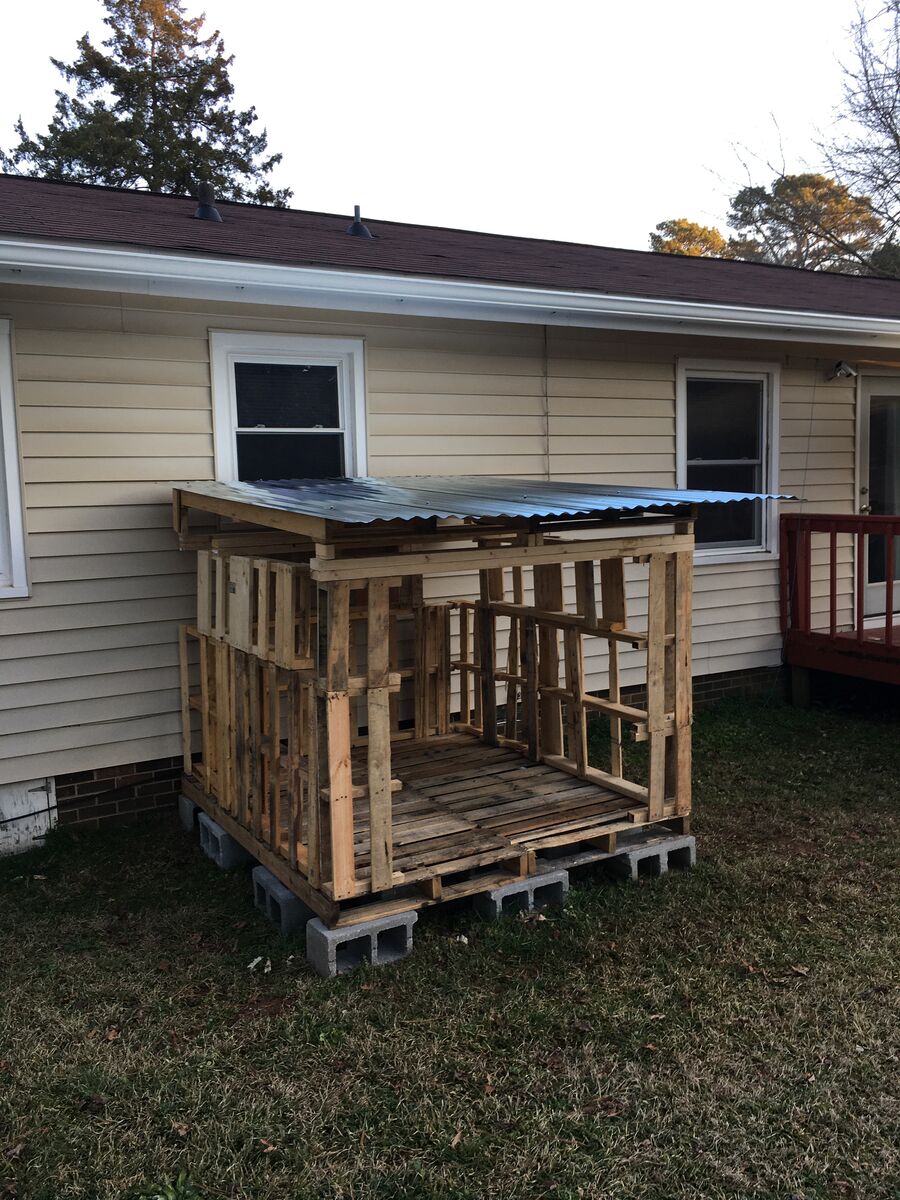
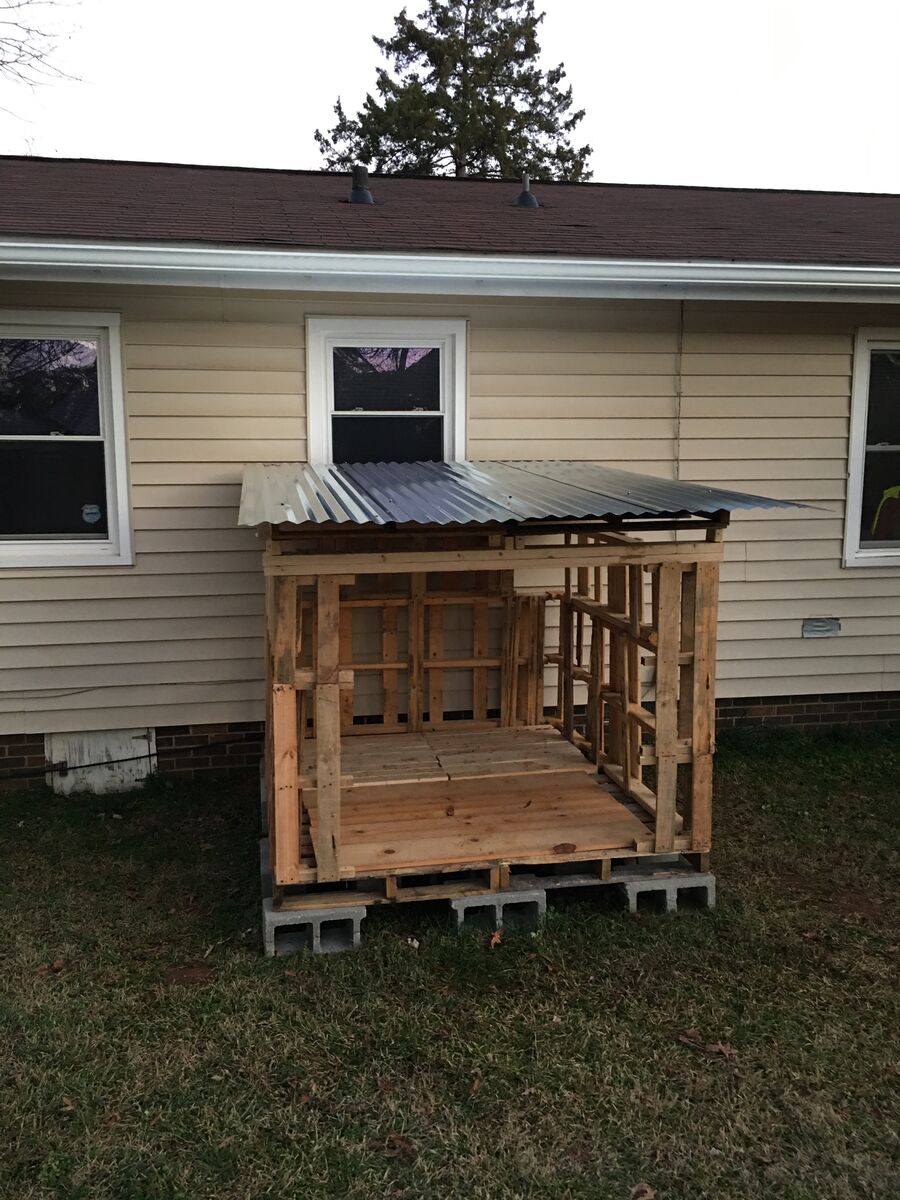
I put the roof back on the floor and lined up all the pieces, and it looked good!
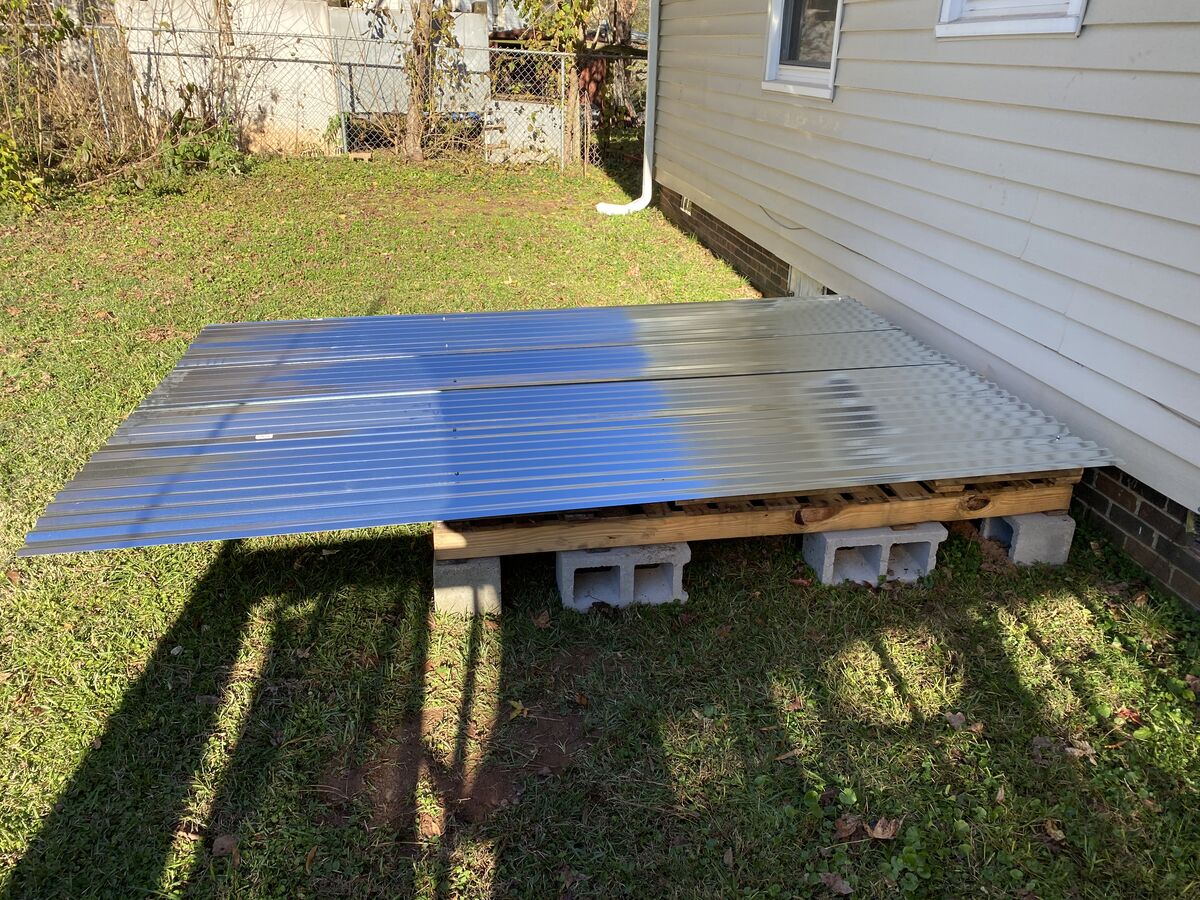
Finally, I cut a good amount off the front roof overhang using shears. Now it's ready to be rained on. I'm calling it a day.
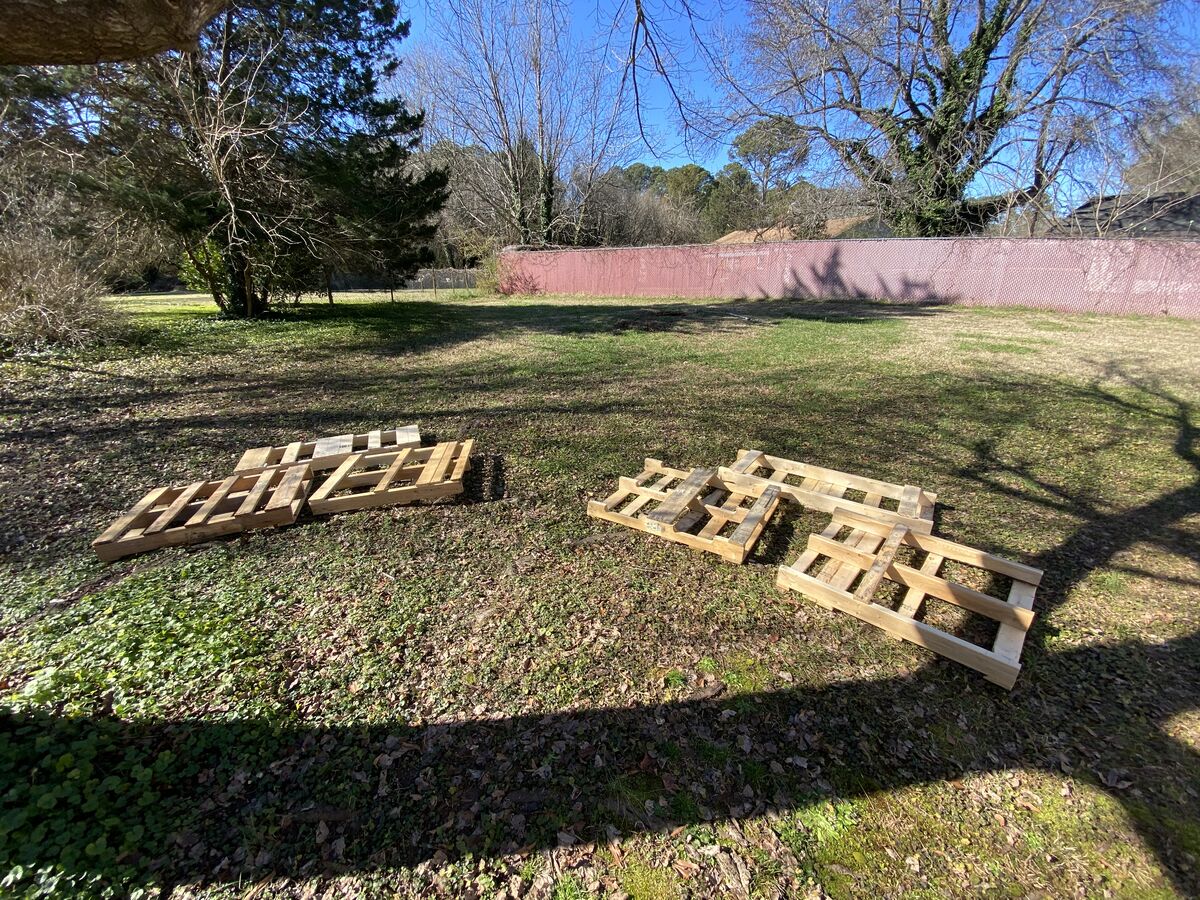
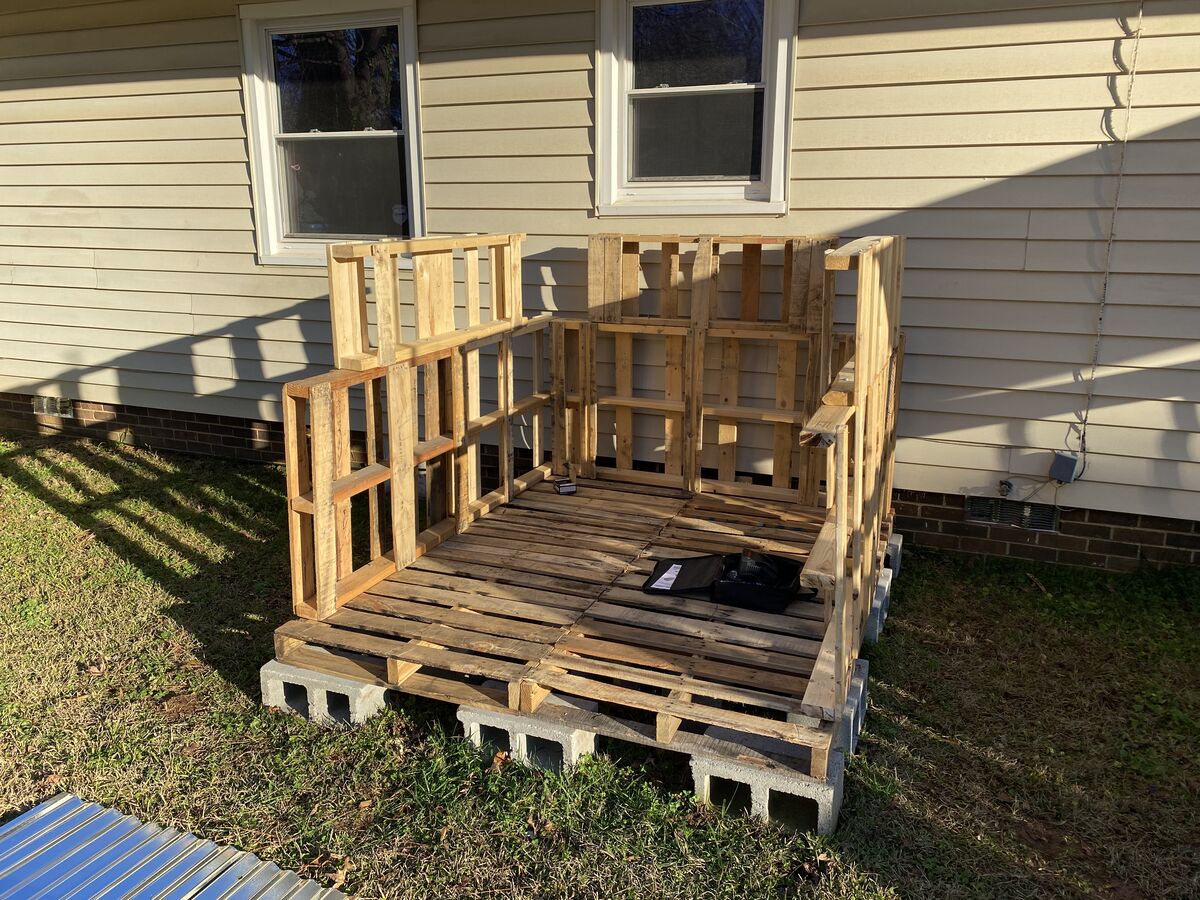
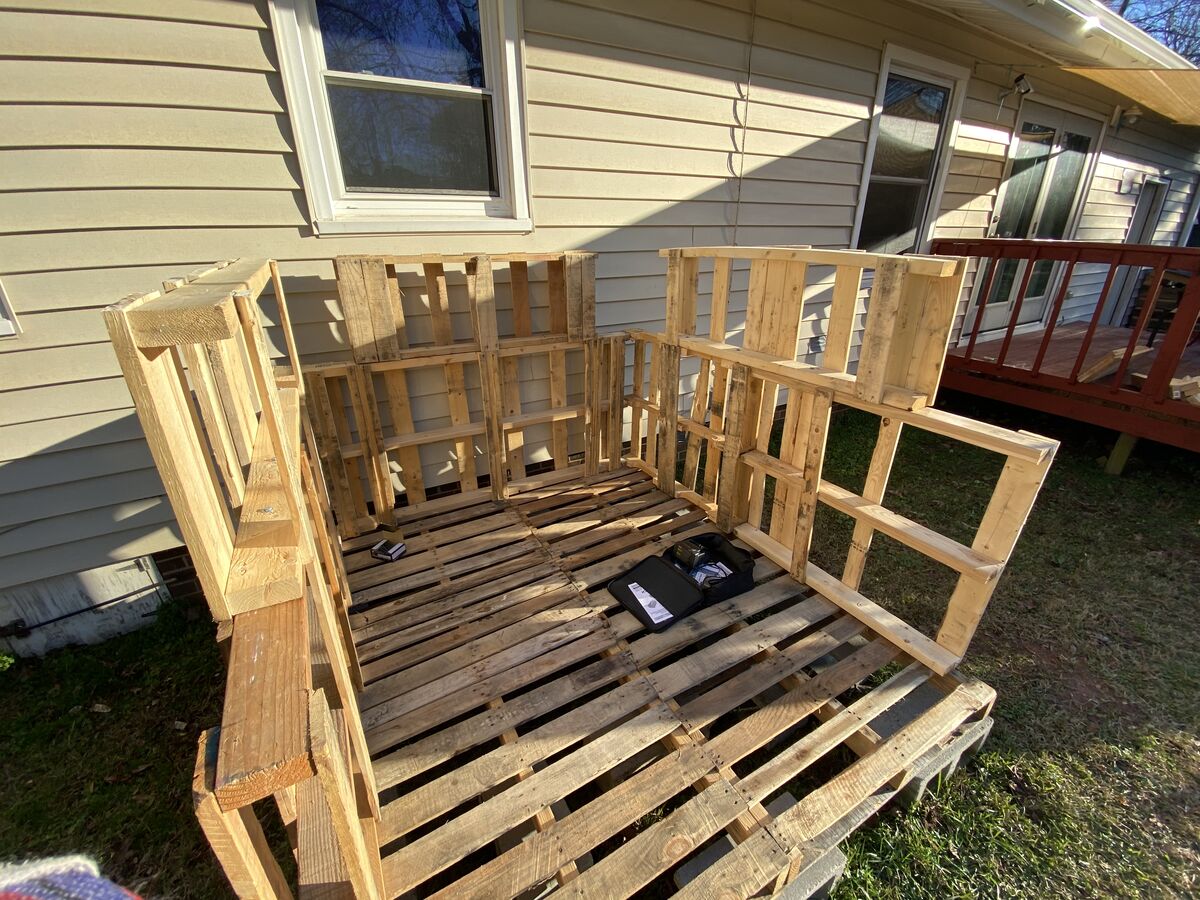
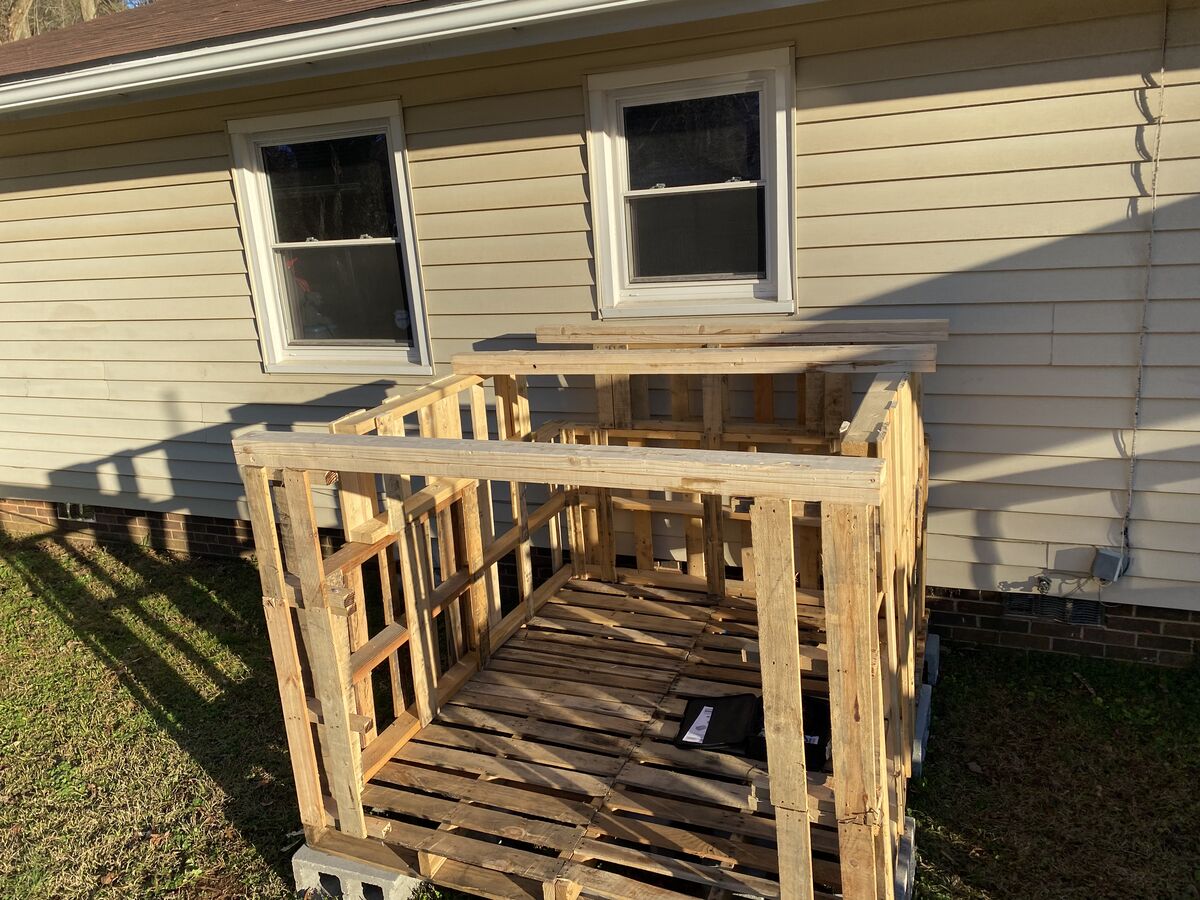
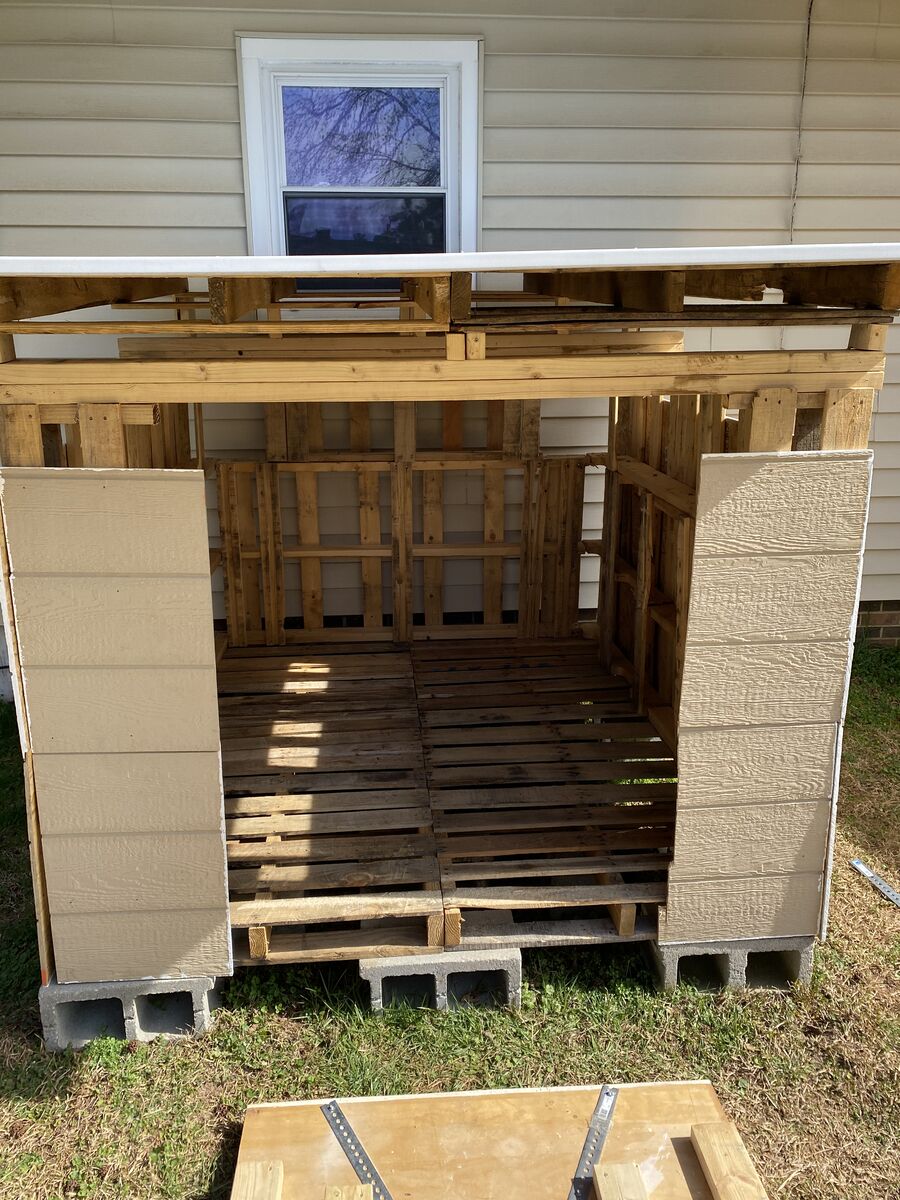
A few days later, I had time to work on the walls. I had to cut a few pallets to a smaller size, so I got out the circular saw and went to work.
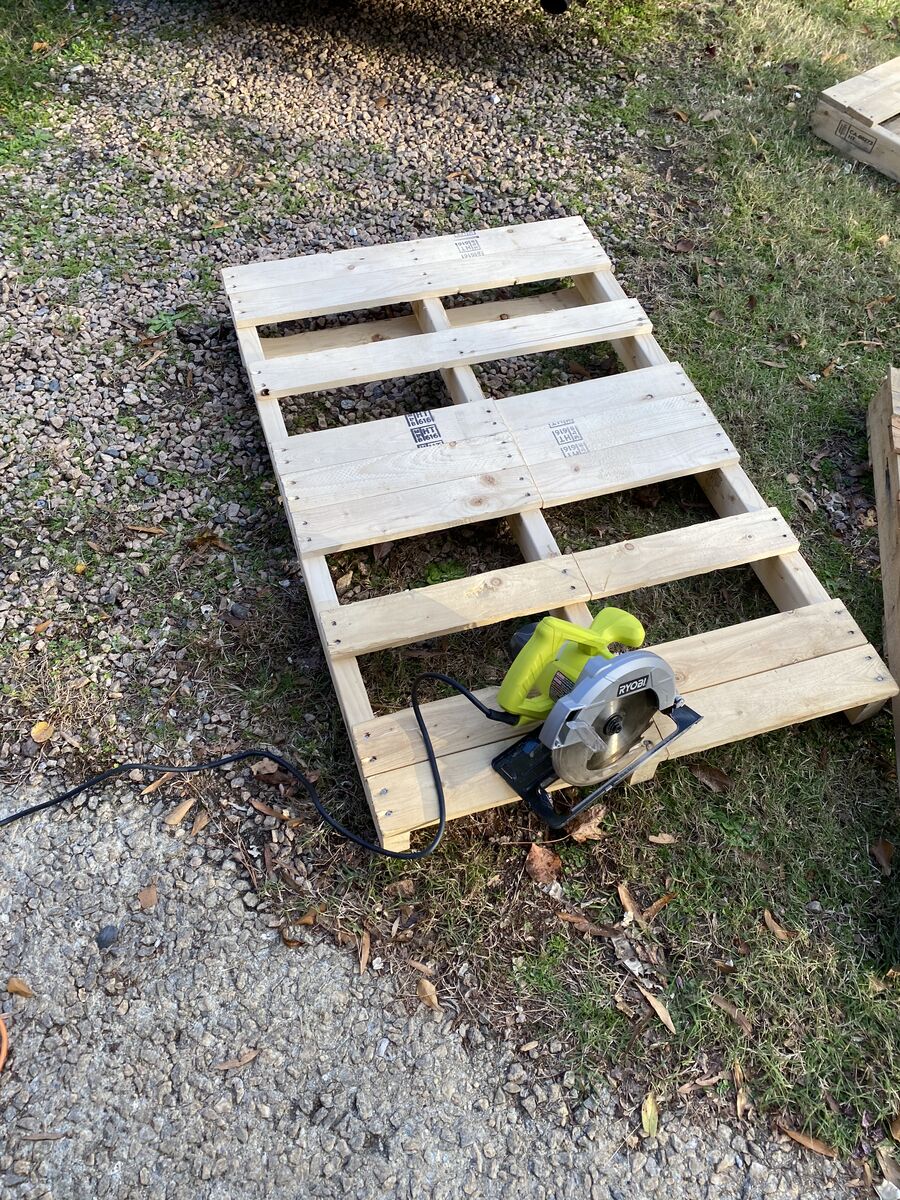
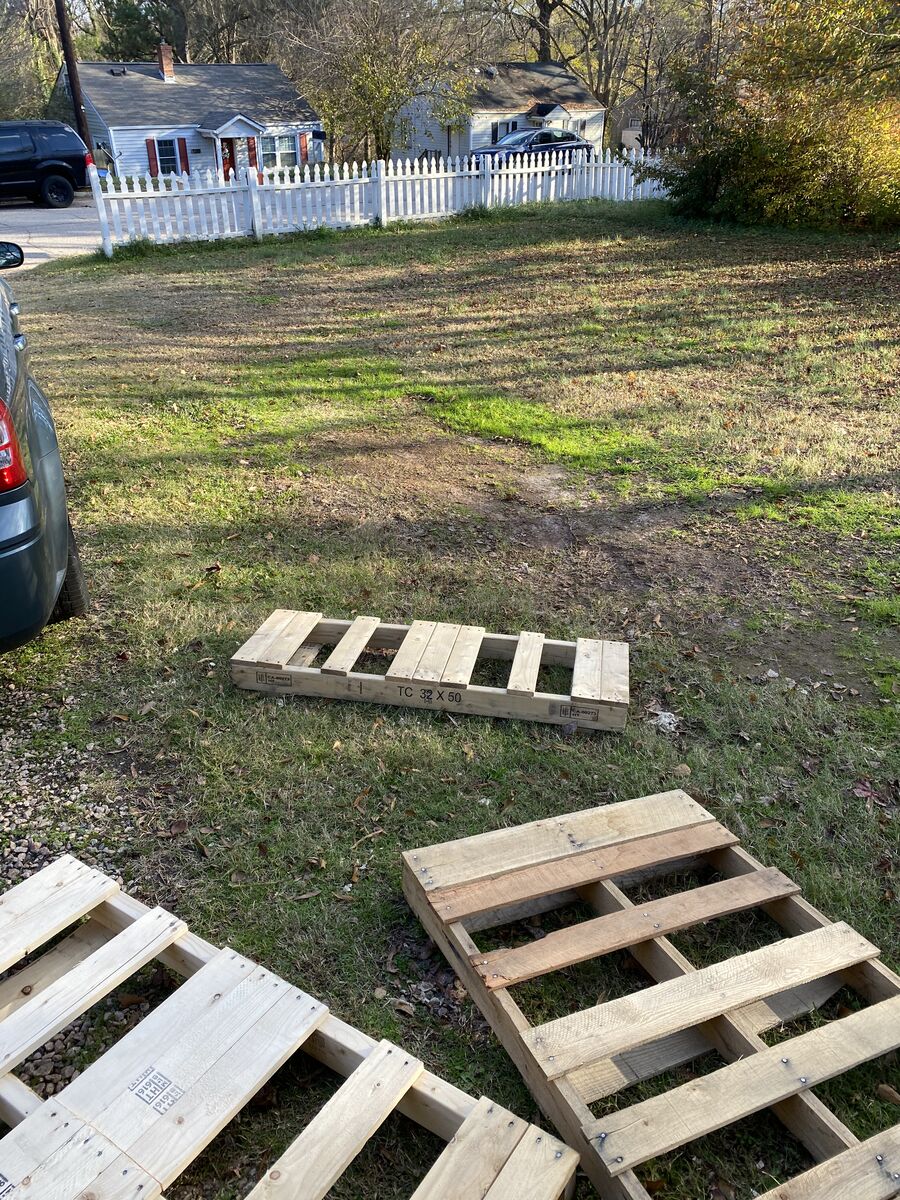
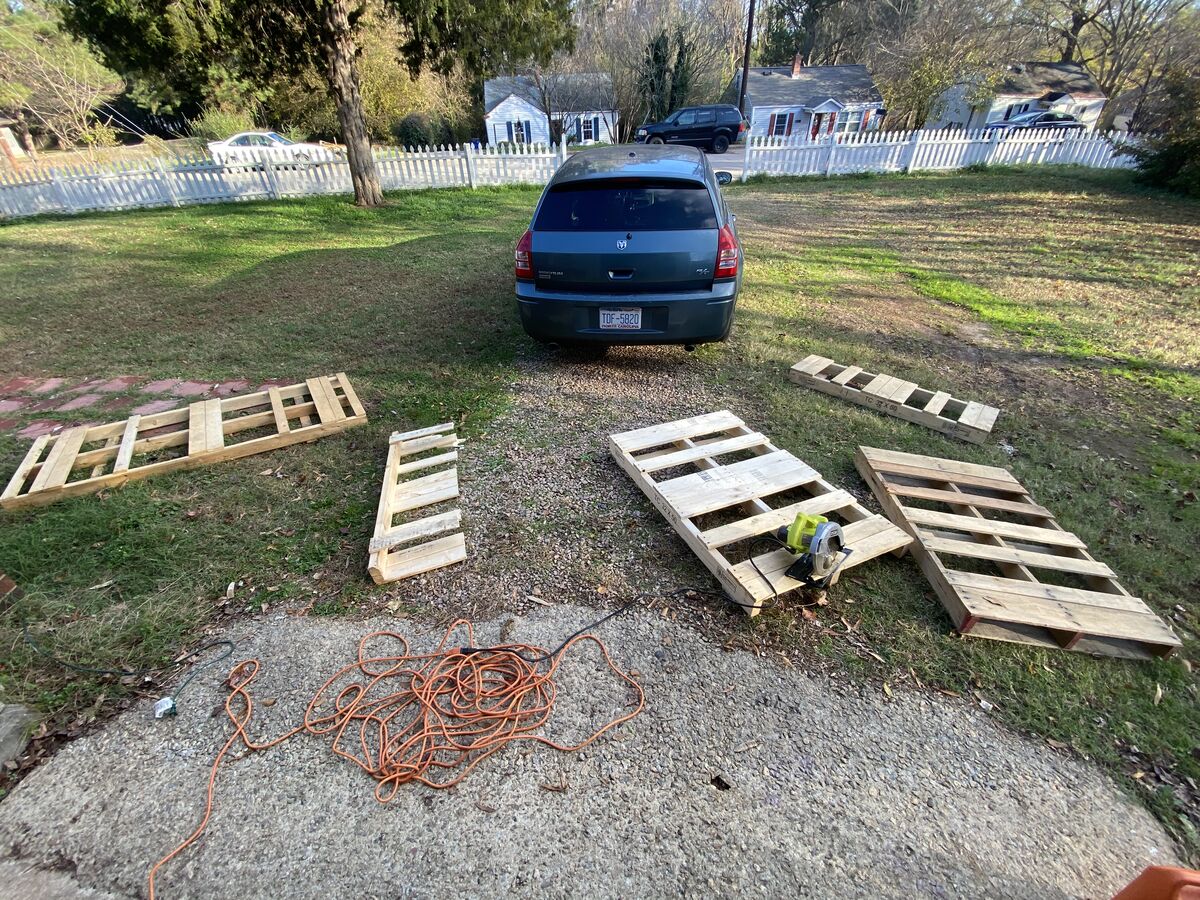
I had to cut a few of them in half widthwise, and one in half lengthwise. When I was done, I had the rough look of each wall. The two identical side walls.
And the back wall.
Next up is cutting the pieces that will be the sides of the front wall. I need enough space in the middle for the 4 wheeler and lawn mower to go through, so I had to make the side front pieces smaller than in my original plan sketch.
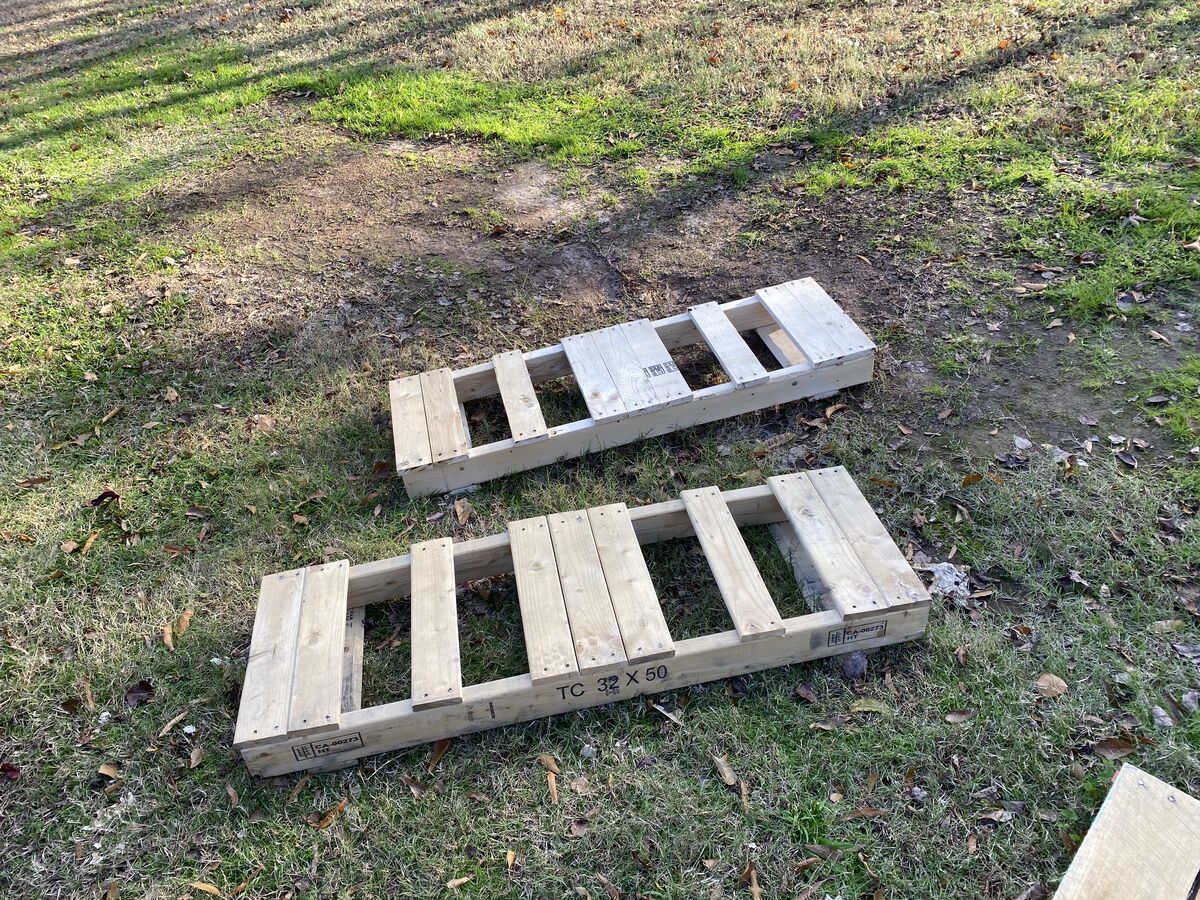
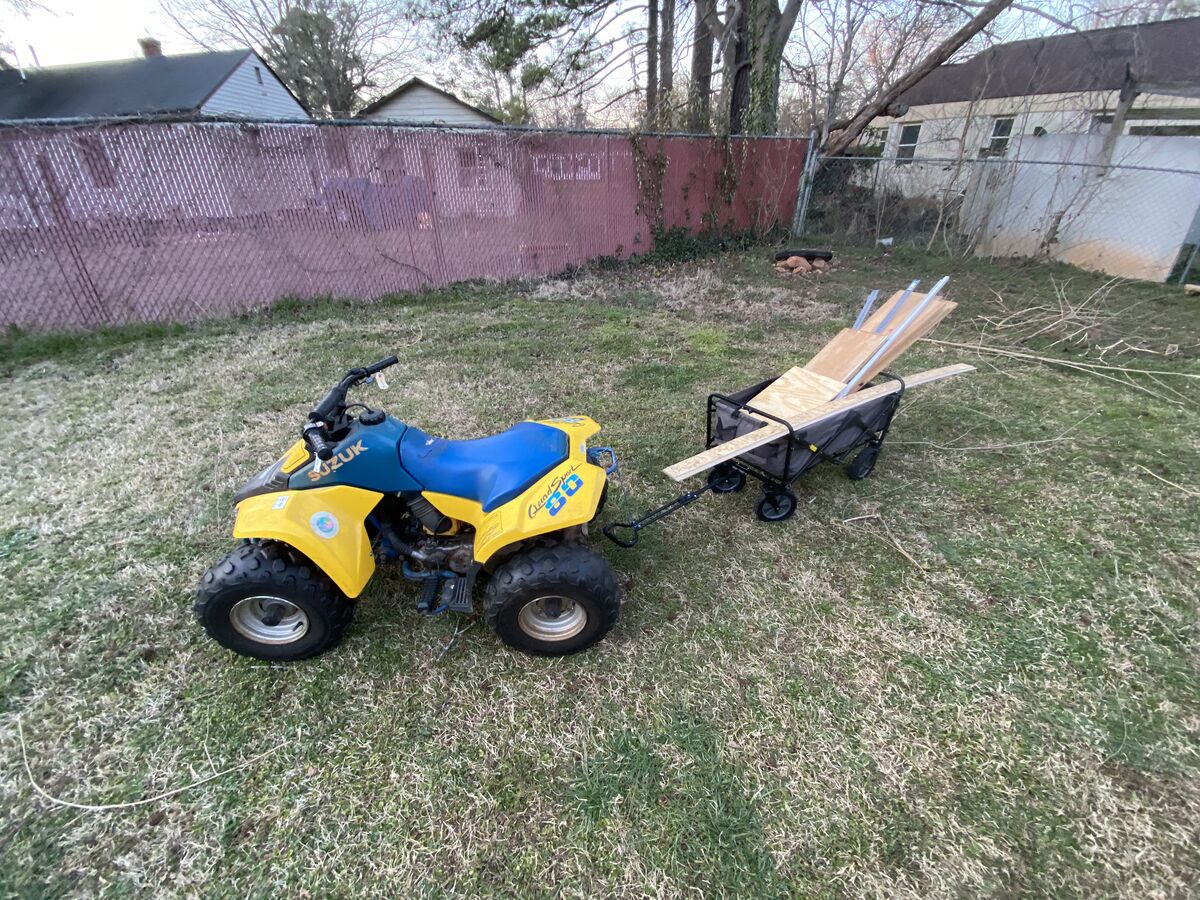
I came across a free pallet on Craigslist, and it looked really useful. So i got it. I had been planning on buying some 2by4s to use as support structures for the roof. Sort of like rafters. This pallet will do that perfectly.
I took apart the pallet and had 3 12ft 2 by 4s. I cut those in half to have 6 6ft 2 by 4s. The shed is 6ft wide so that's perfect.
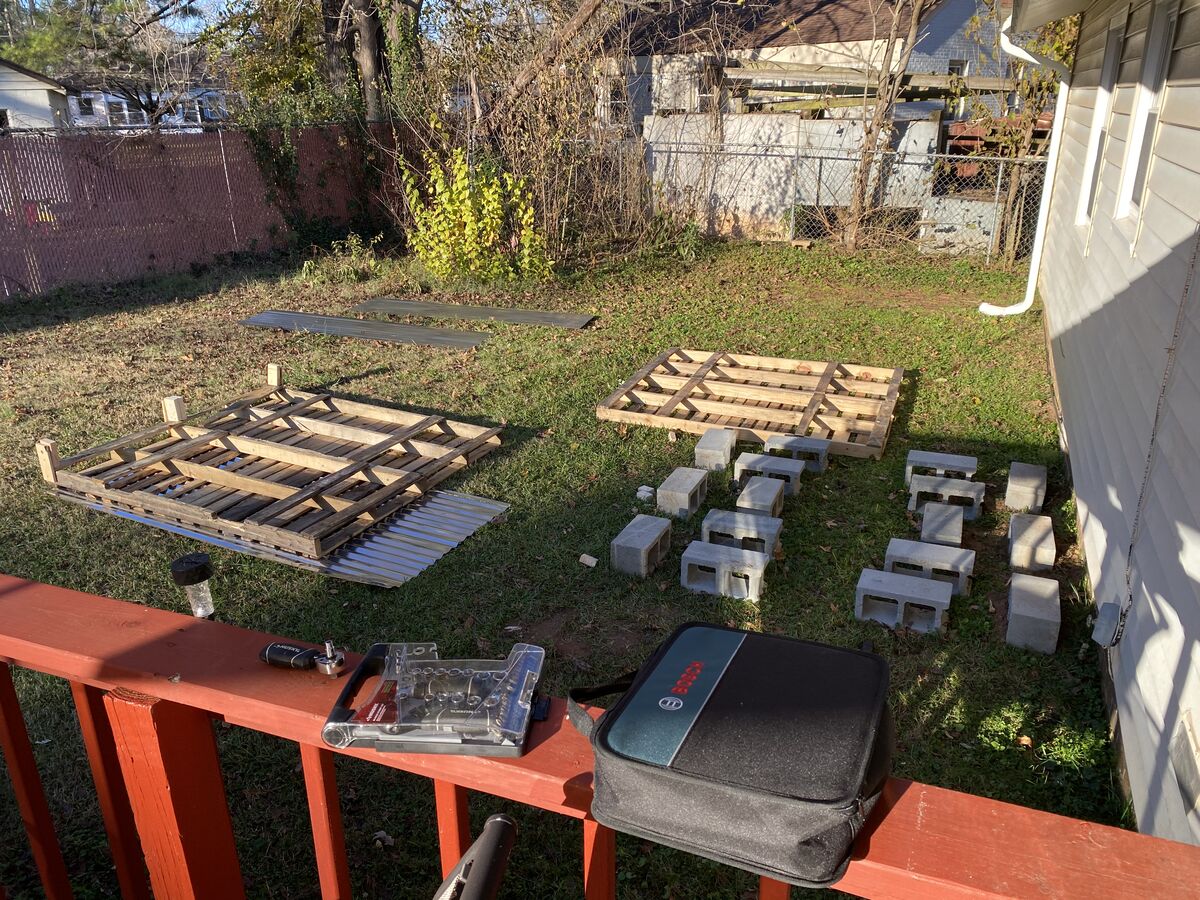
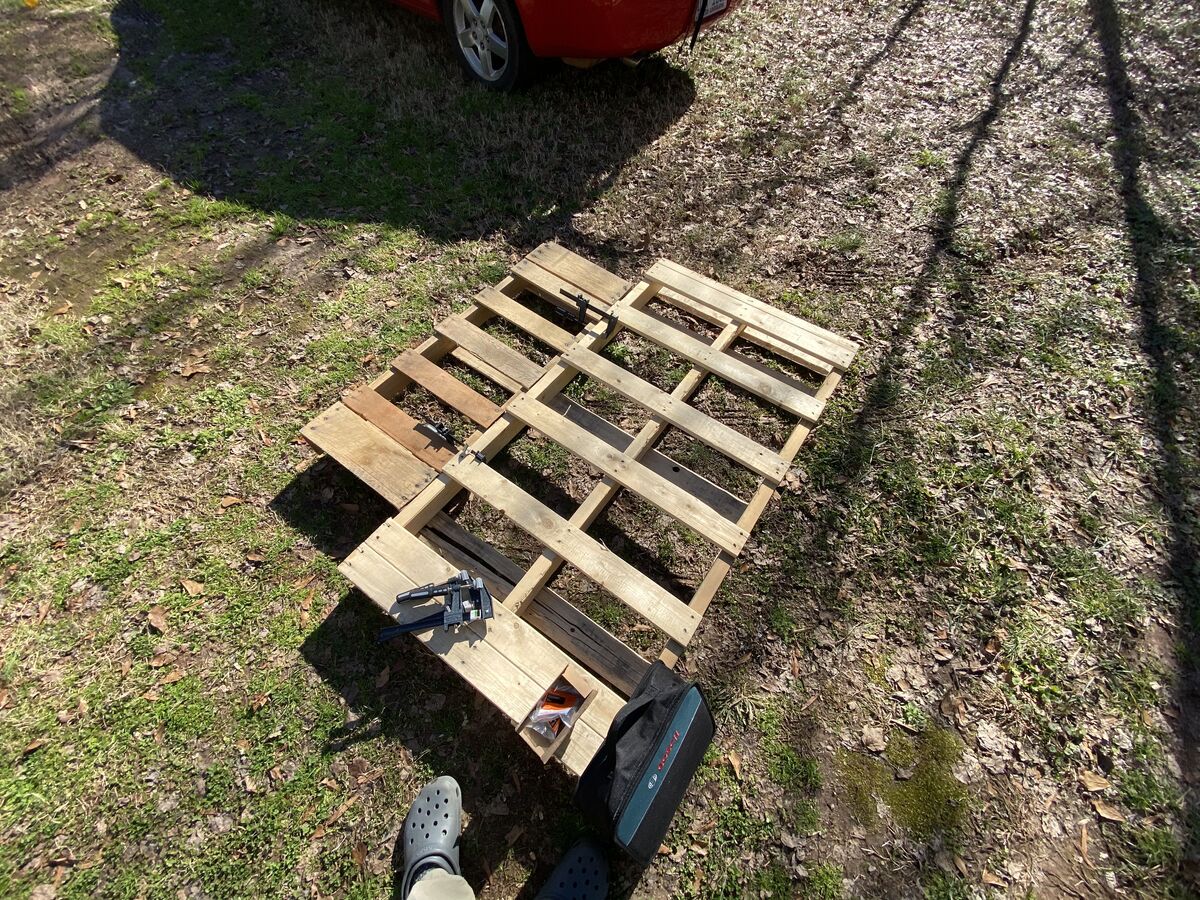
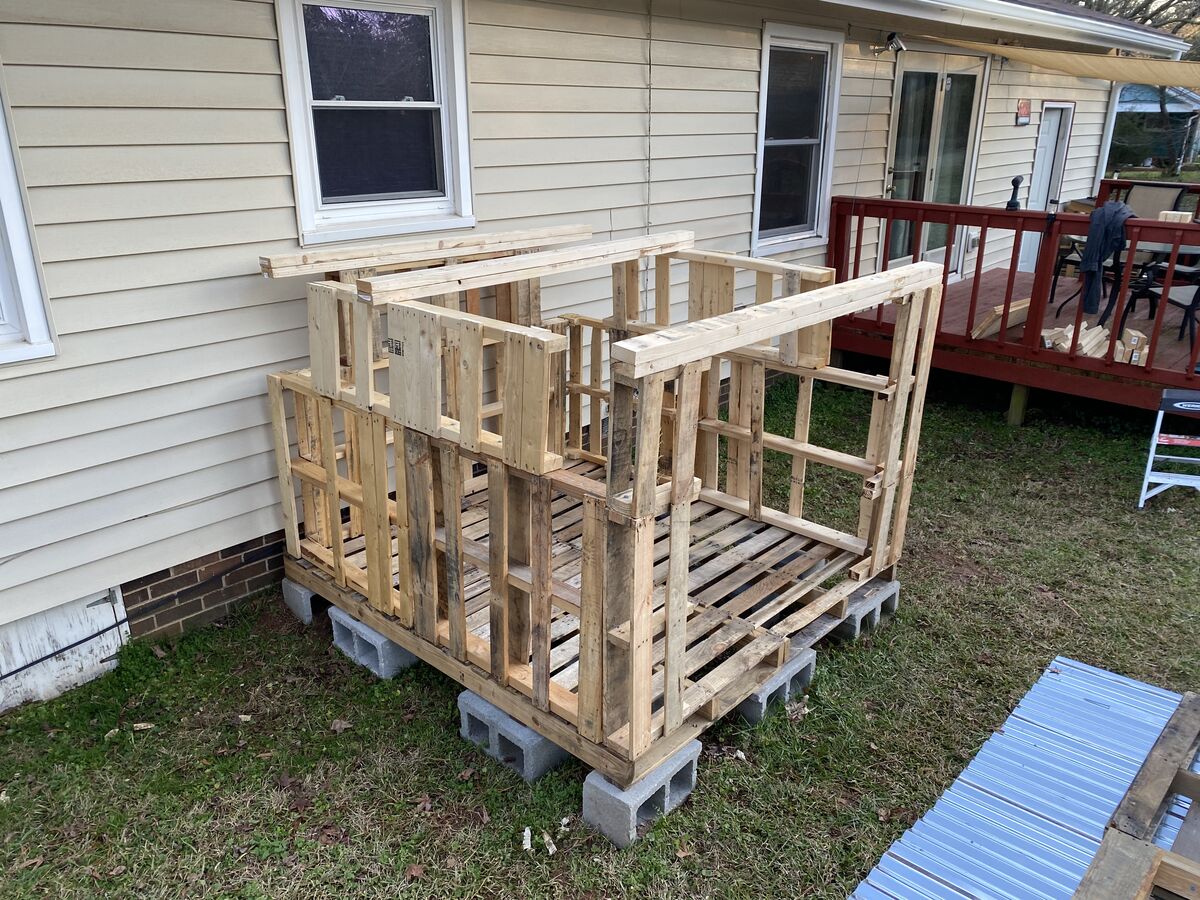
Next up is to bolt the walls together. Using 3.5inch hex bolts, im securing the pallets together for each wall. First step is to lay them all out.
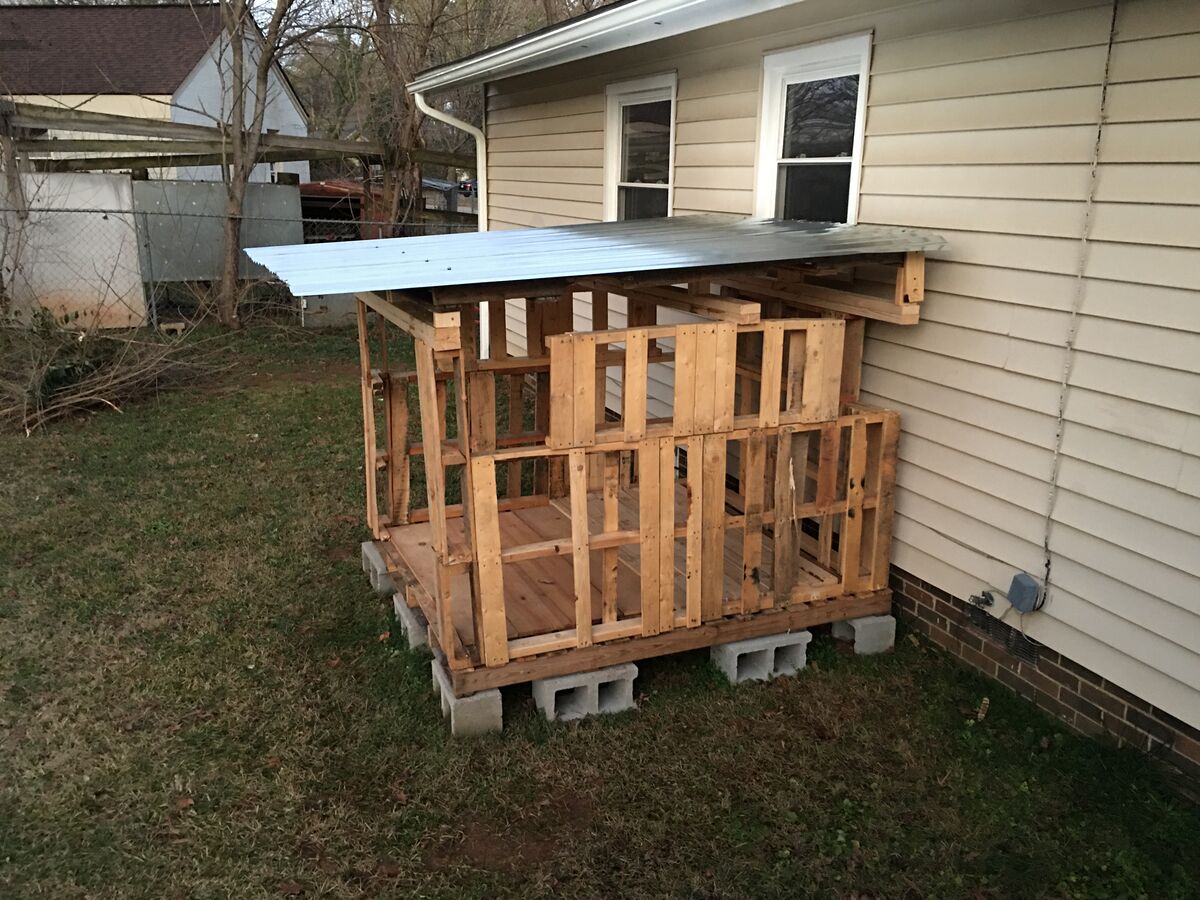
All walls bolted together and calling it a day.
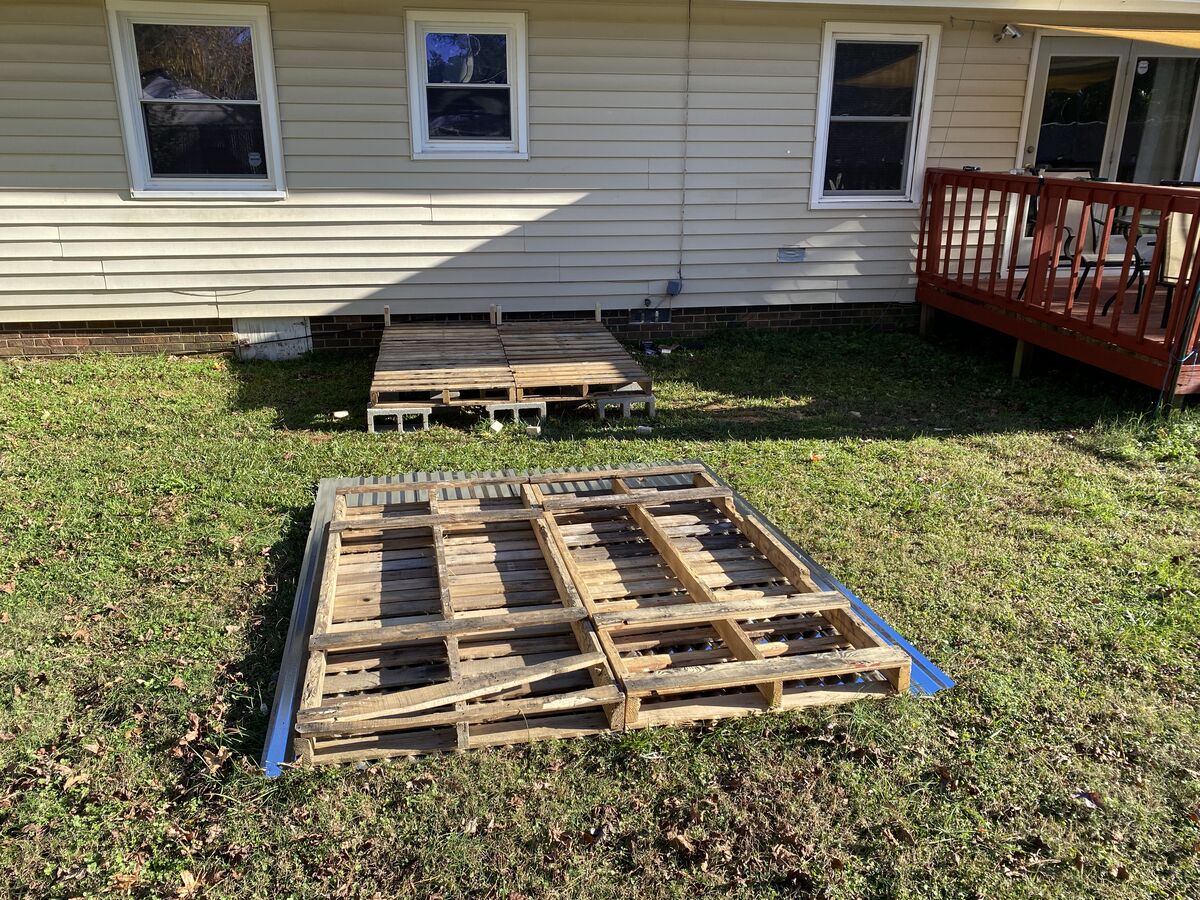
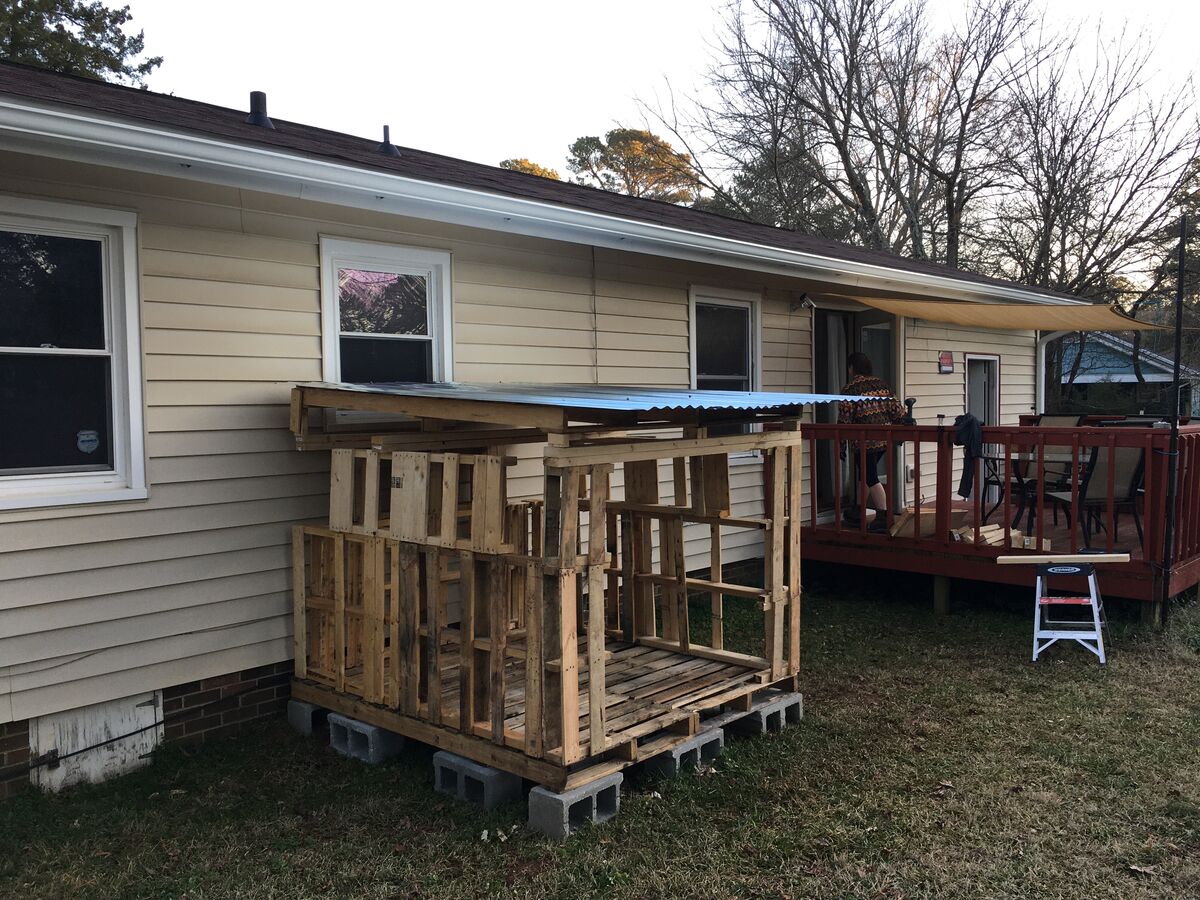
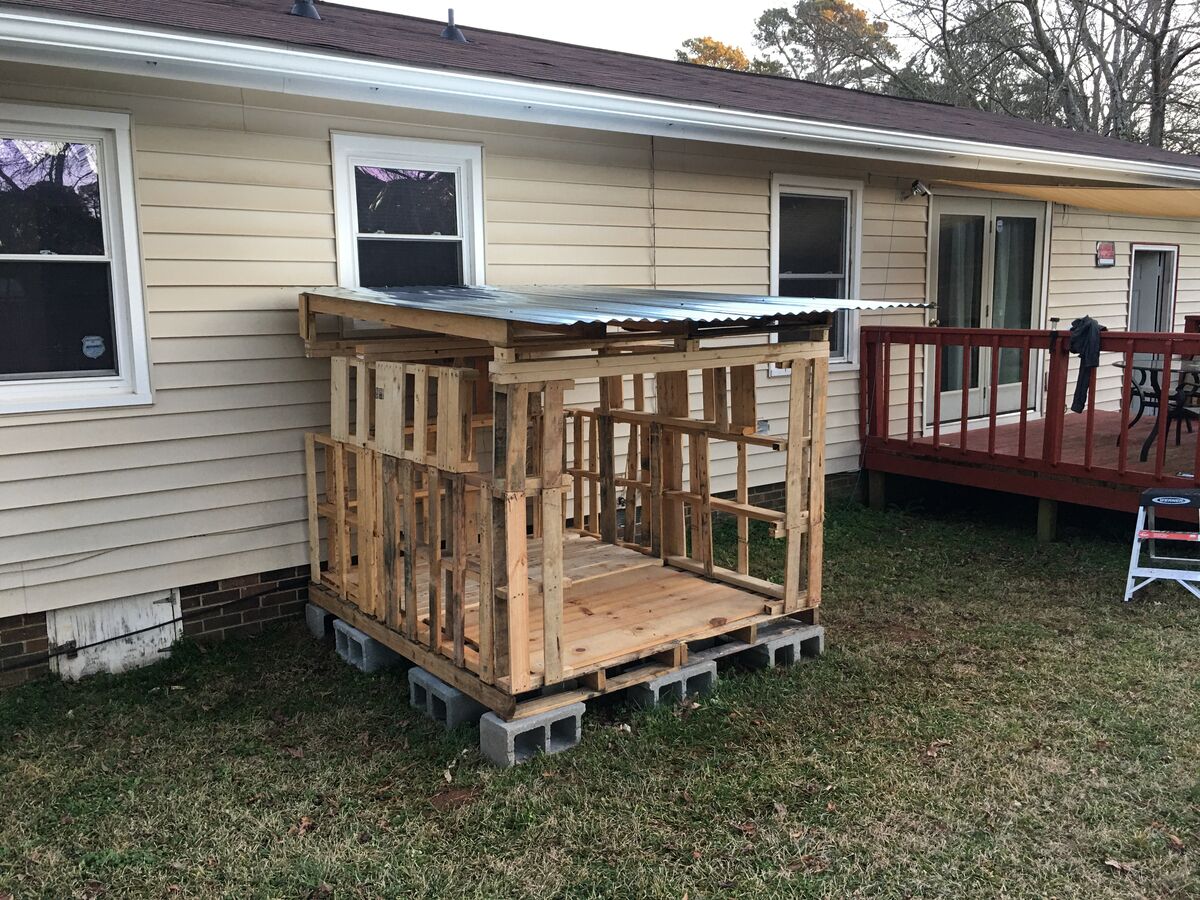
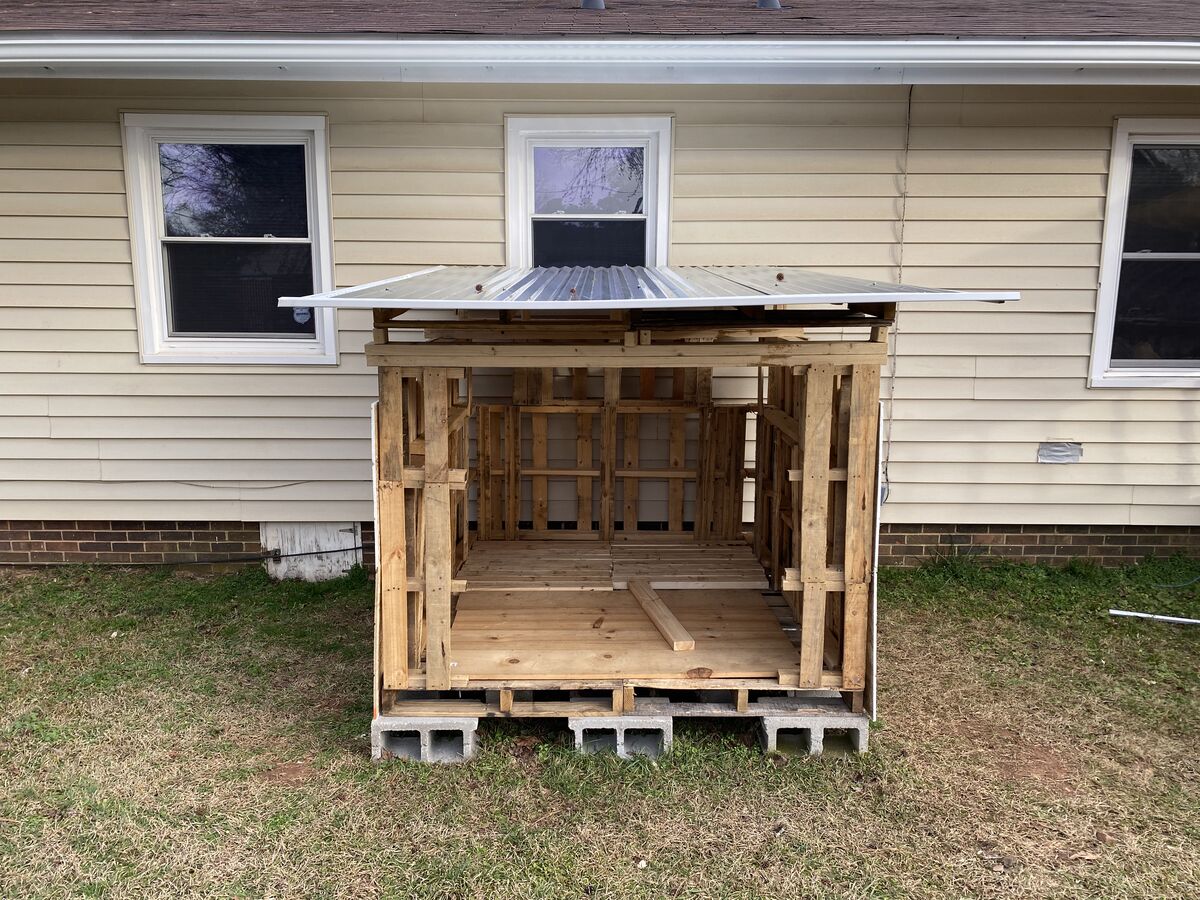
The upcoming week had 4 days without rain in the forecast, so this was a good chance to put up the walls. First step is to remove the roof.
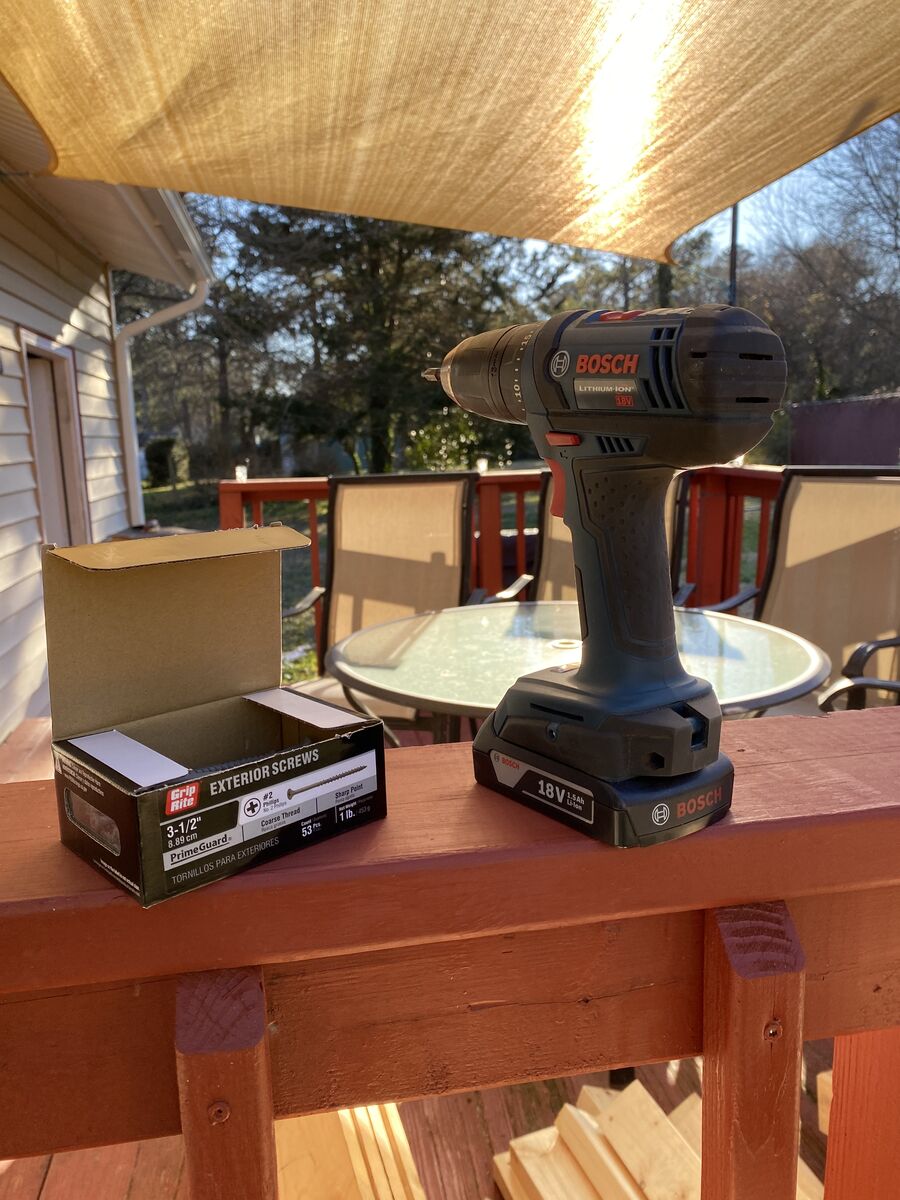
I bolted together the walls, but to secure them to the floor, I'm just planning to use 3 inch deck screws. They weight should hold them down, these screws are just to hold it all in place.
To put up each wall, I just set it on the edge of the floor, then screwed the 2 by 4 in at several places, trying to screw it into the 2 by 4 on the floor pallet as much as possible.

Then, when putting up the other walls, I also screwed the sides to each other to keep them together more sturdy.
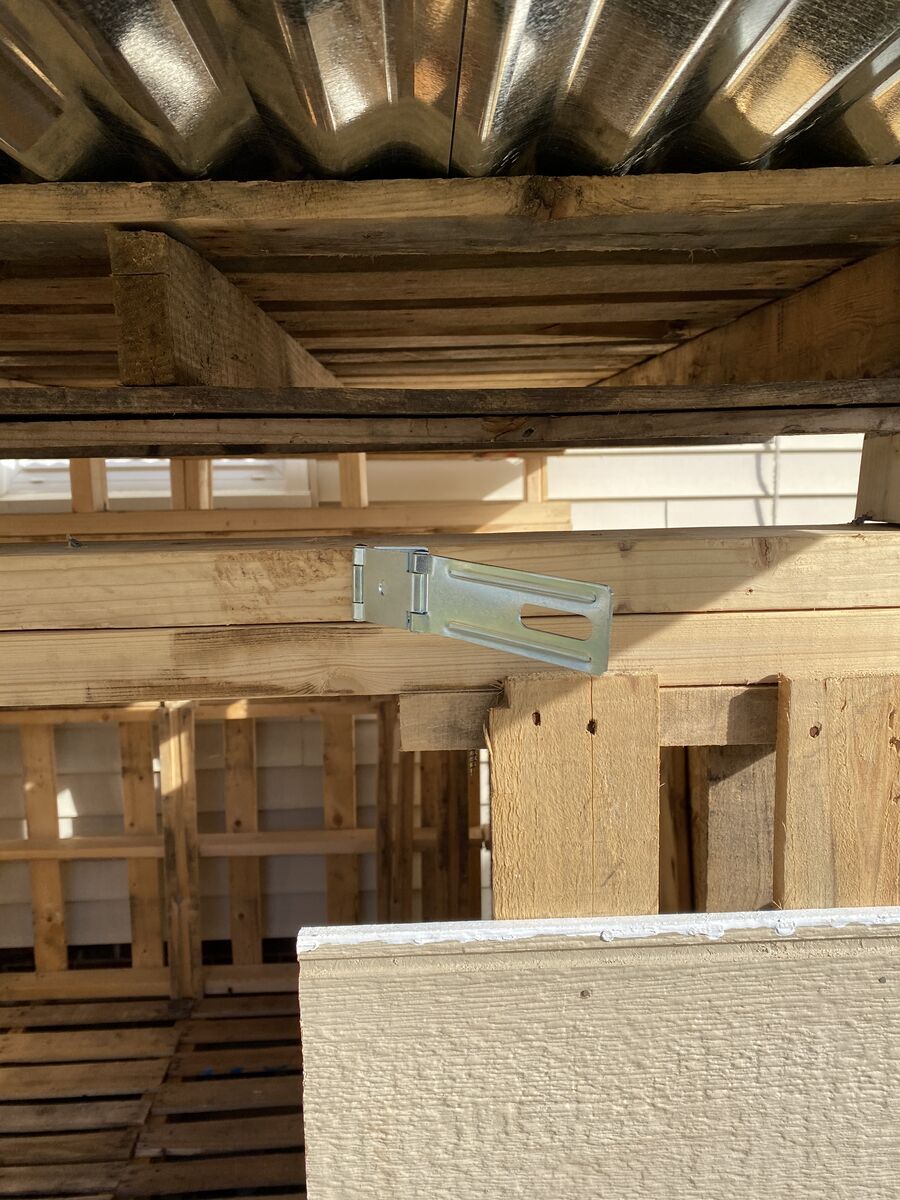
All the walls are up, so now I need to put the rafters (?) up. These are two 2by4s on top of each other. This will distribute the weight of the roof better among the side walls.
Now time to put the roof back on. It was heavy.
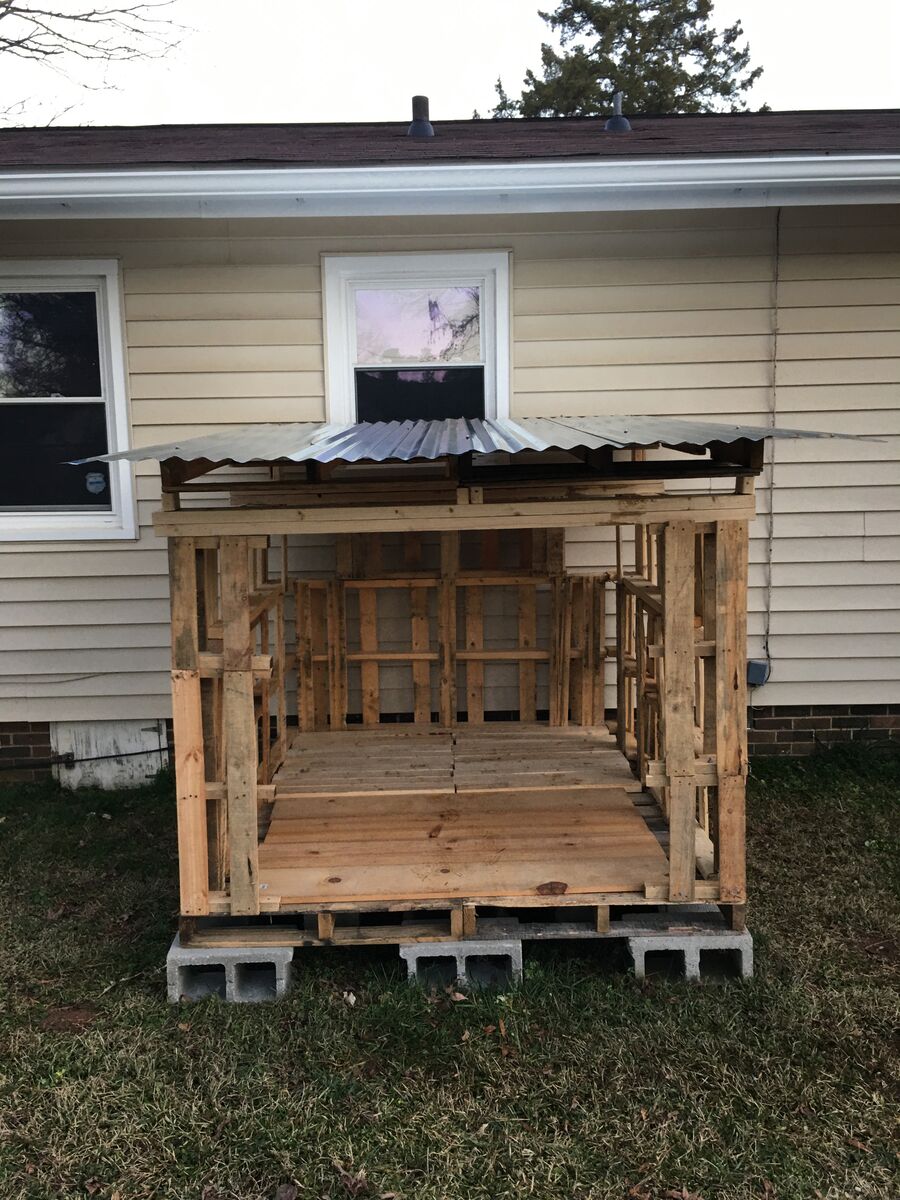
With the roof on, now I had to measure and cut the final two support pieces for the middle roof rafter. I didn't get any pictures of cutting them, but you can see them on top of the middle rafter here.
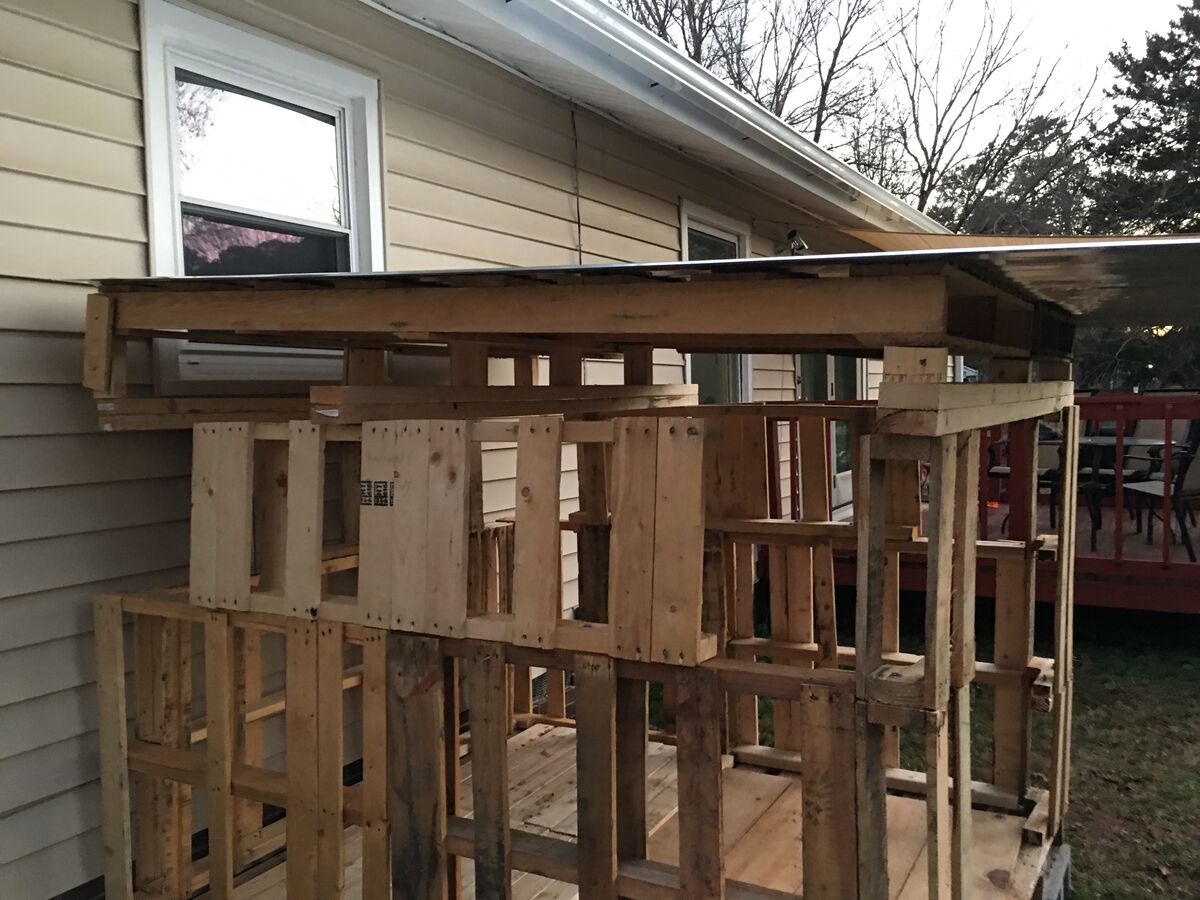
I put screws in as many places as possible on the roof and support pieces, and it felt solid. That's it for today.
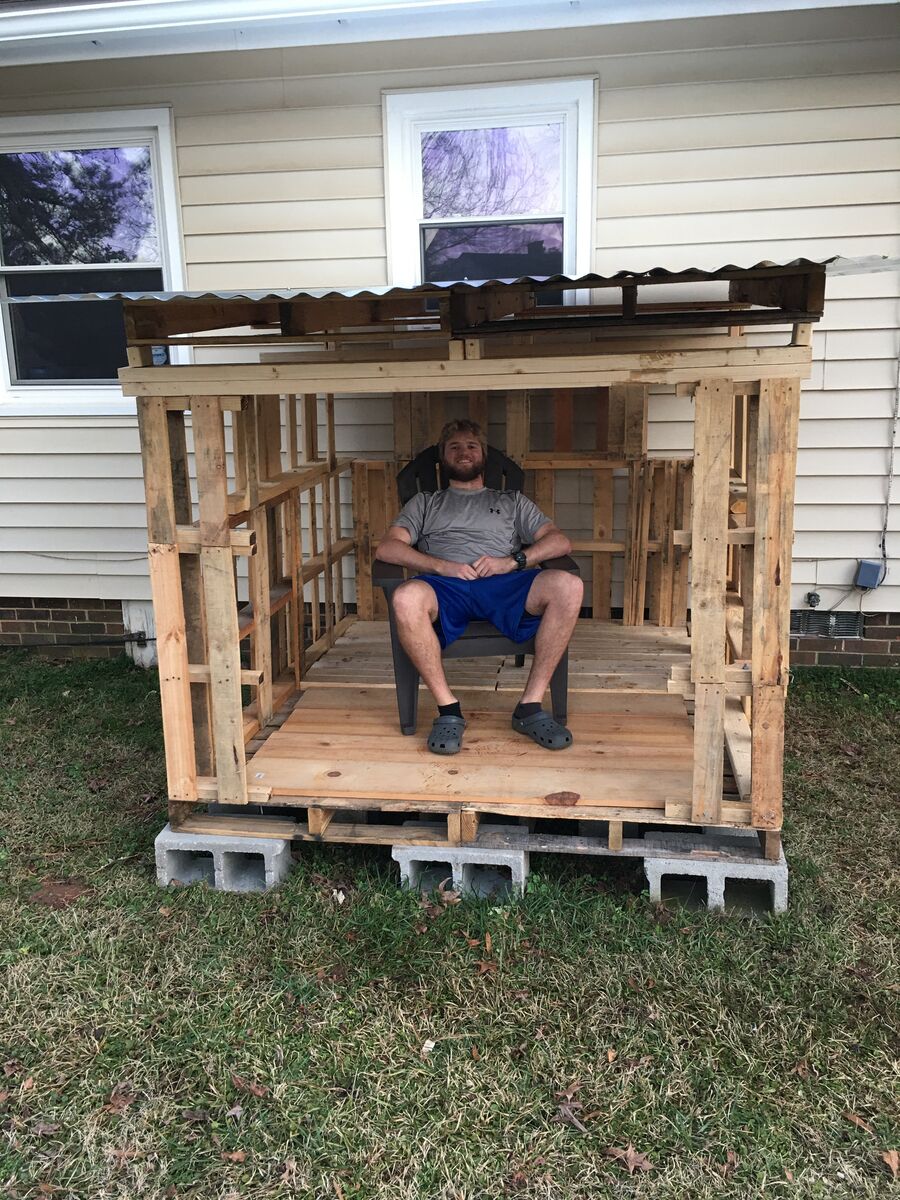
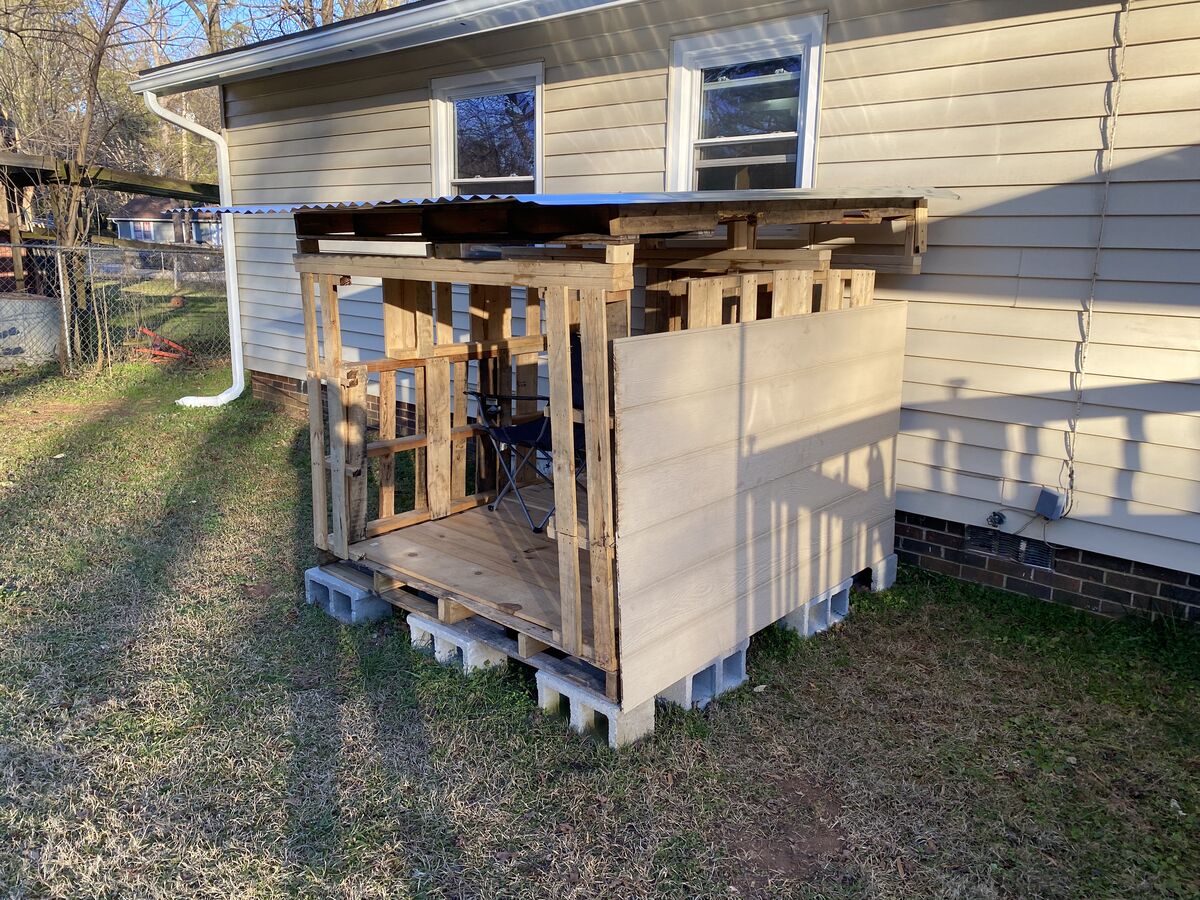
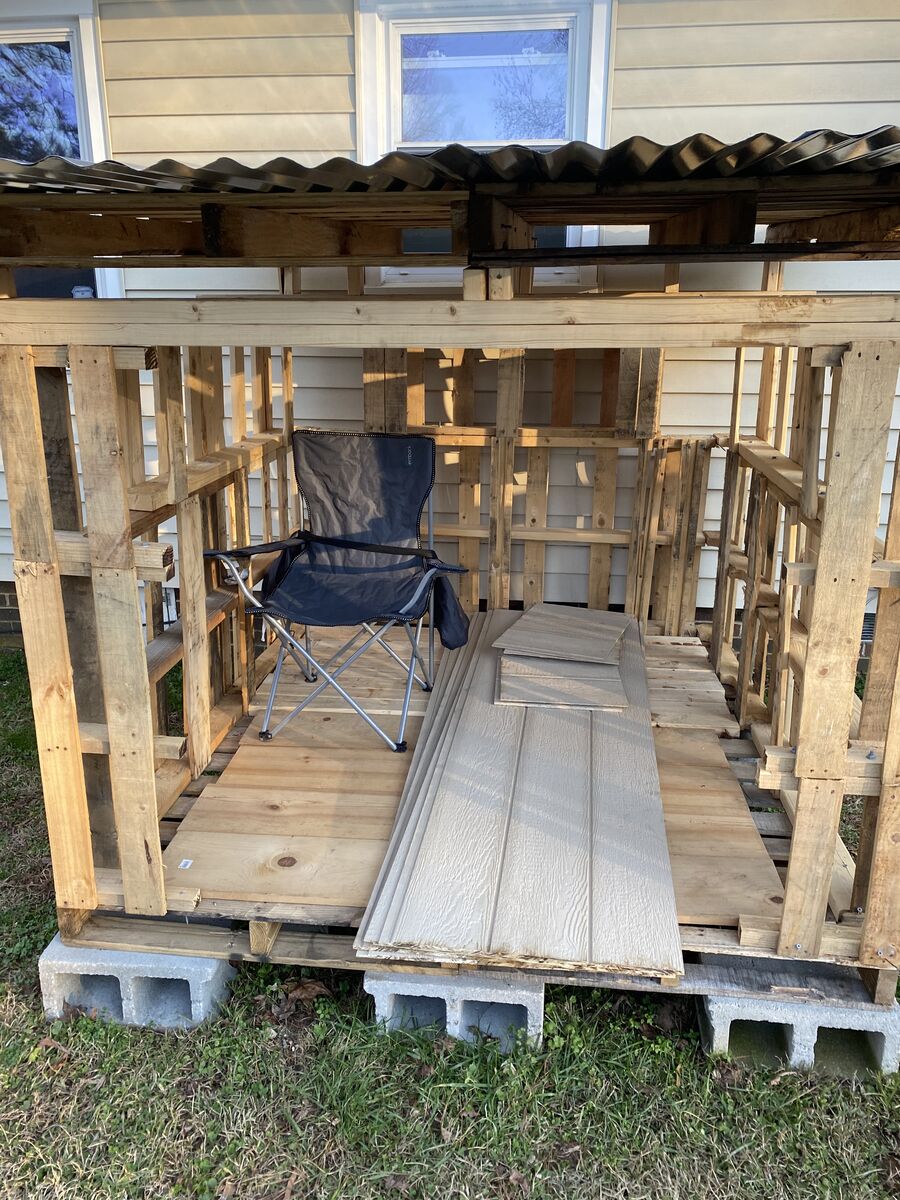
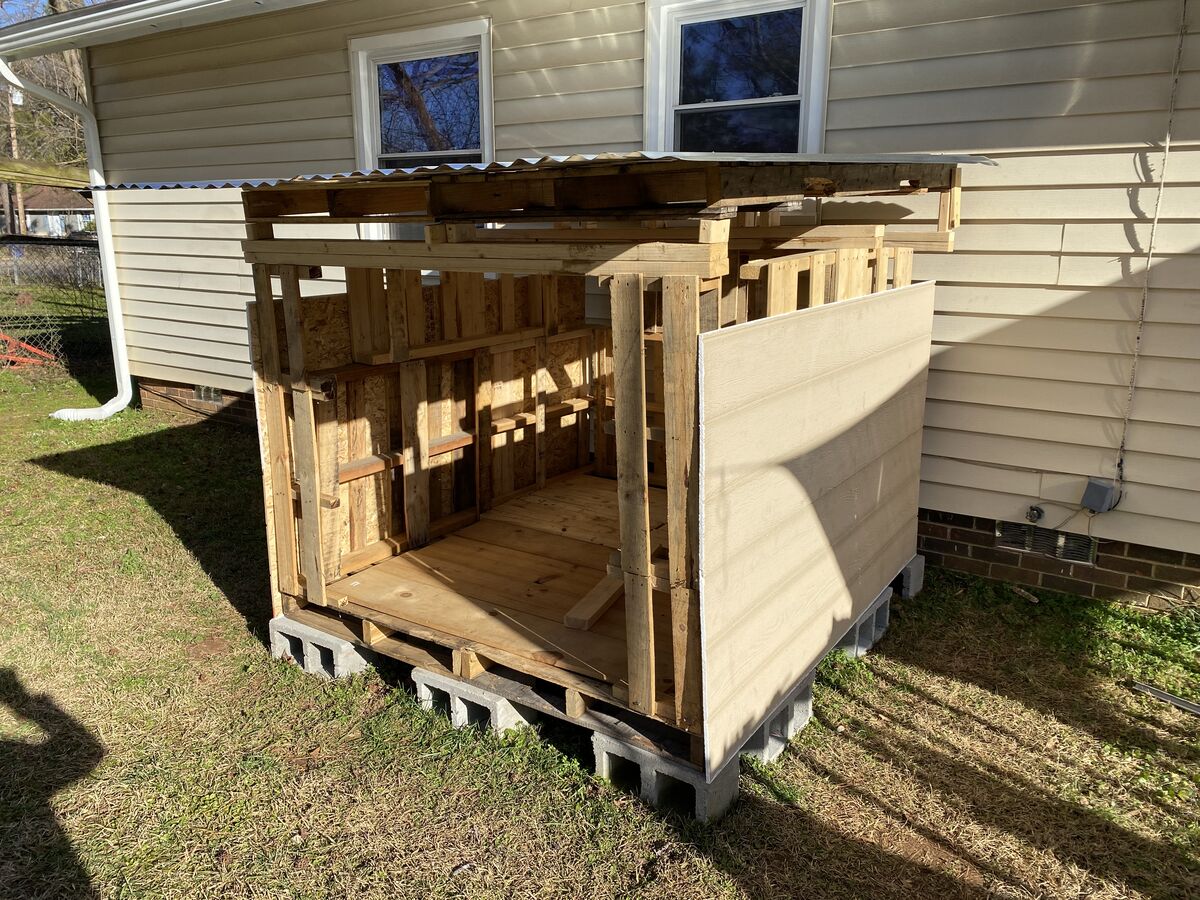
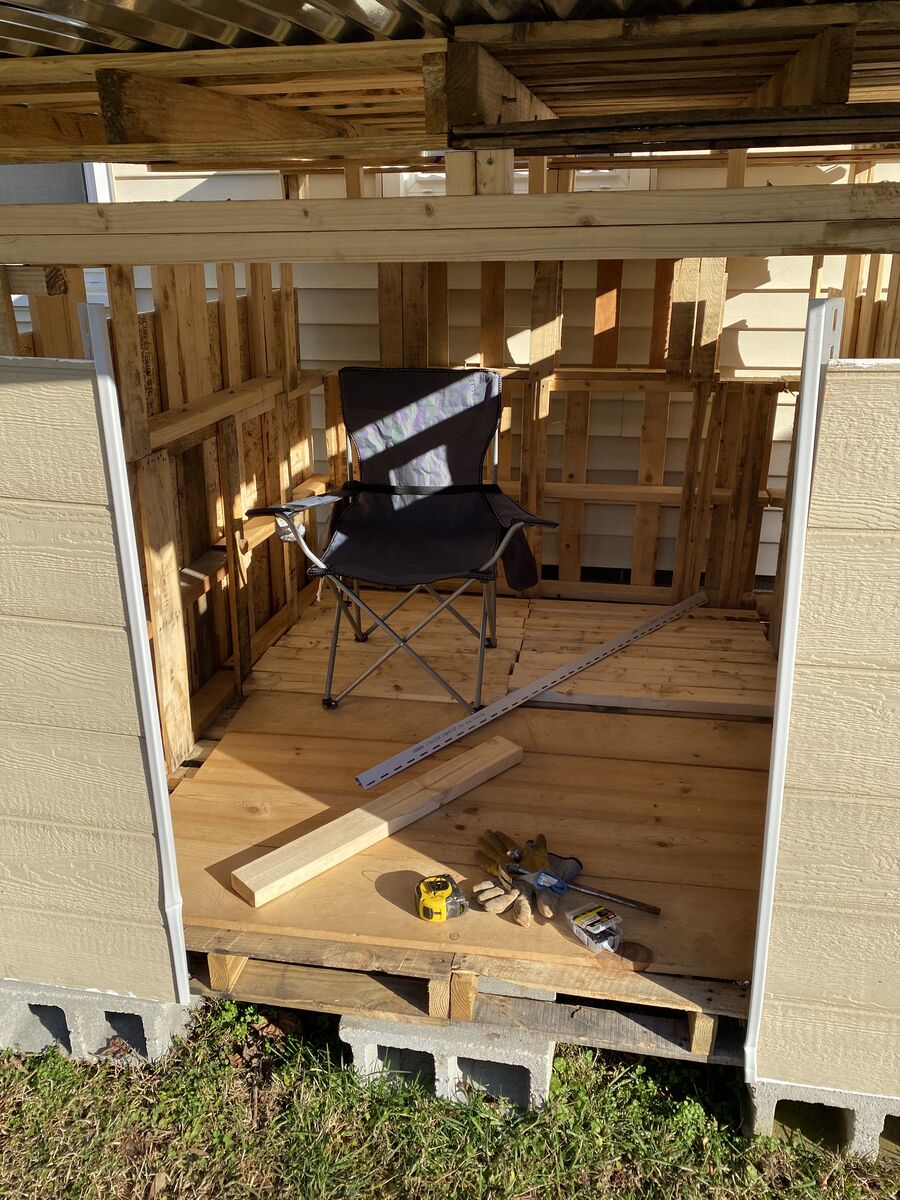
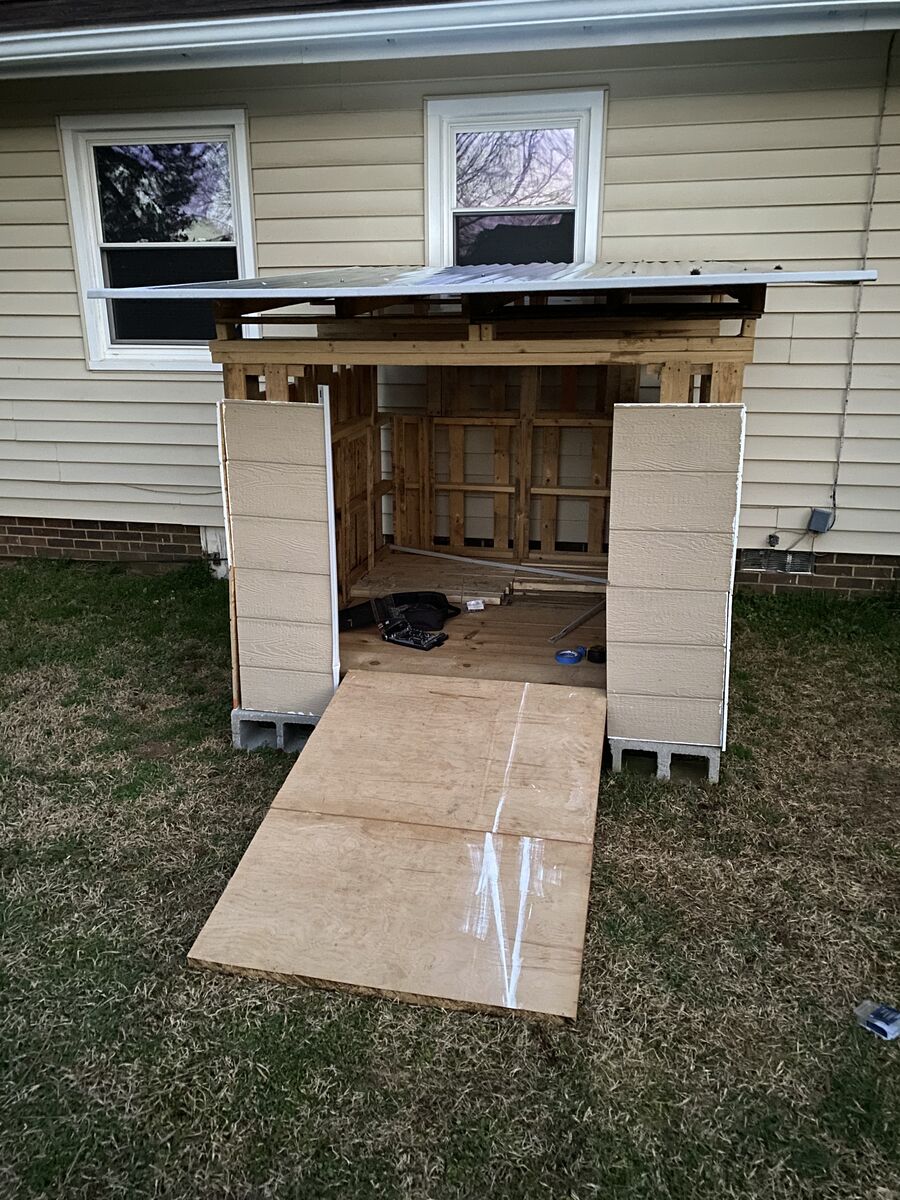
At this point, I had the full solid structure built, and I felt like I was done. It was easy to appreciate what I had done so much so that when it poured down rain that evening, I went out to sit in there.
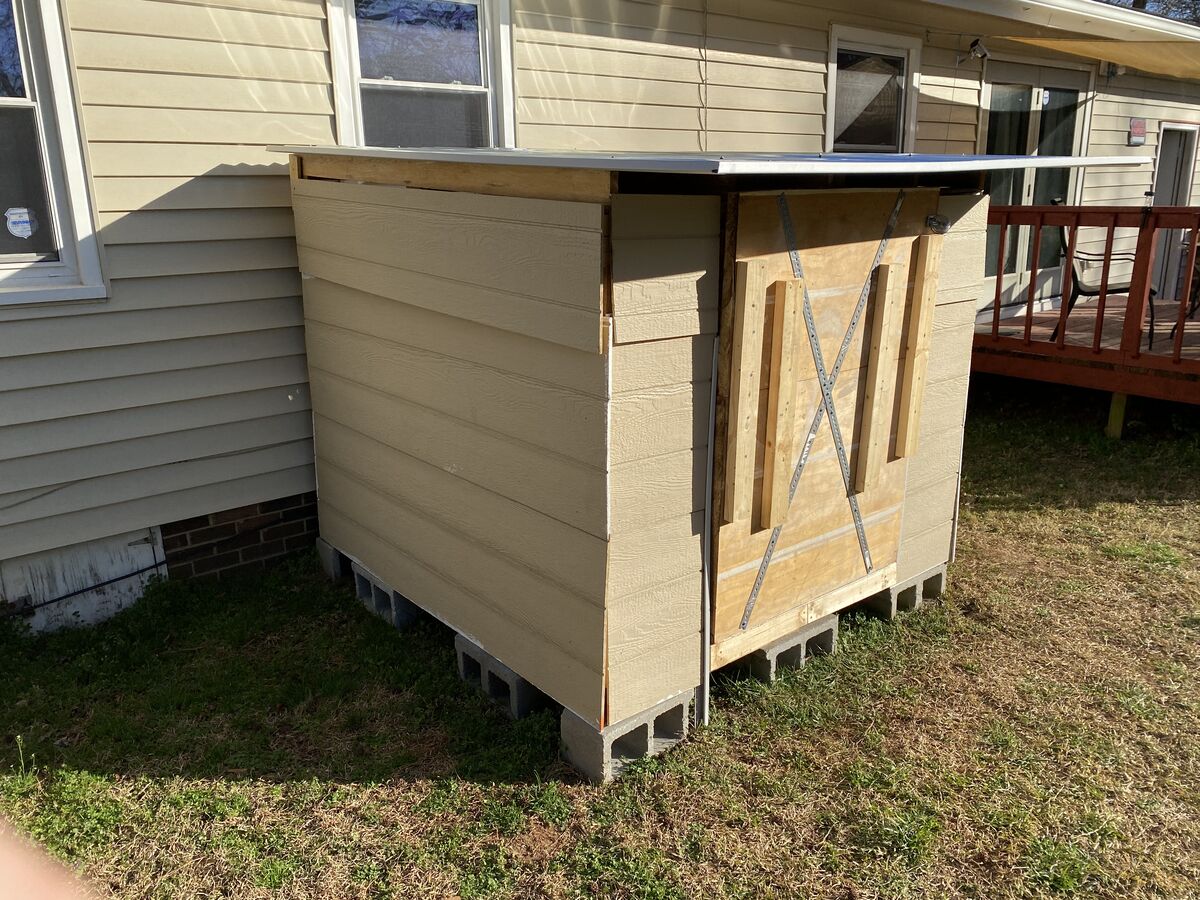
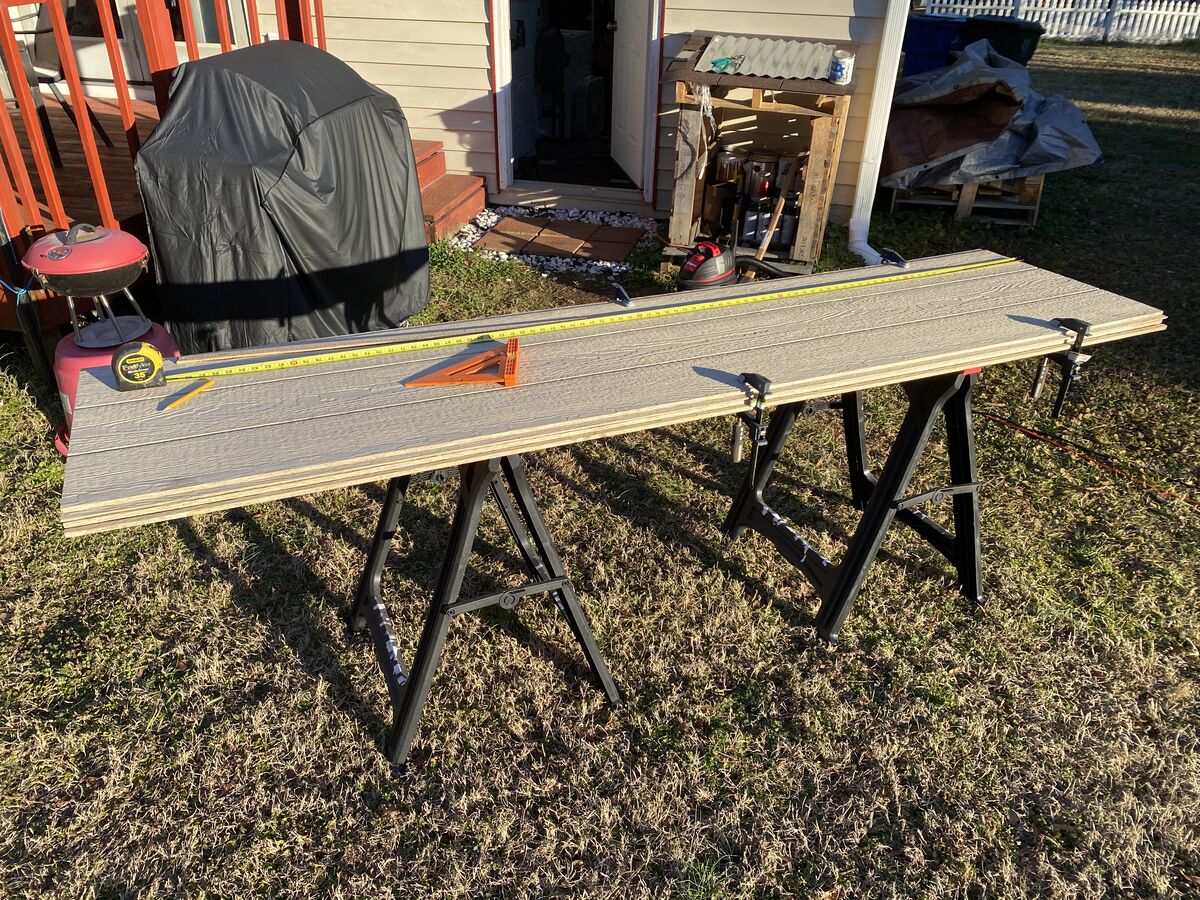
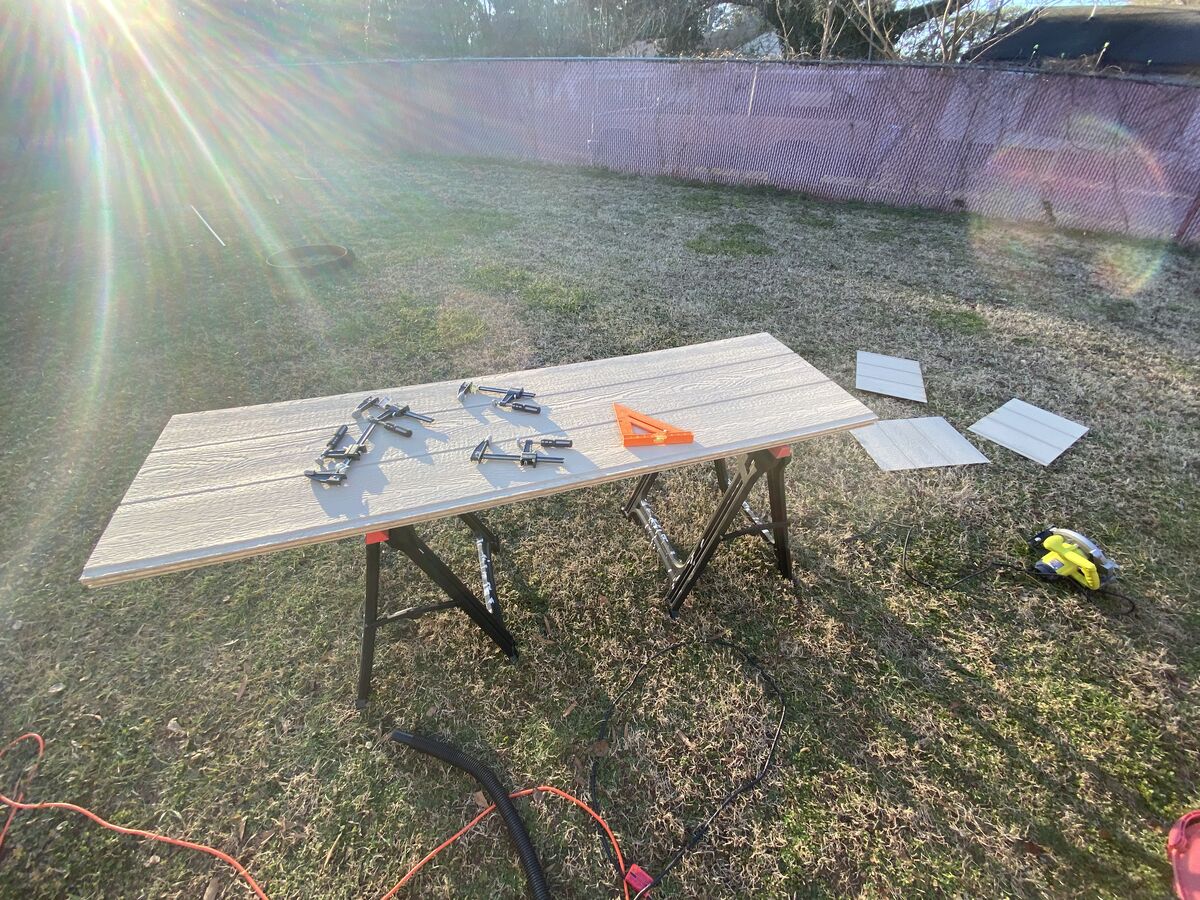
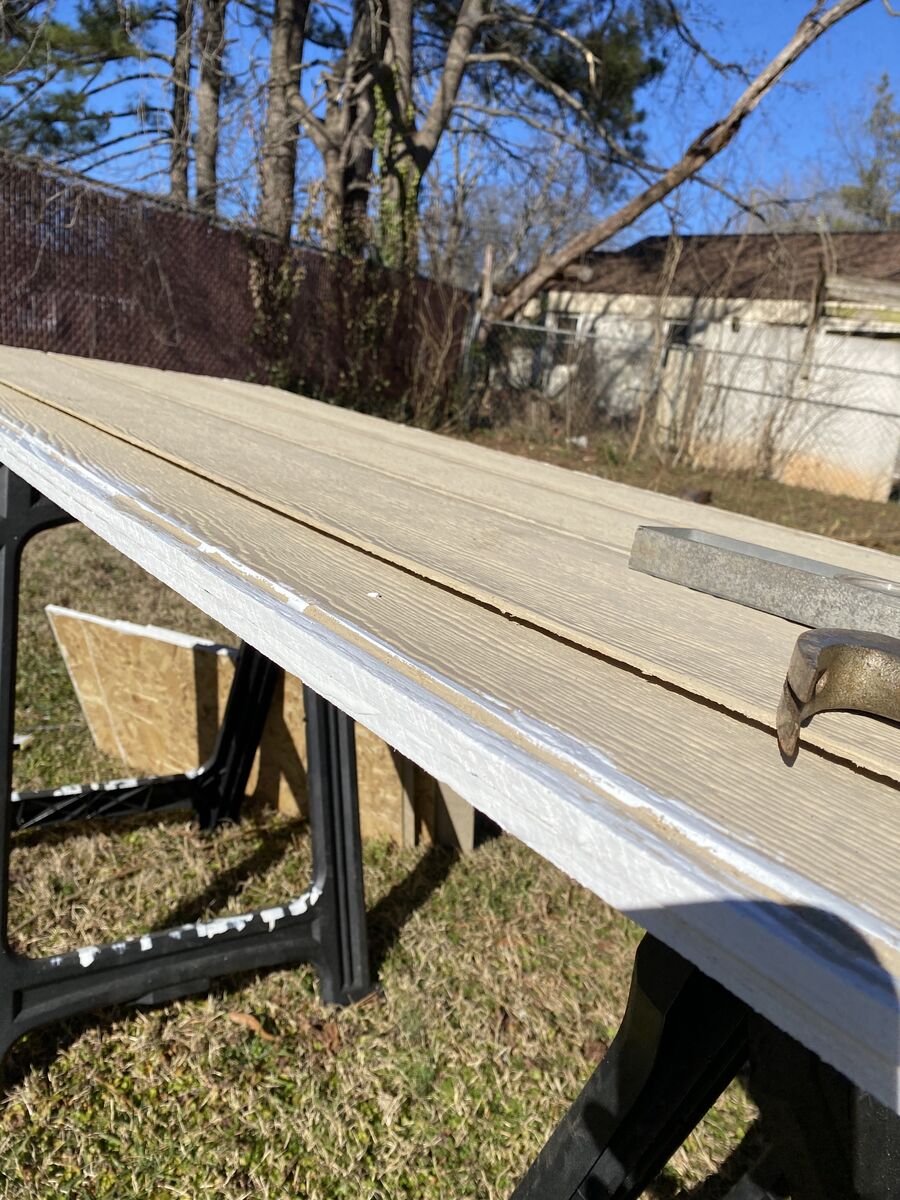
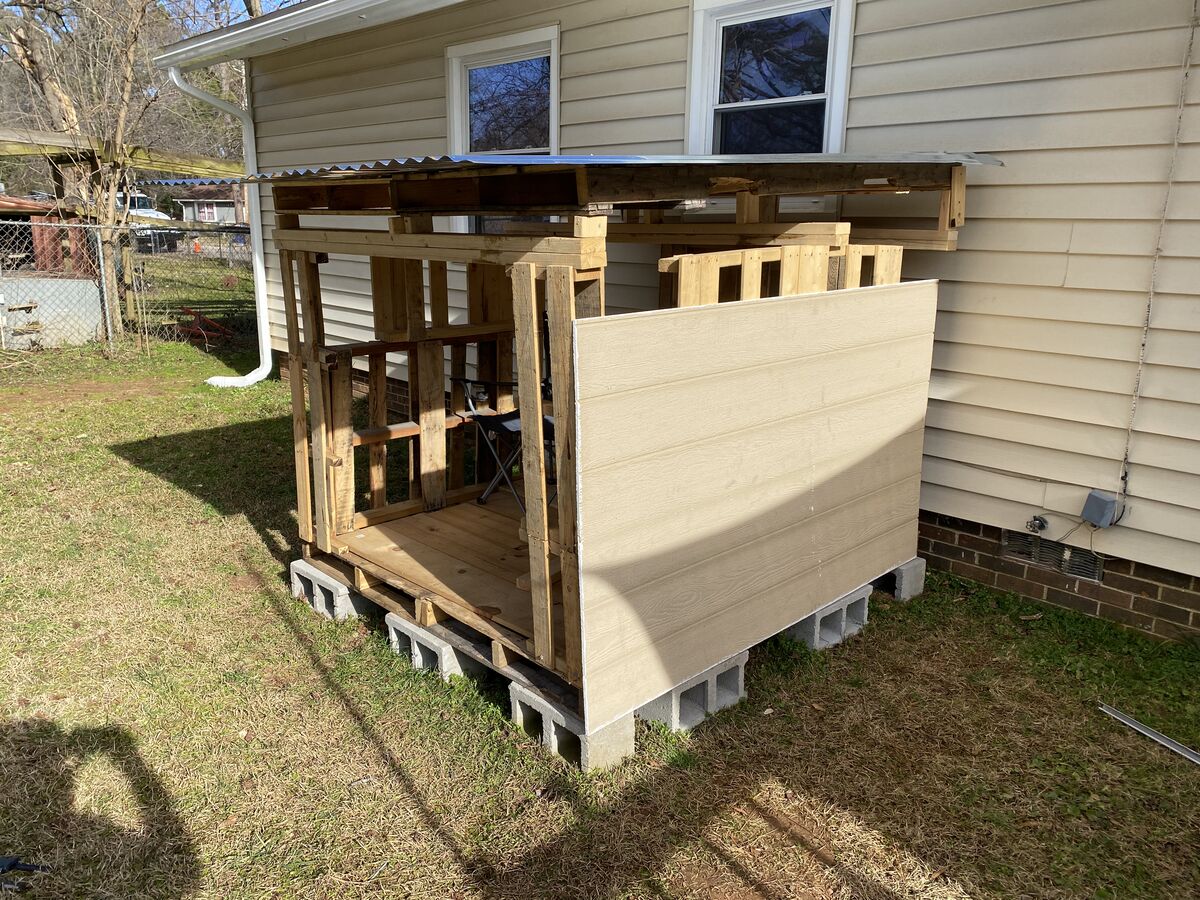
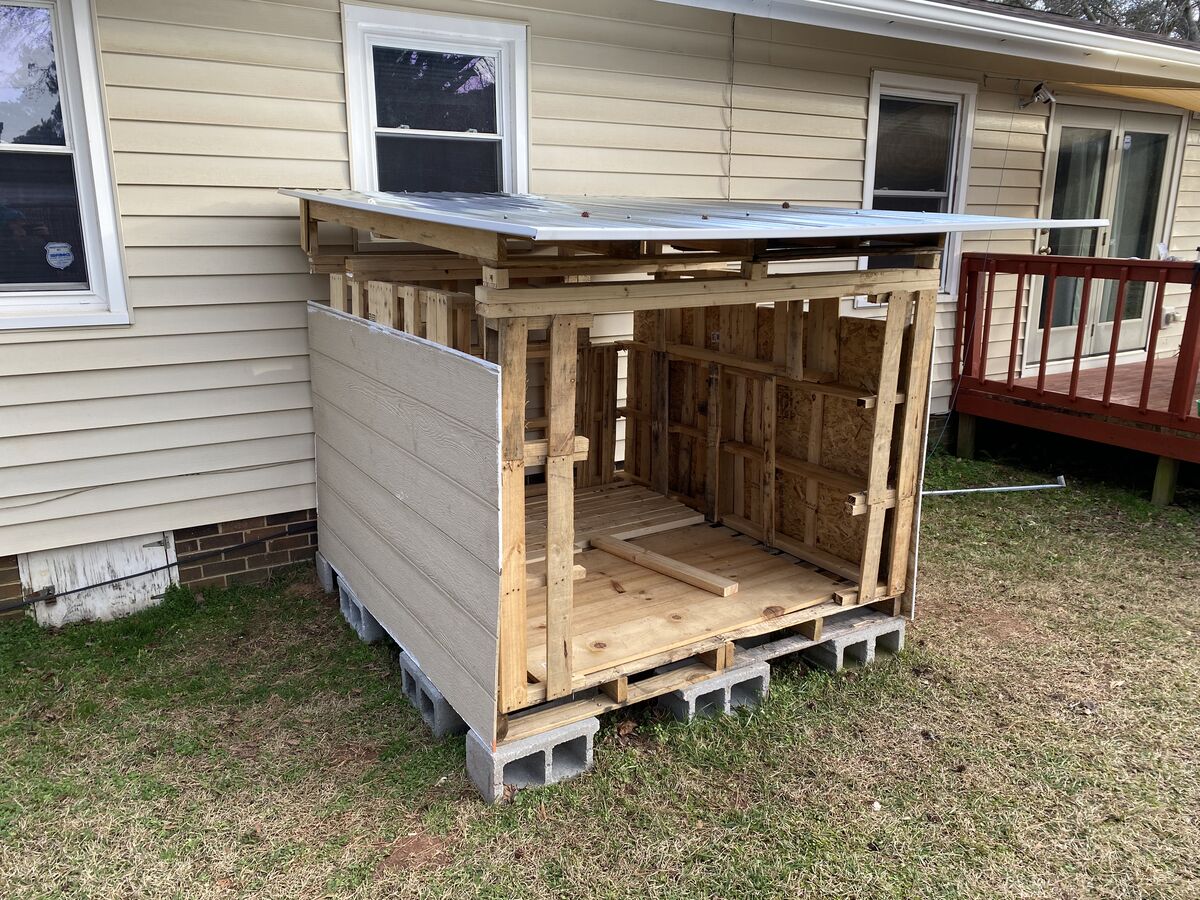
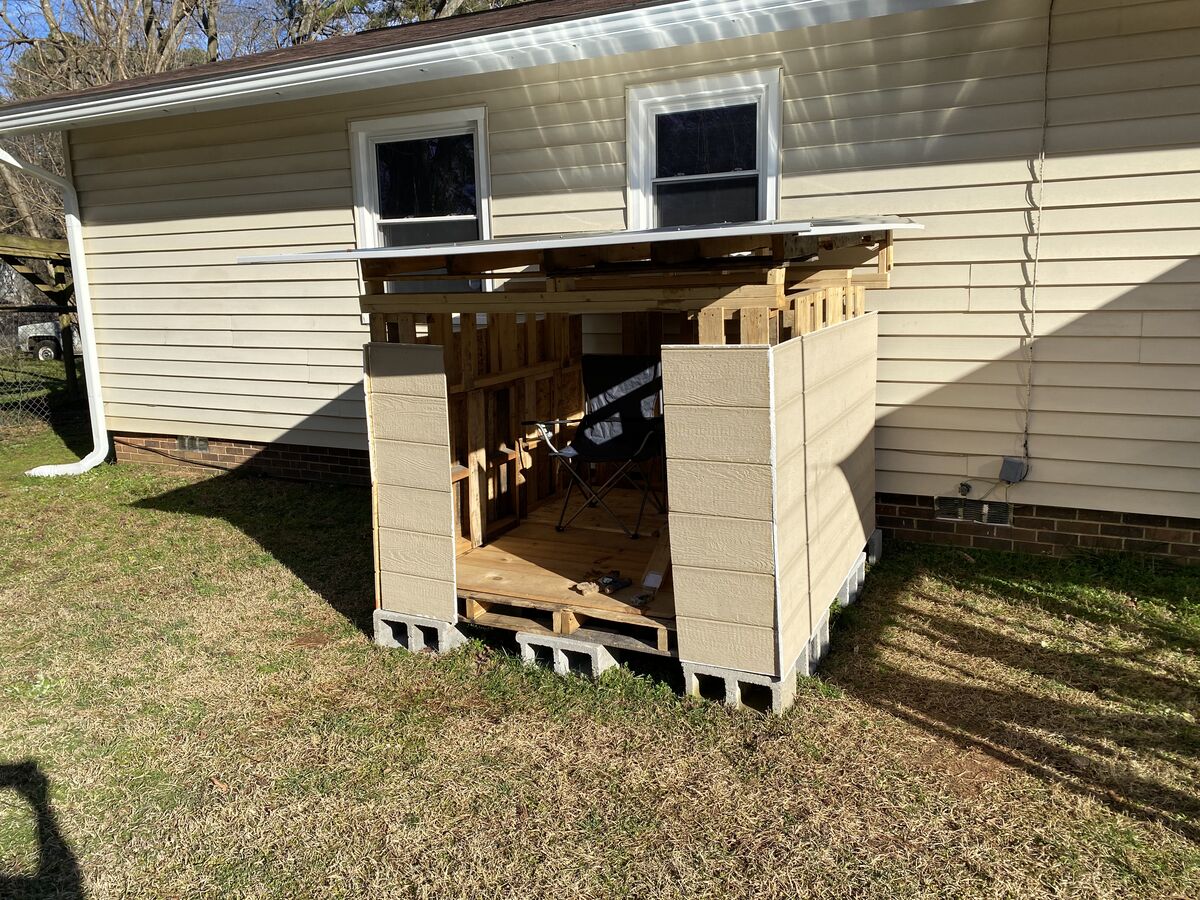
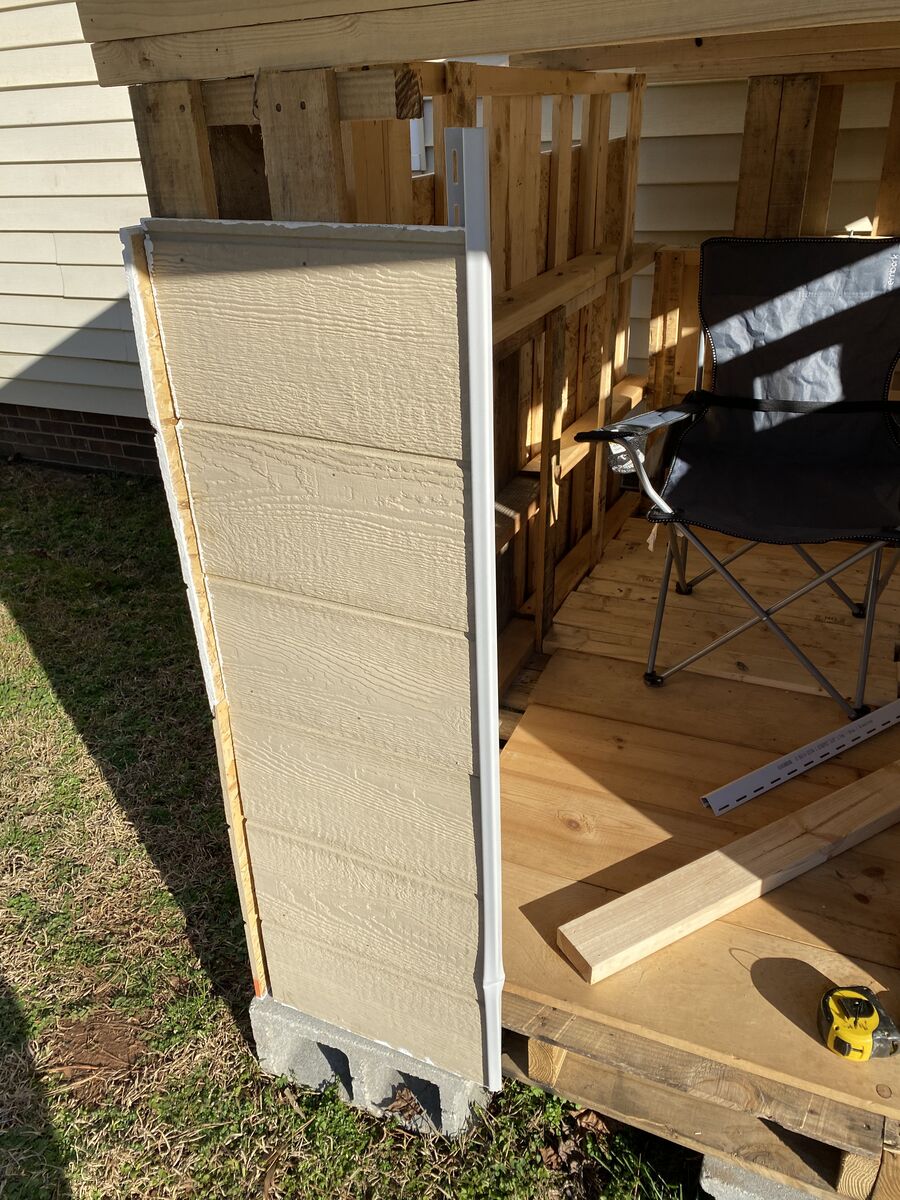
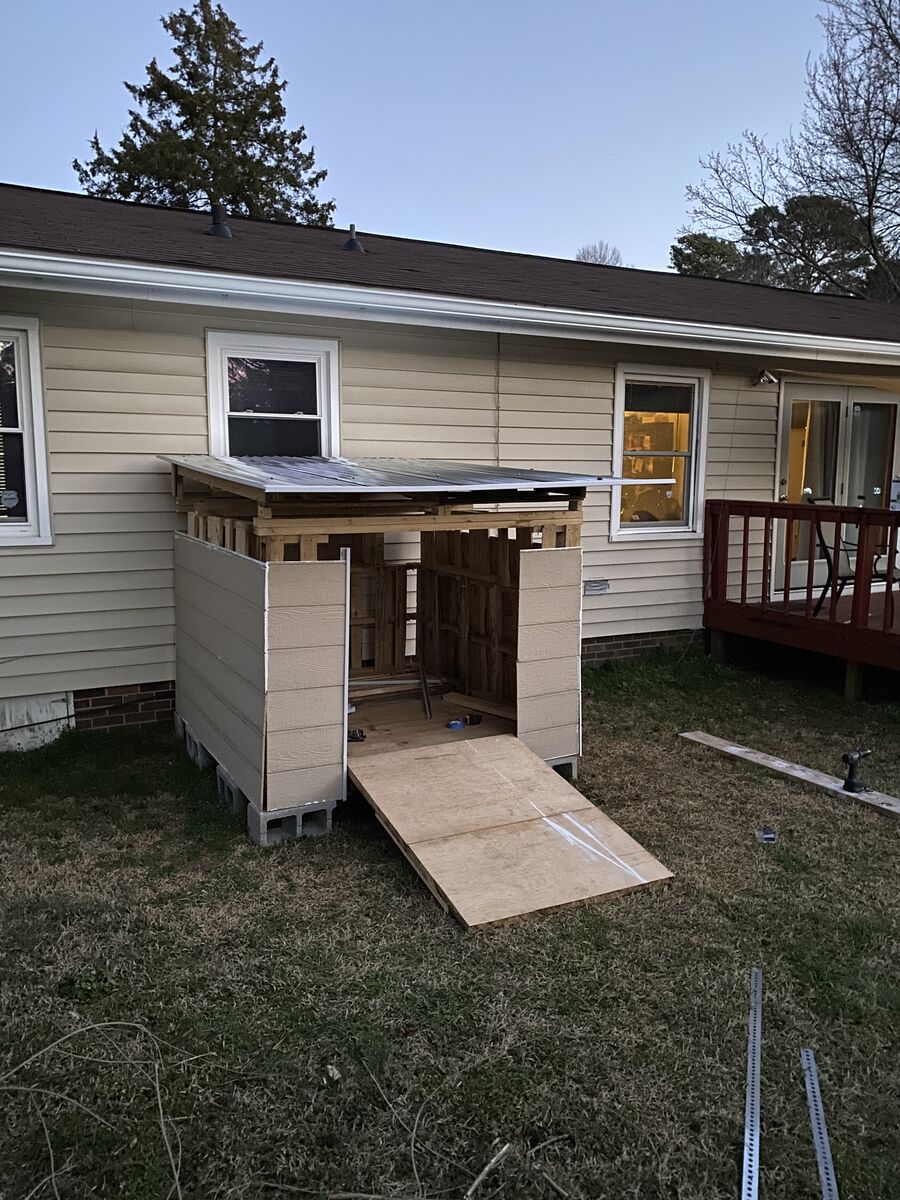
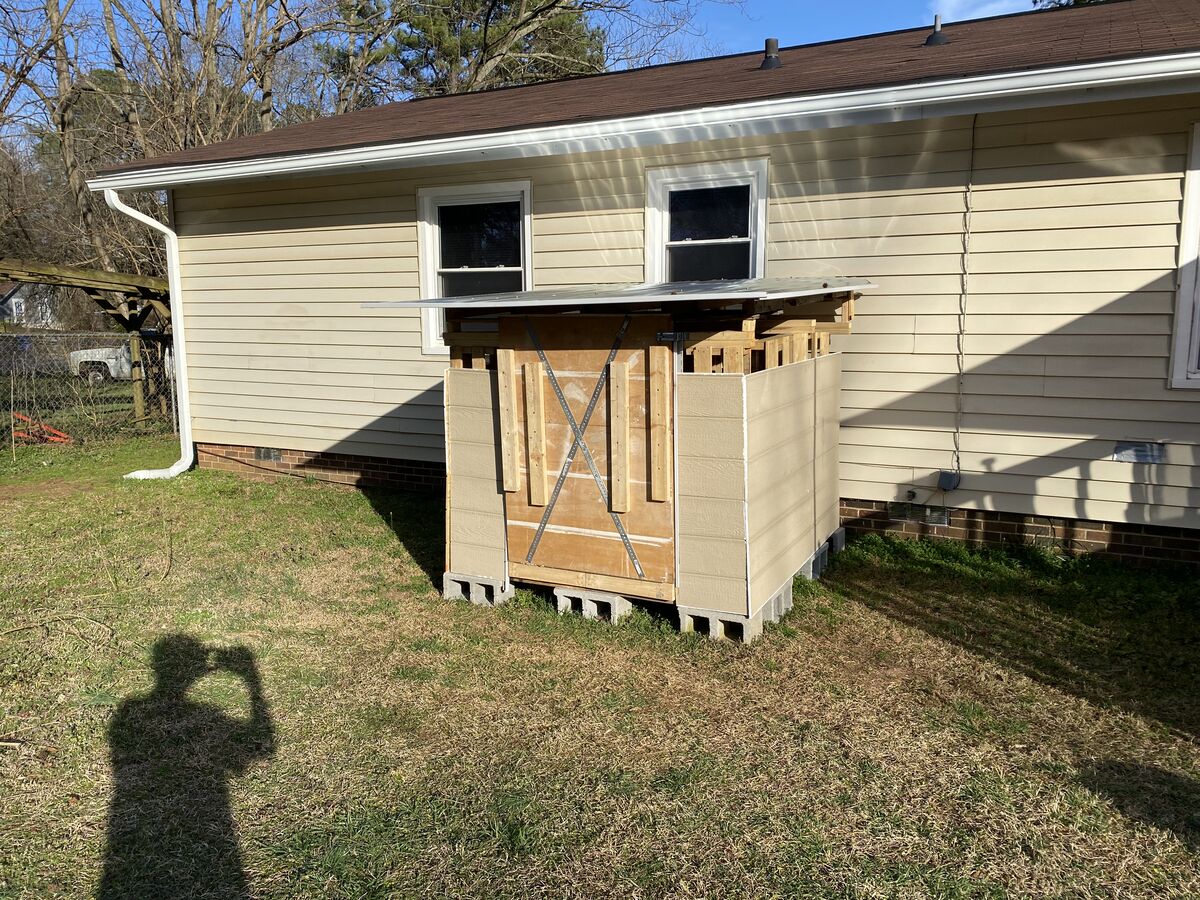
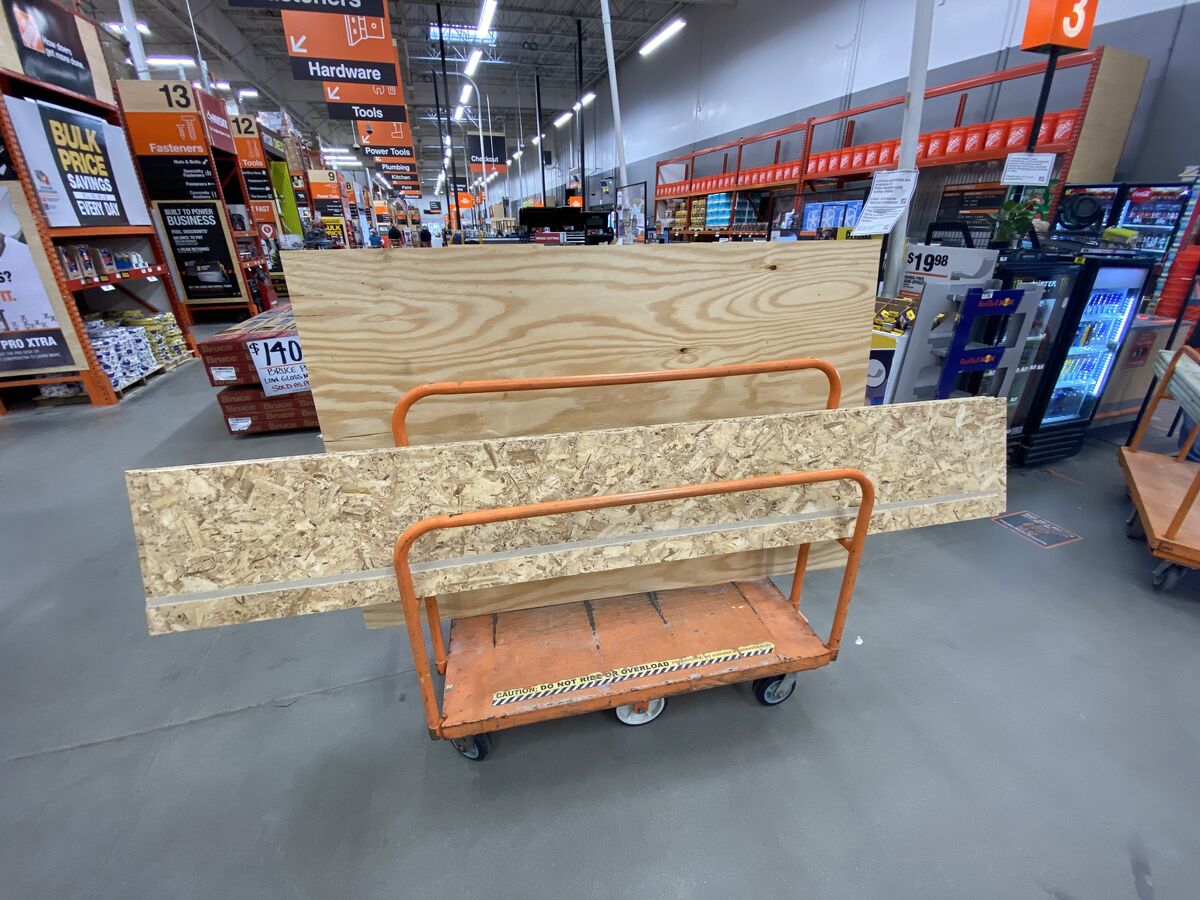
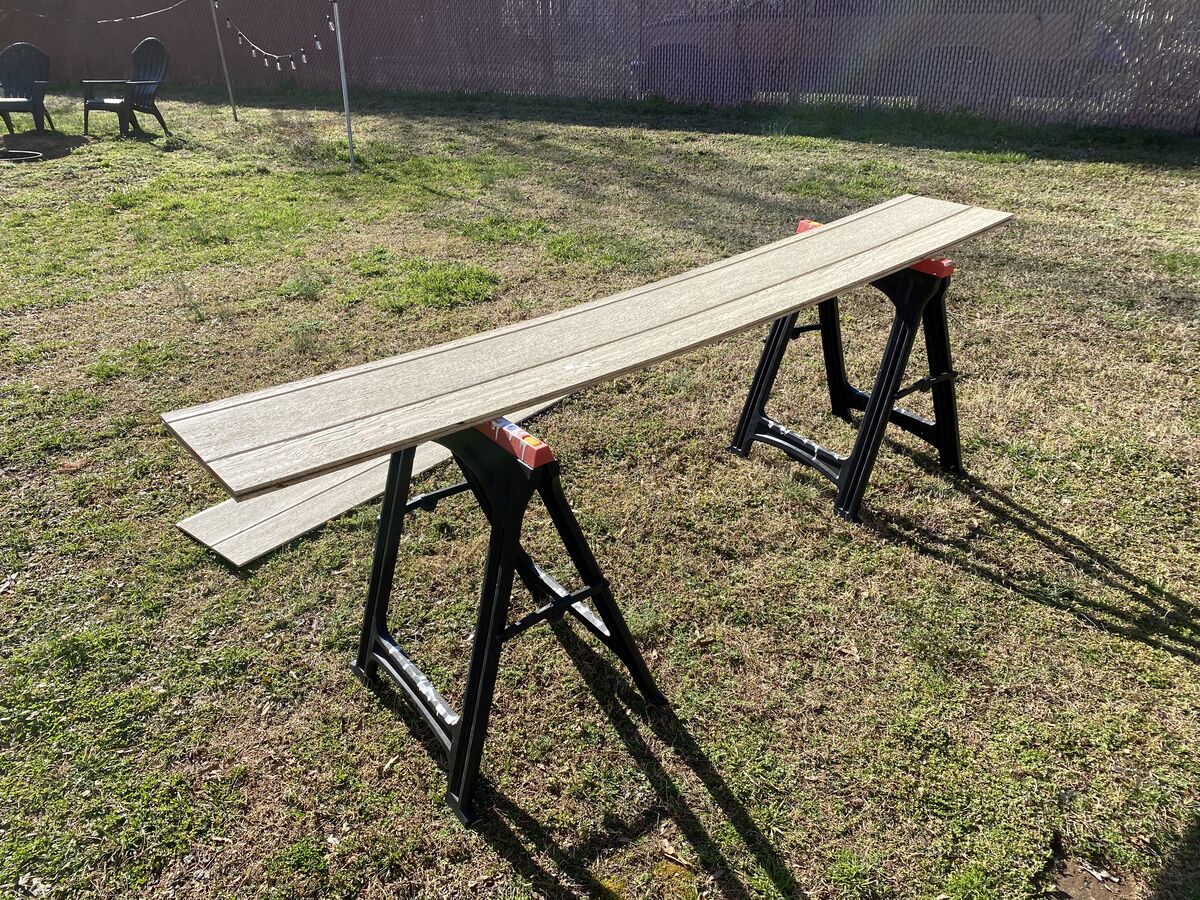
But the project was not done. Also, I'm writing this in 2026. I did this project in like 2021. So I also abandoned writing this blog post and I'm continuing picking up from here. Hopefully my memory serves because I've got a few more steps before I'm done. The next step was putting actual walls on this thing. After doing some research, I found that the simplest way to put walls would be LP smart siding, which seemed to be waterproof and didn't require painting. I bought some panels of that from Home Depot and cut them to size.

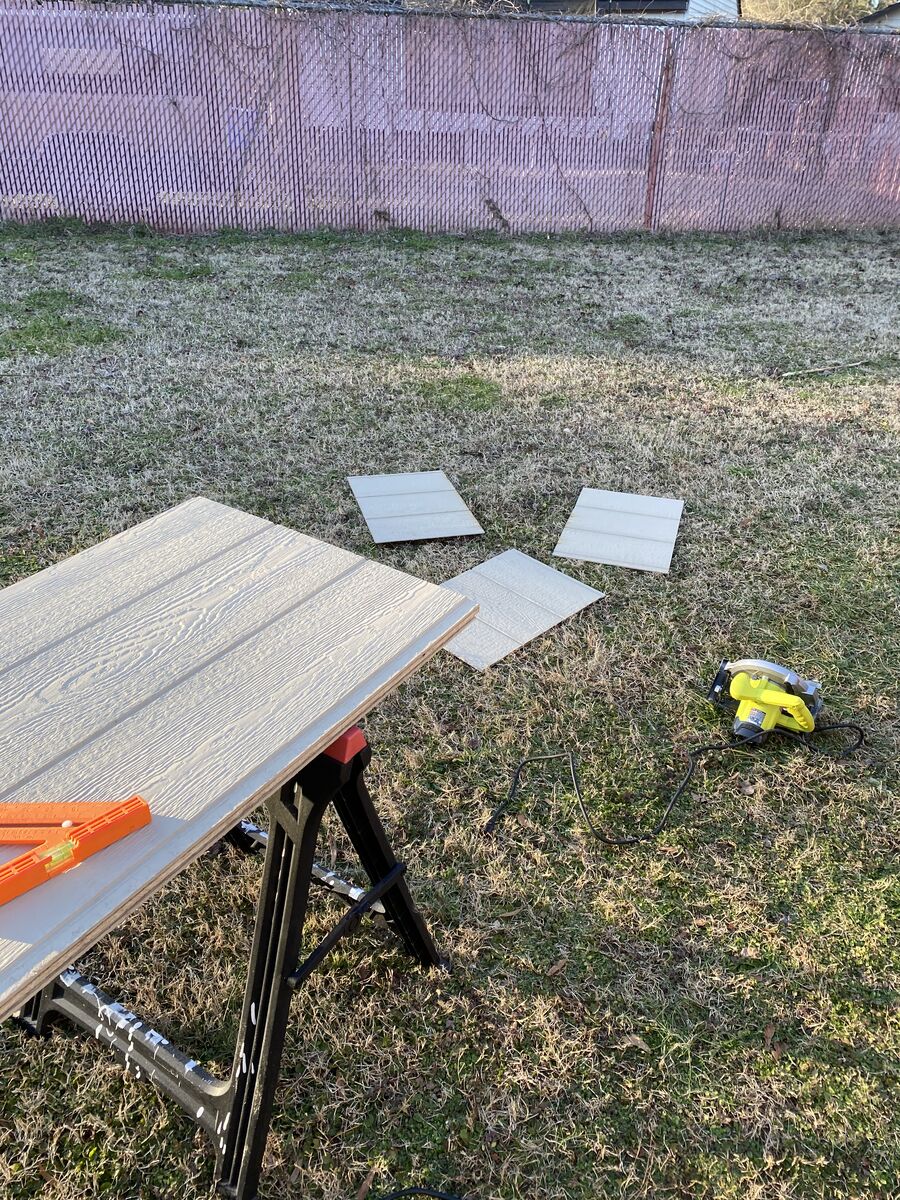
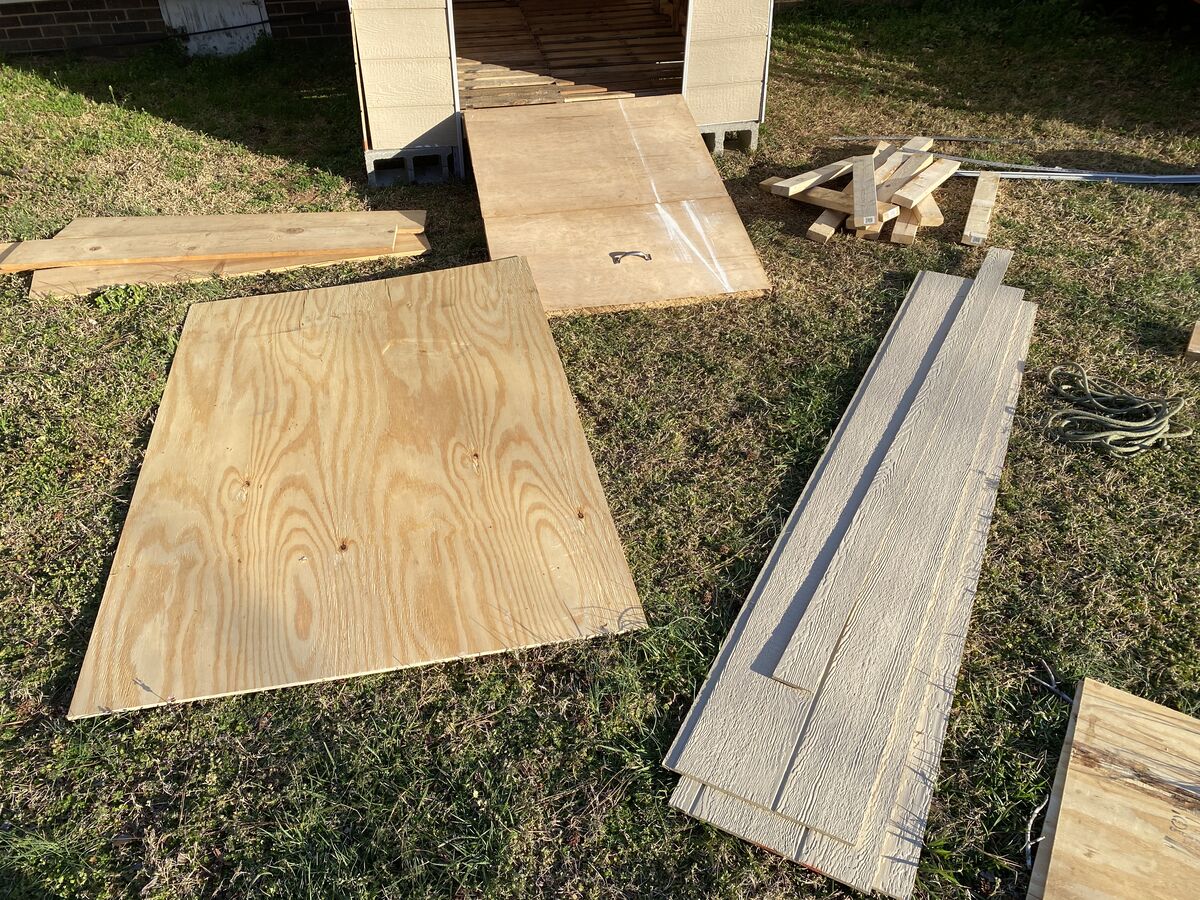
Once they were cut to size, I held them up to decide to see how they would look. Looks good. Putting them in the shed to be put up another day.
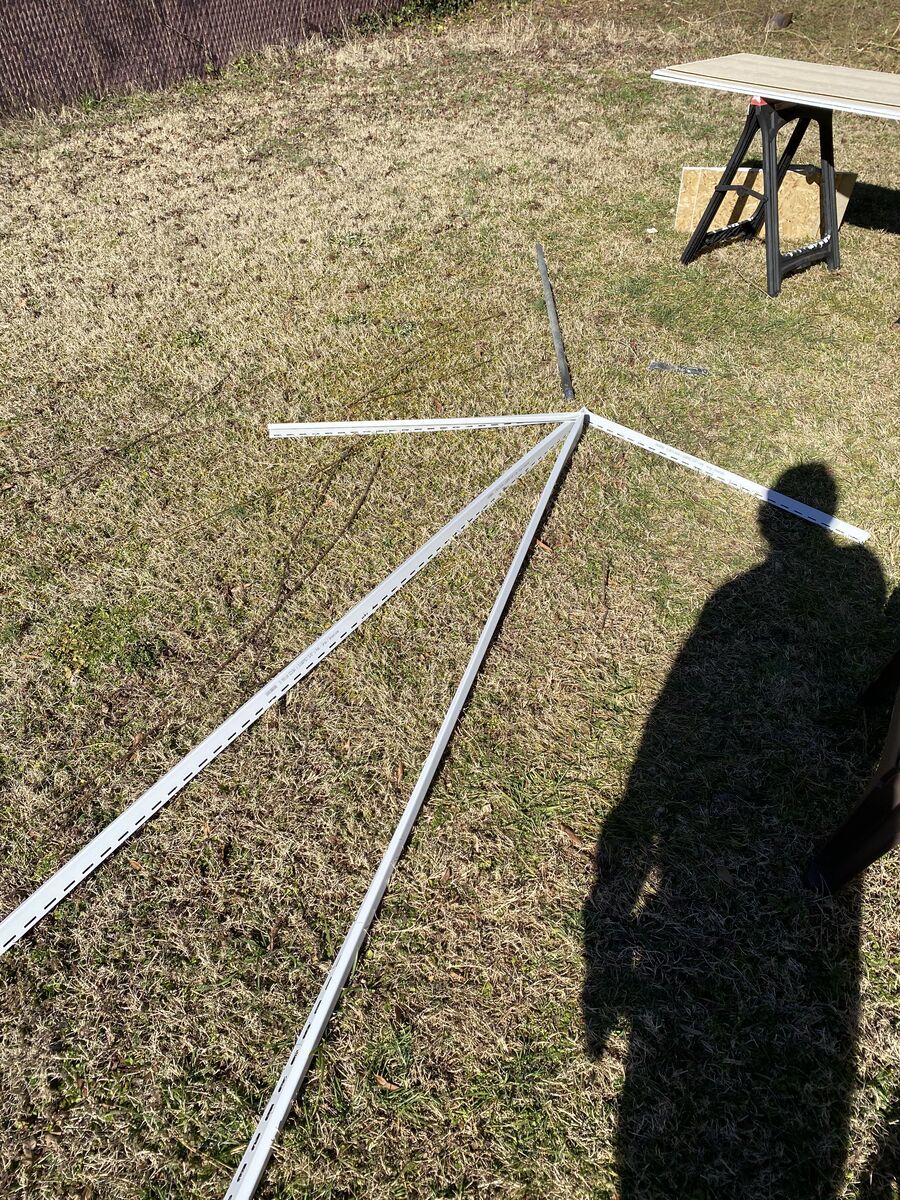
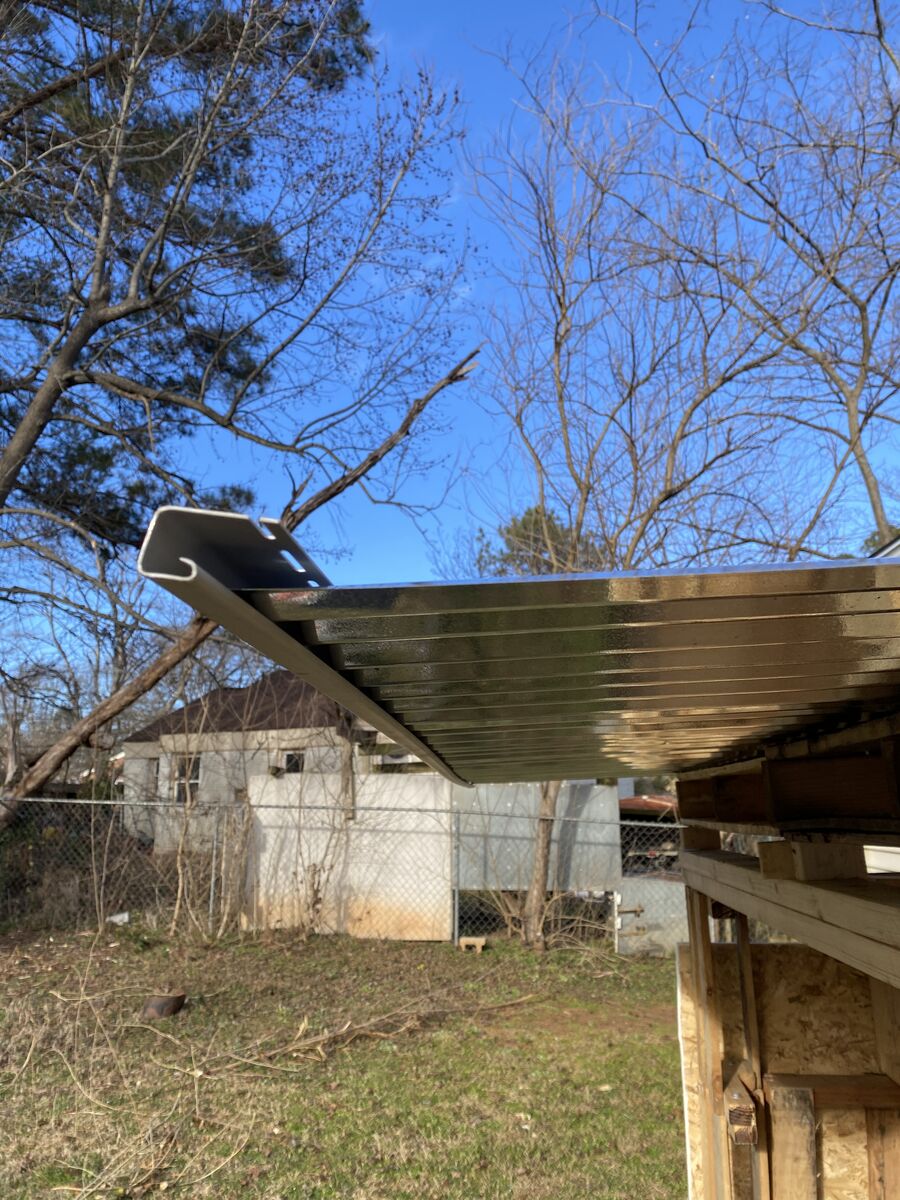
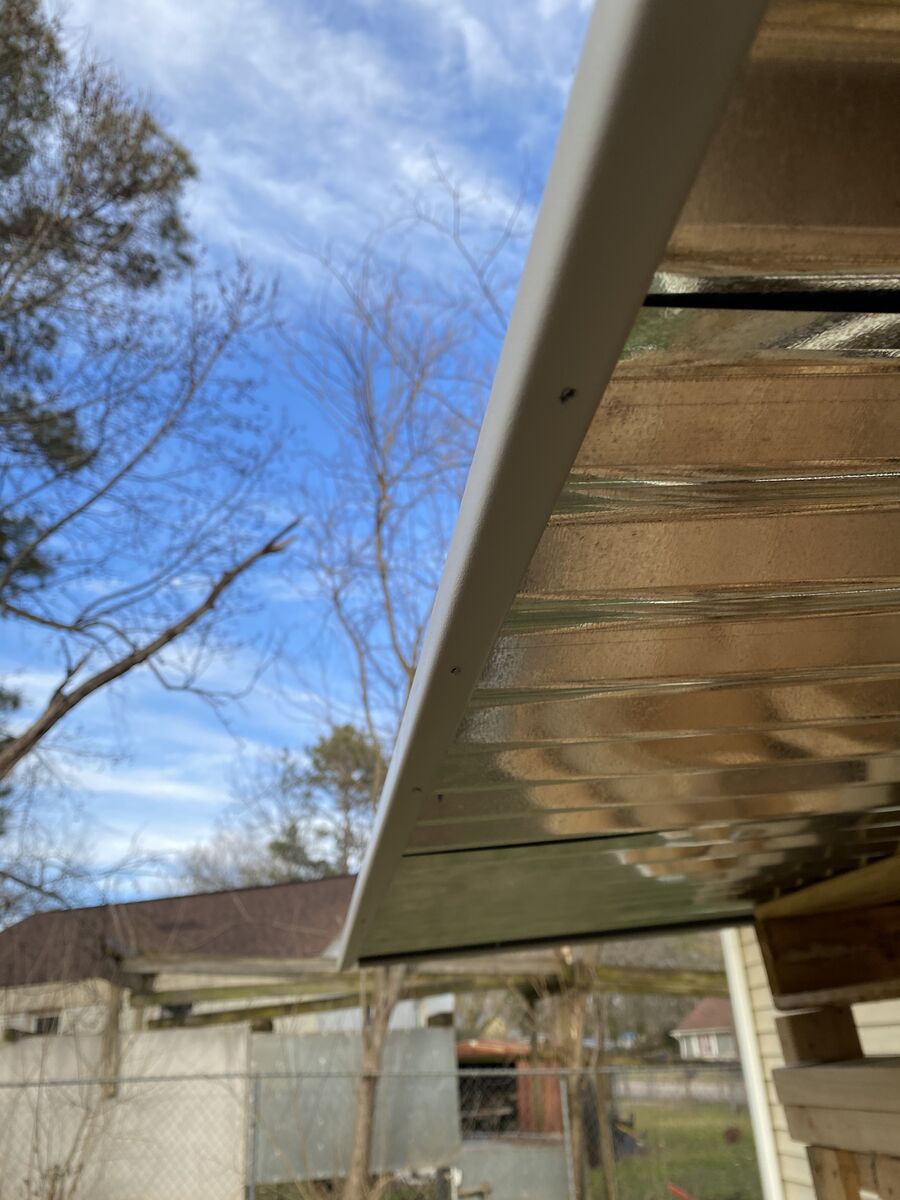
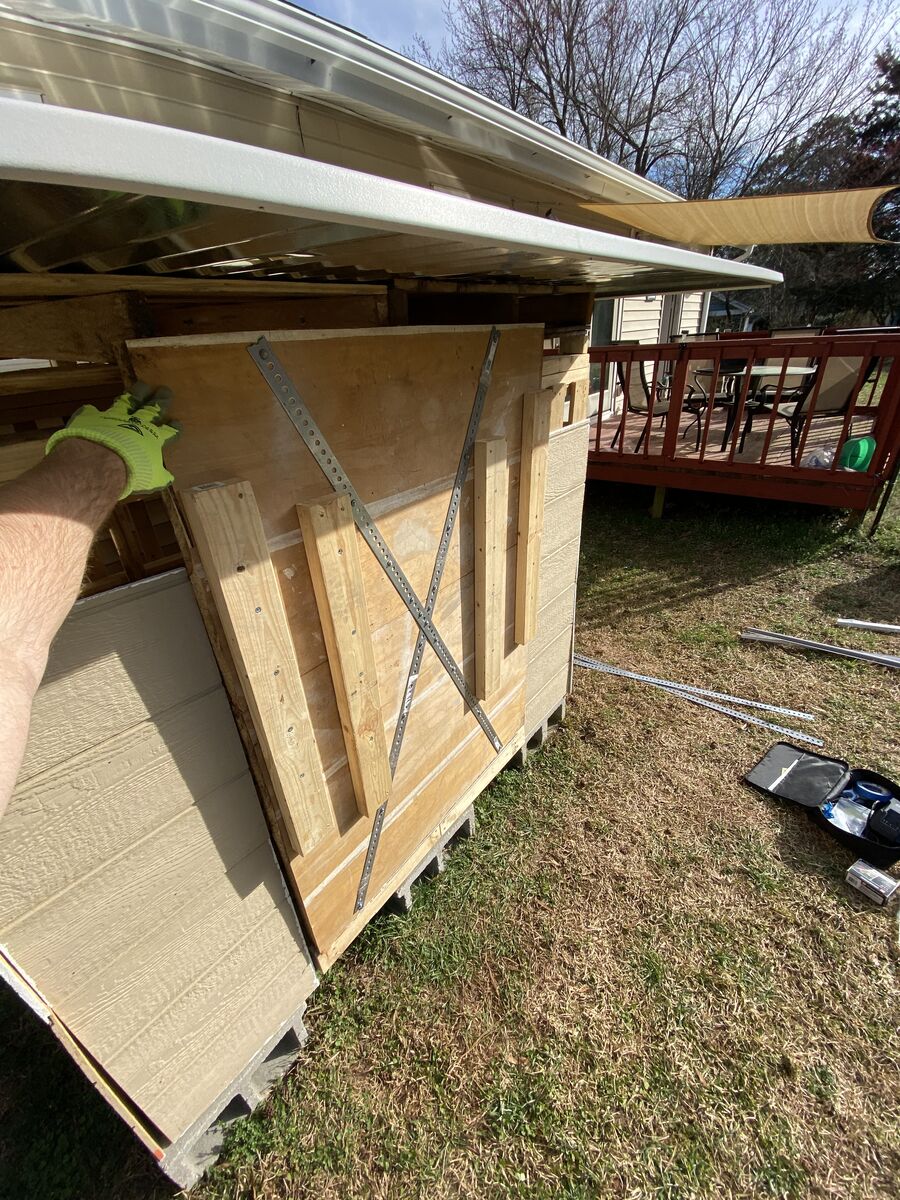
Around this point, my dad came over and expressed serious concern about how sharp the overhang metal roof was, and I agreed. After a few beers, major risk. I found this solution which would cover the sharp edges.
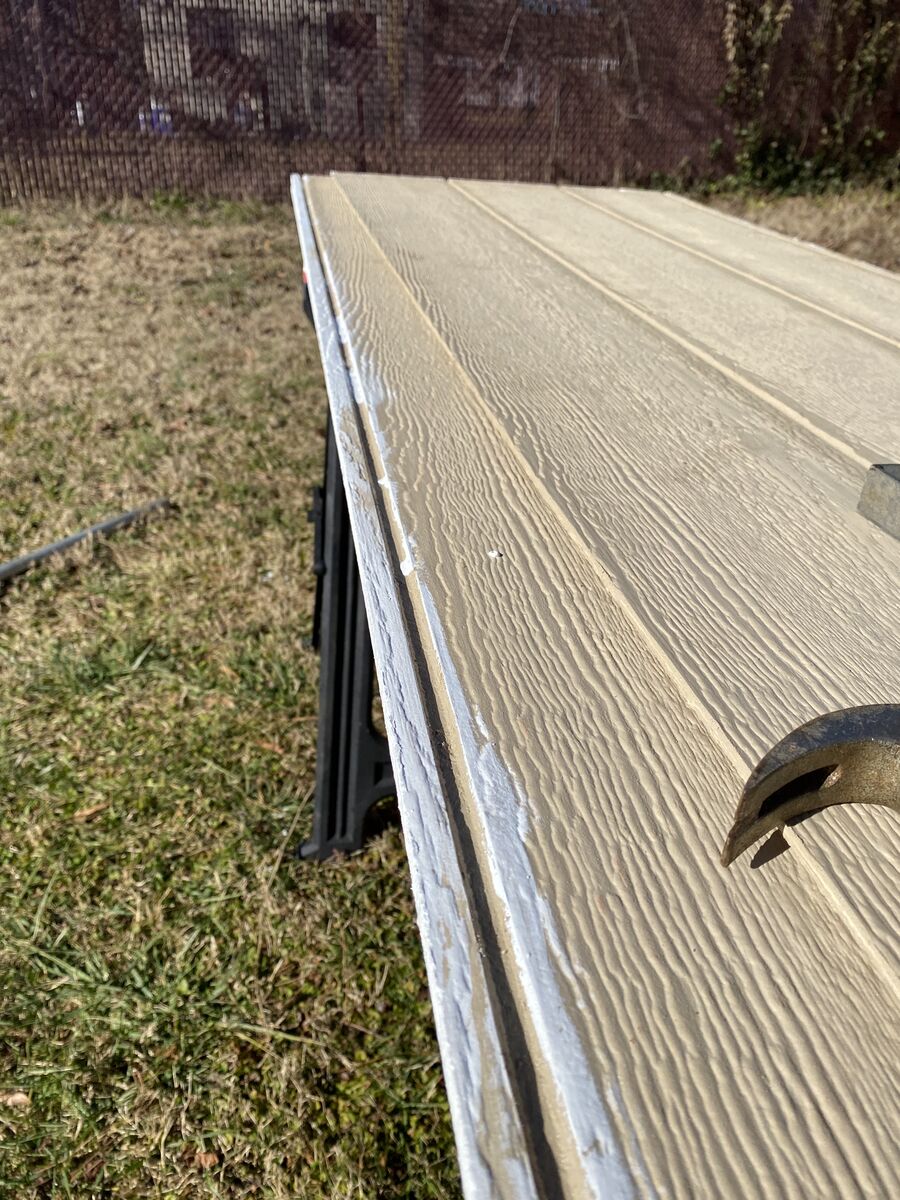
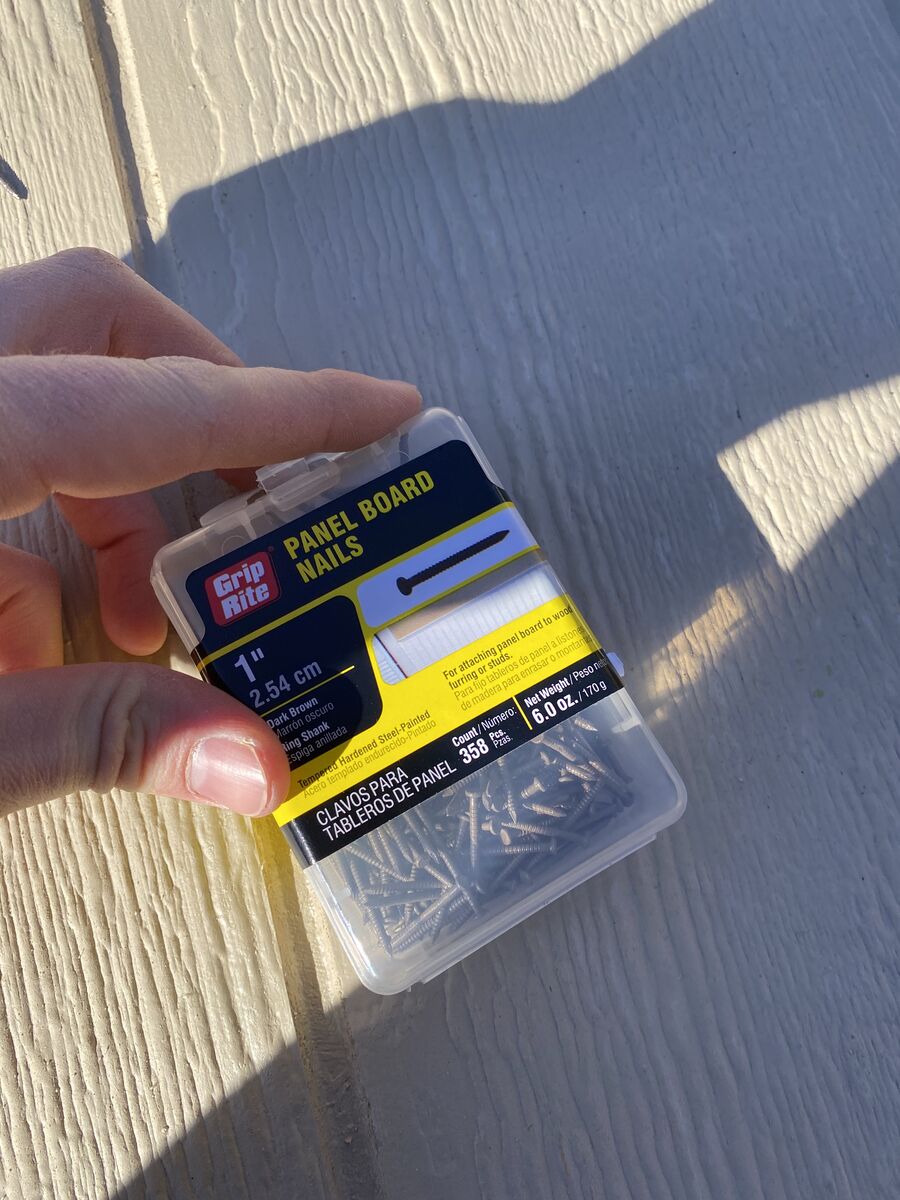
Back to work, I started tackling the hammer and nail portion of the wall. Putting it up. Also, for some reason I painted the edges, I forgot why. I think because I read the edges aren't waterproof.
I decided that I was going to use hammer and nails, framing, nails to hold them up.
Assembled the walls from the bottom up so that the top one would overlay so rain would dribble off.
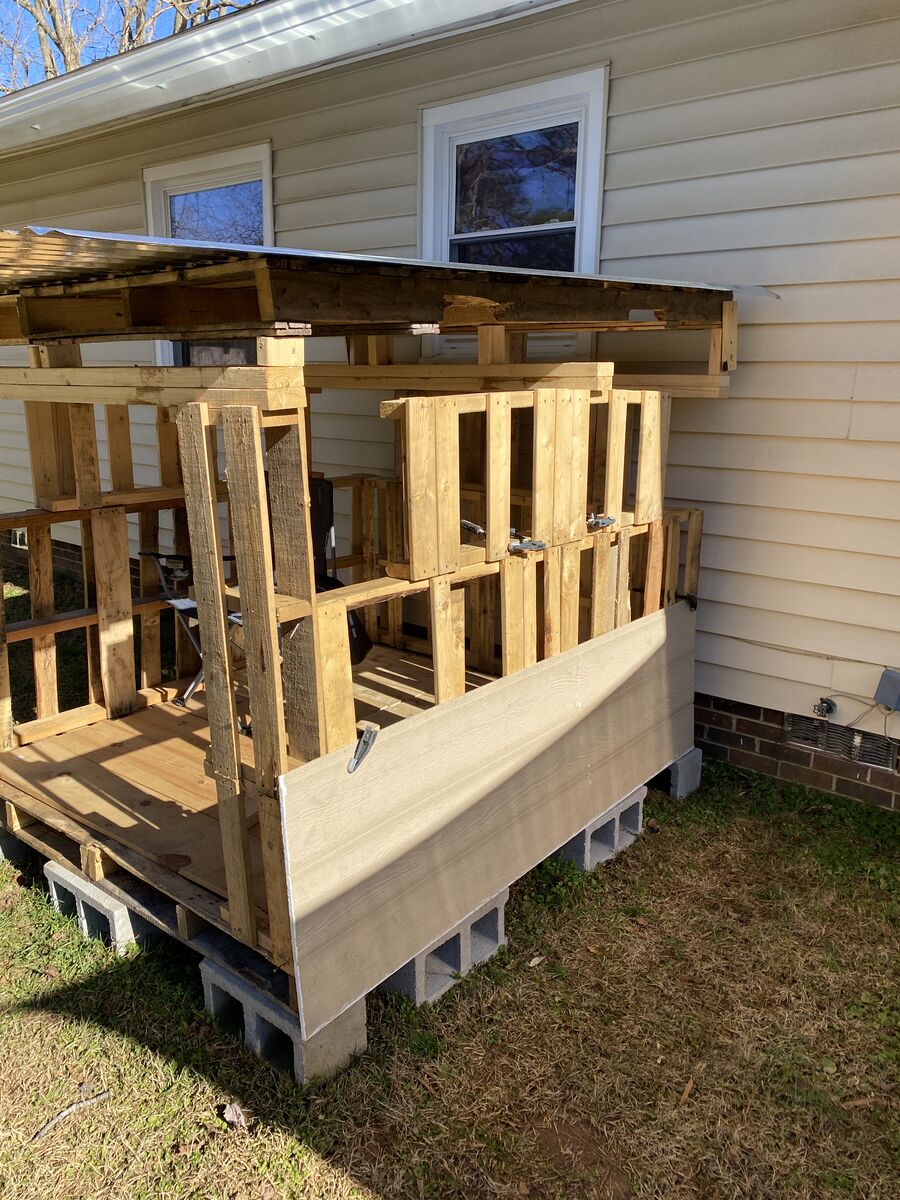

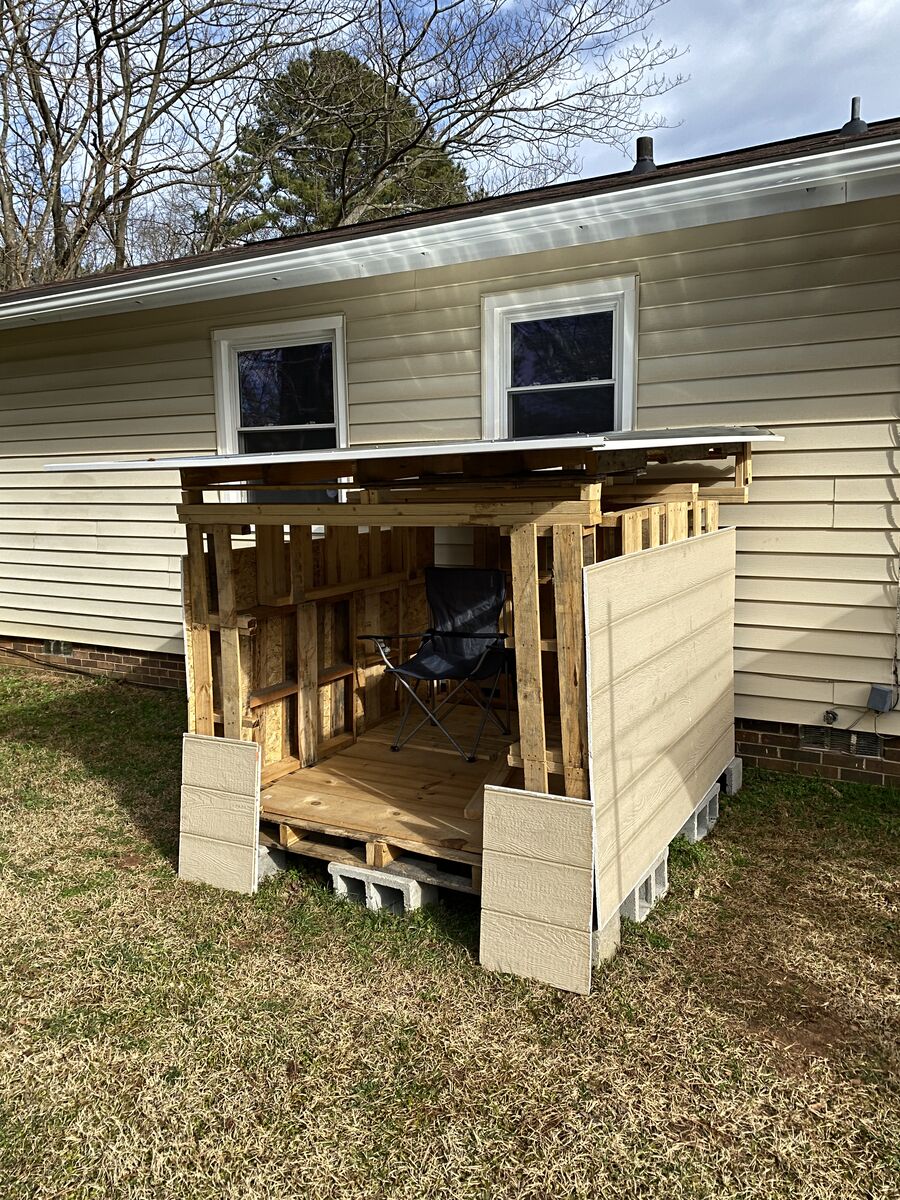
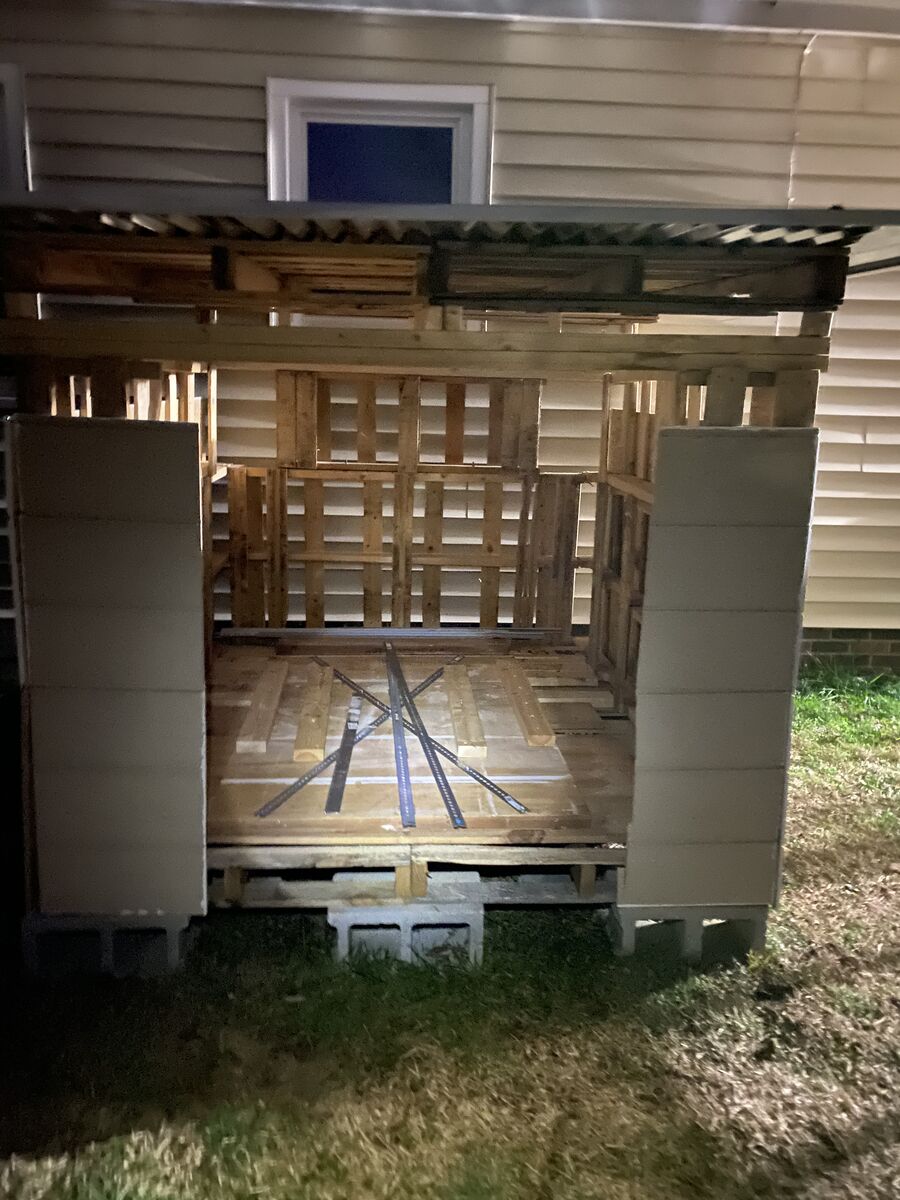
Put down some of the spare wood inside to test out flooring.
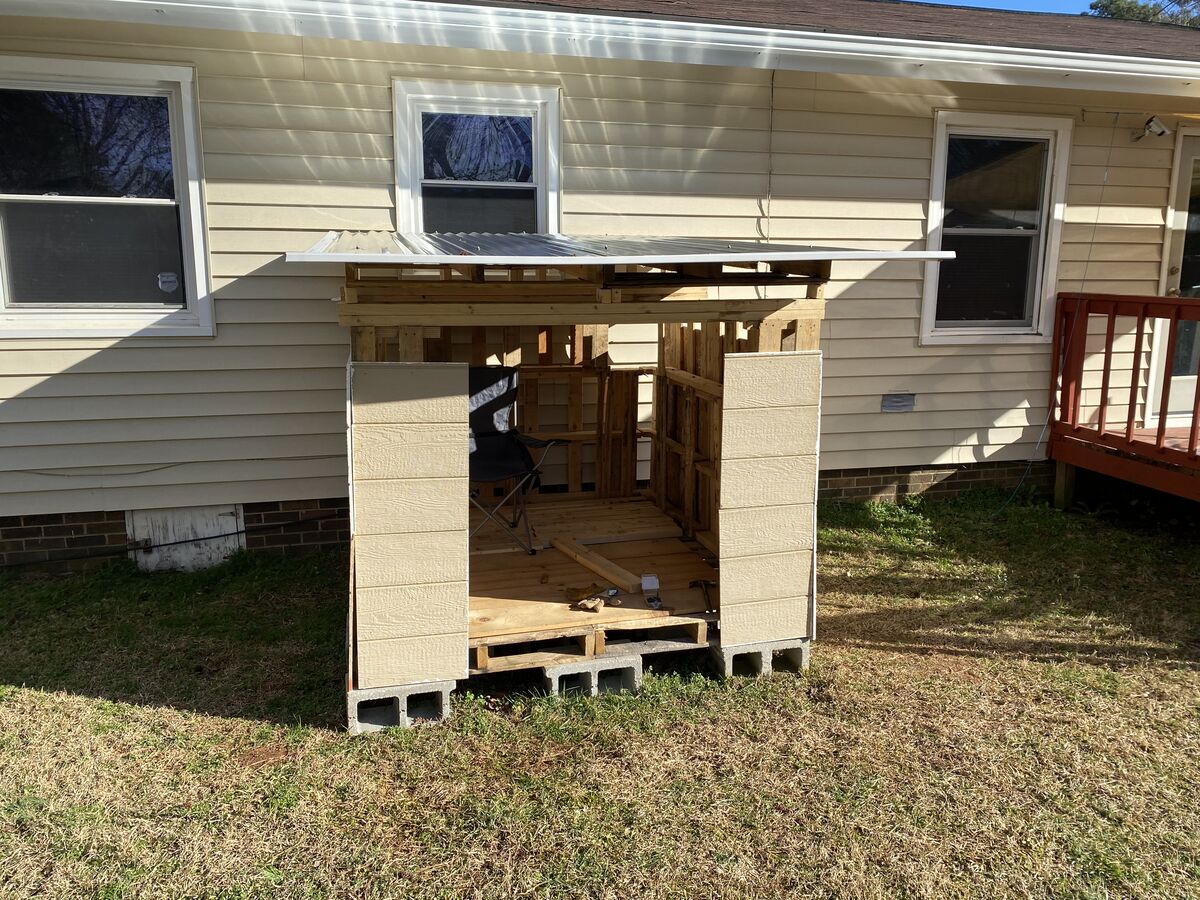
Looking pretty good but time to fix those sharp edges.
I drilled some holes occasionally throughout to drain out some water that might pool in there.
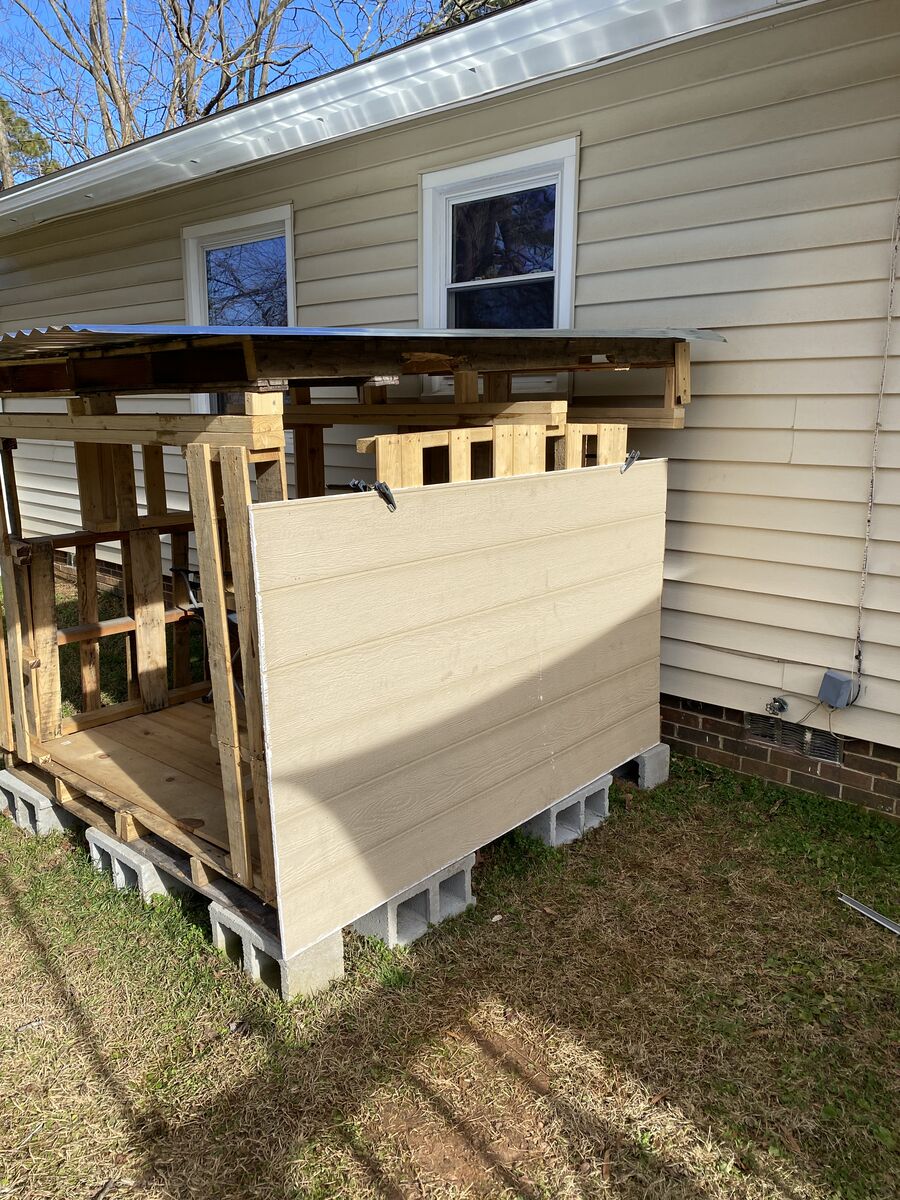
Looking pretty good, that's it for today.
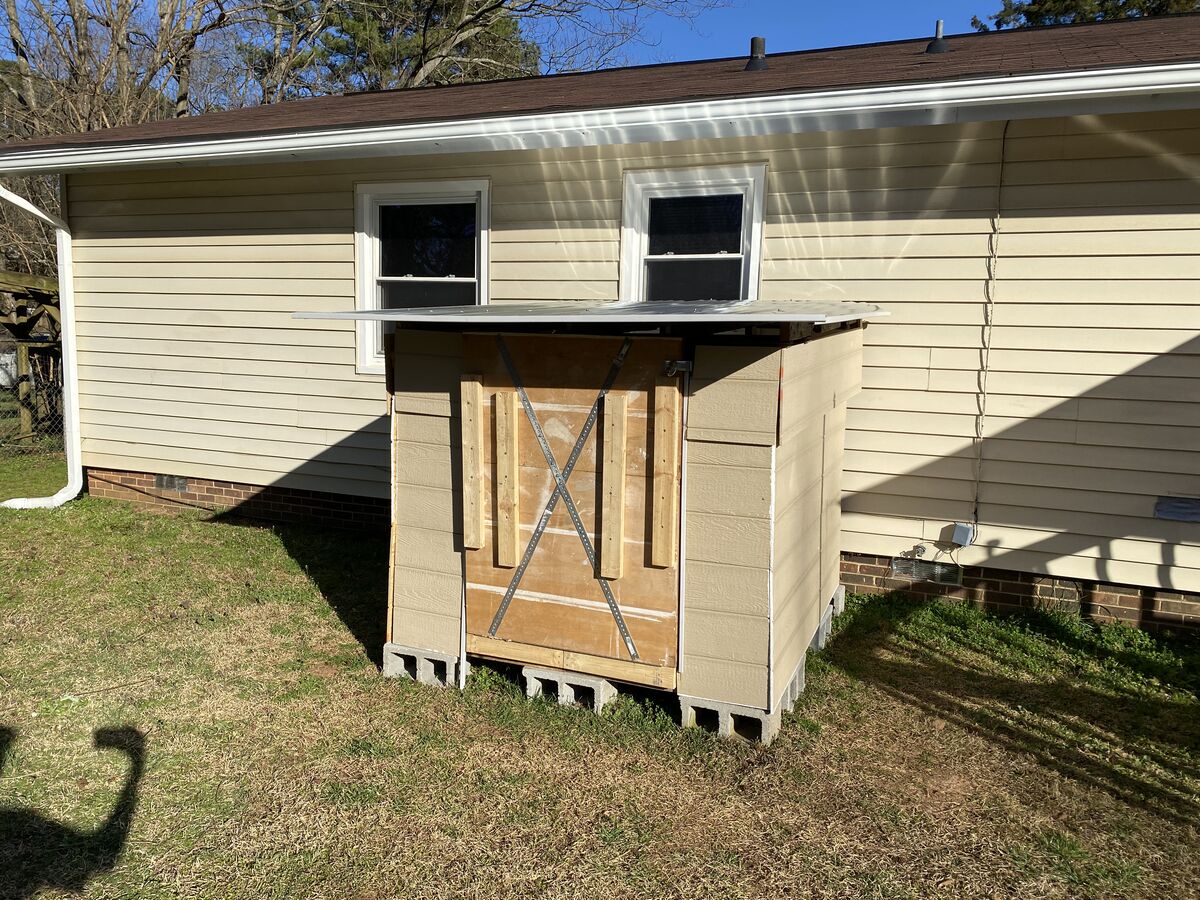
Next, time to finish up the remainder of the siding.
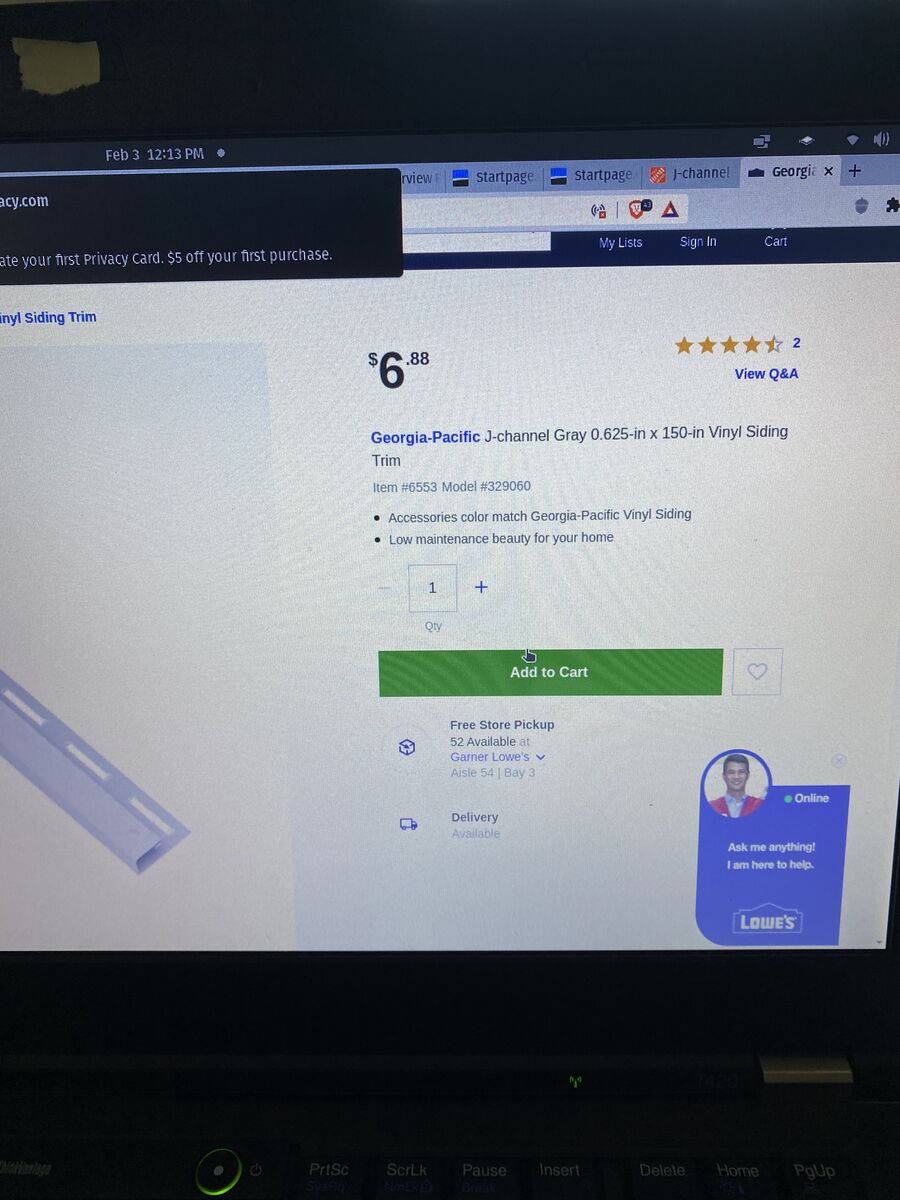
Add some extra PVC edge covering stuff so I put it over the siding on the front door.
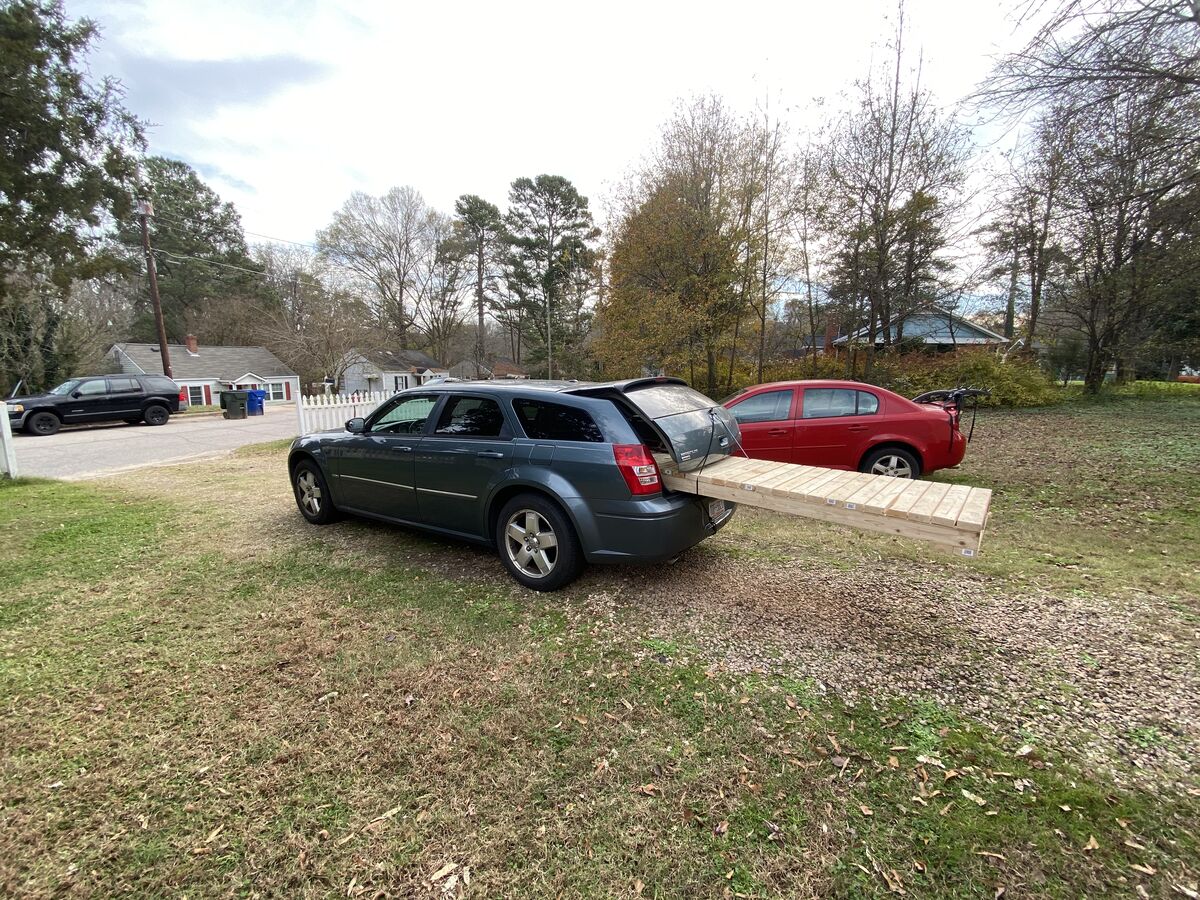
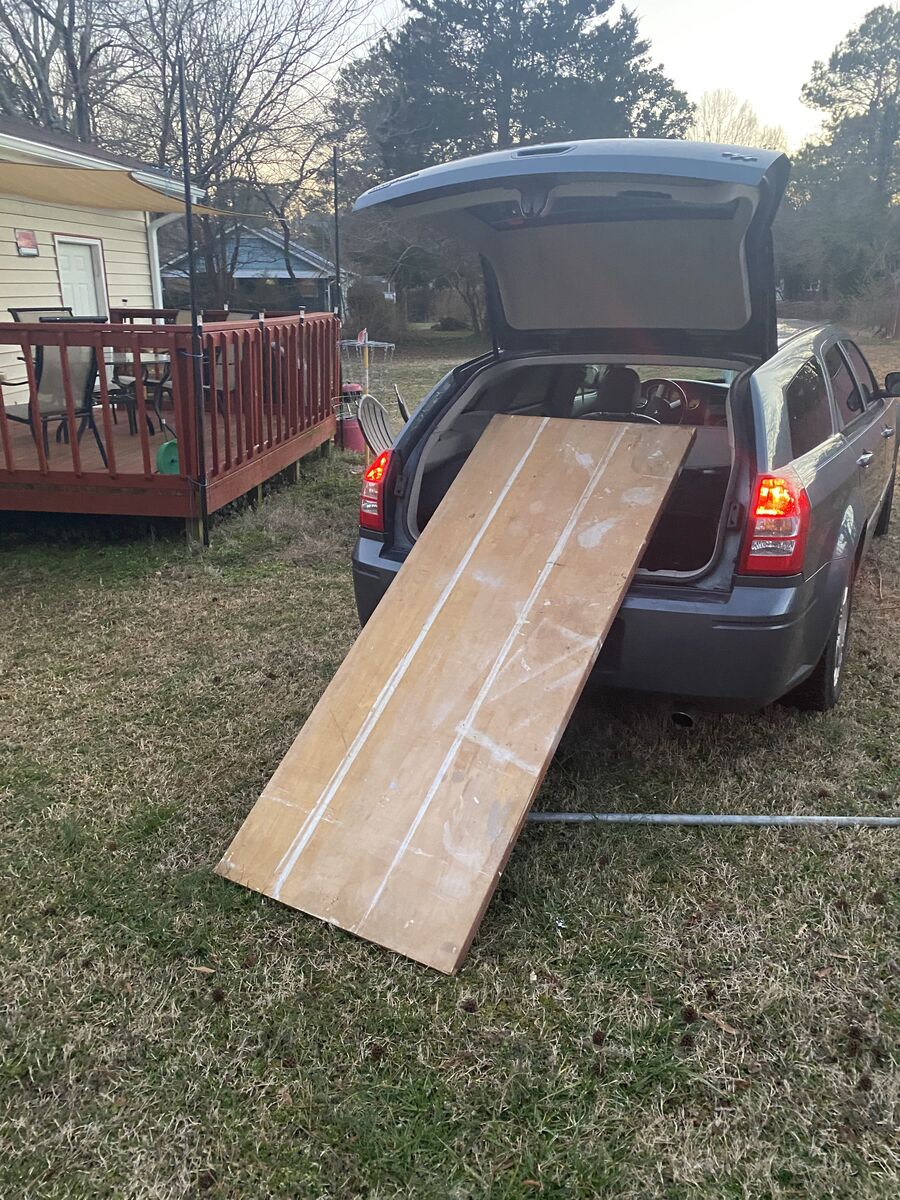
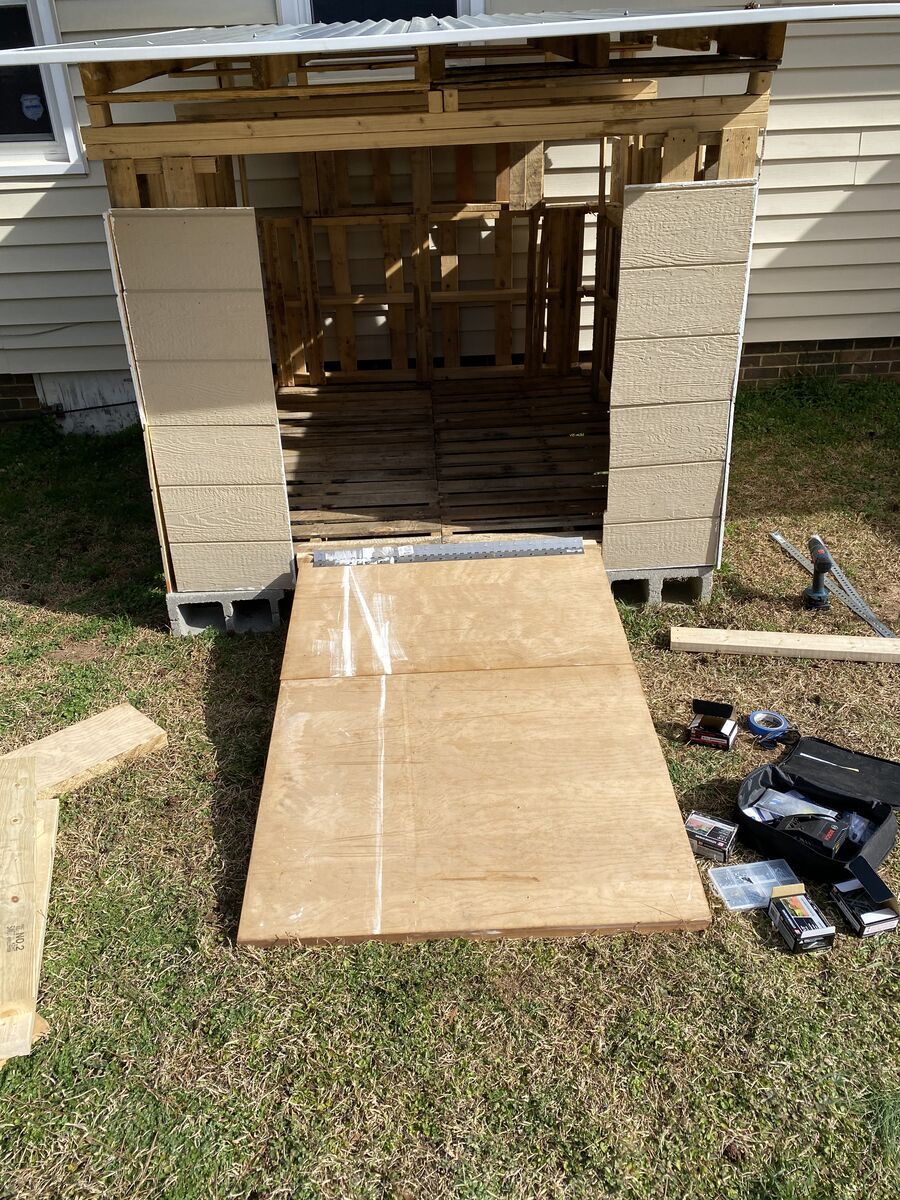
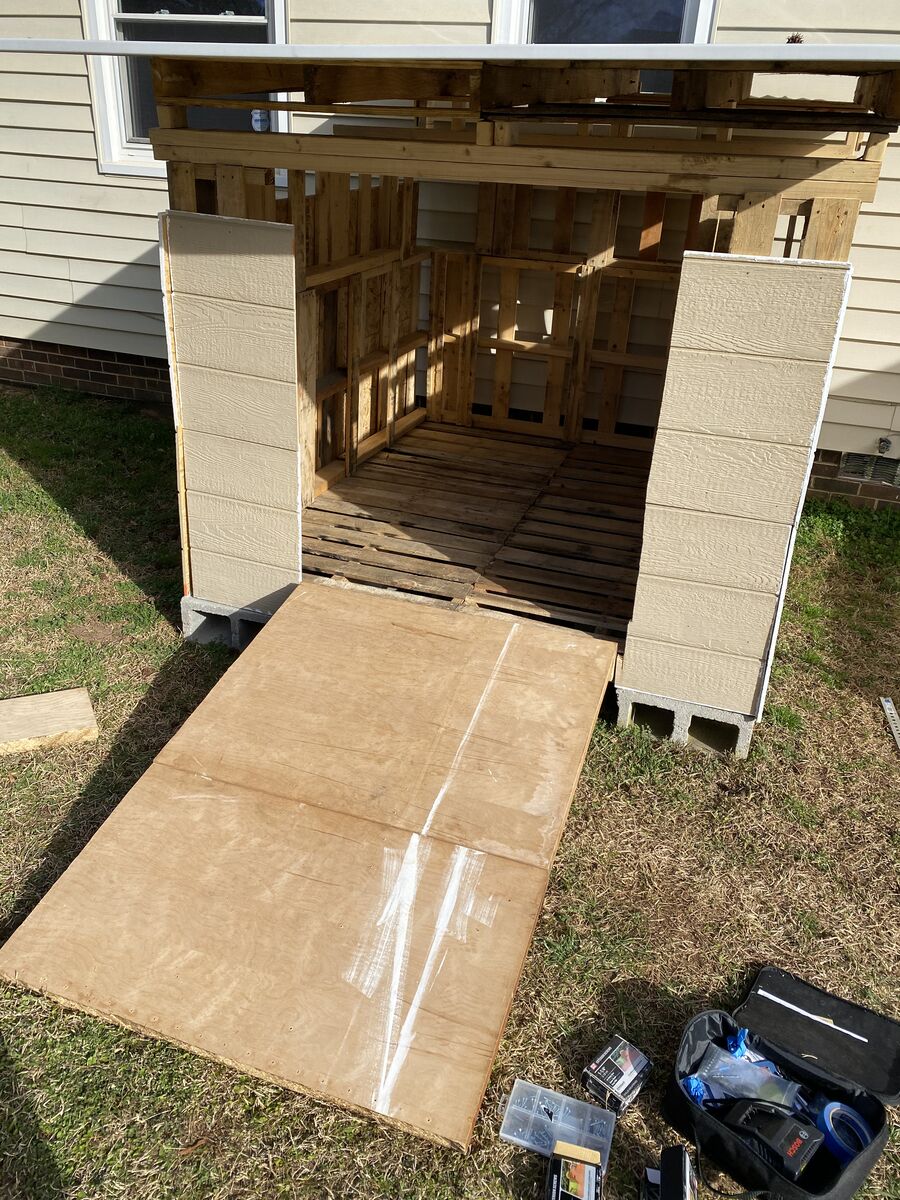
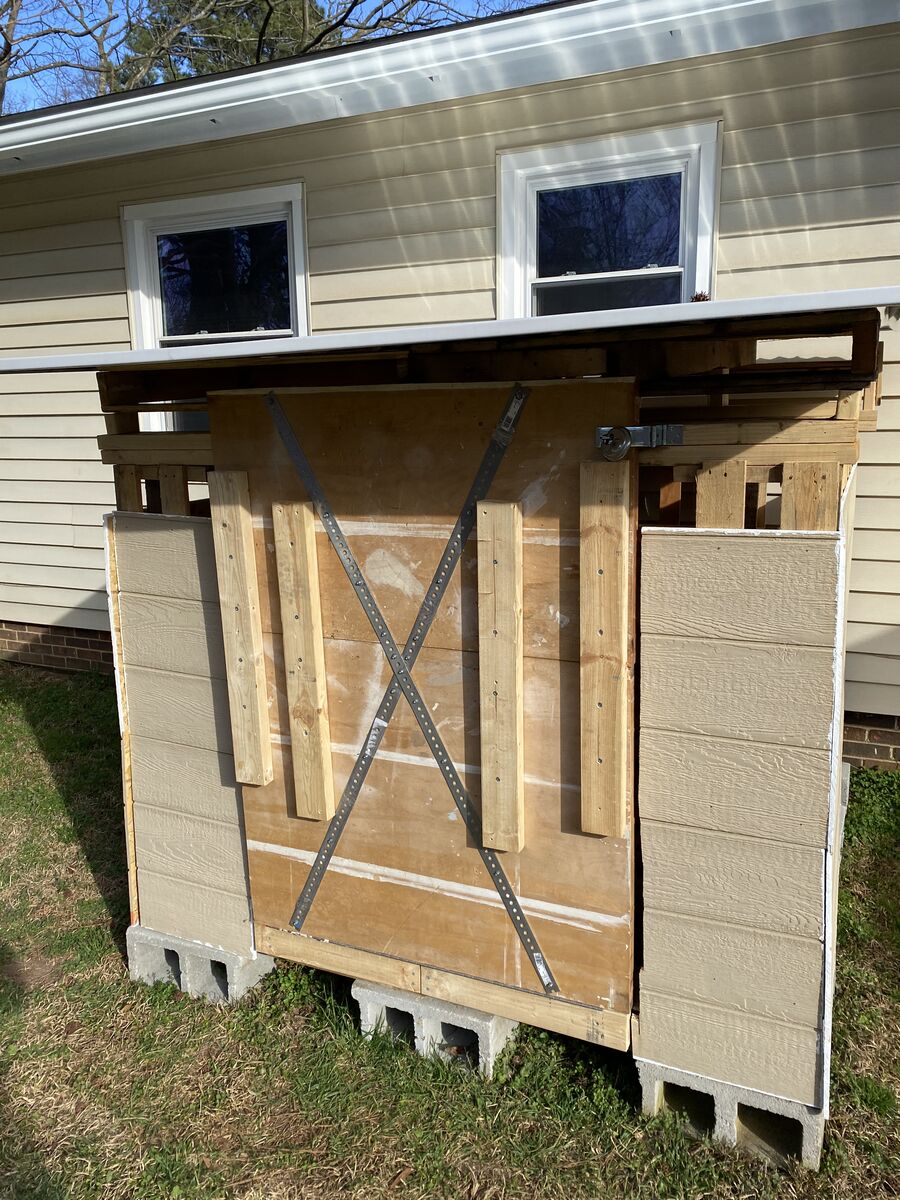
At this point, I was in search of a door and kind of unsure what I was gonna do for a door, but I did know that I wanted it to be a ramp situation so I would be able to ride the mower up in to it. On craigslist someone was giving away a "really heavy door" that they said was "about 1000 pounds"so this sounded great so I went and got it and brought it to the backyard.
At some point during this, I went on a trip to Sam's Club, where I saw this, staring at me from outside, oh how much easier it would've been, I thought.

Now to continue on the door/ramp.
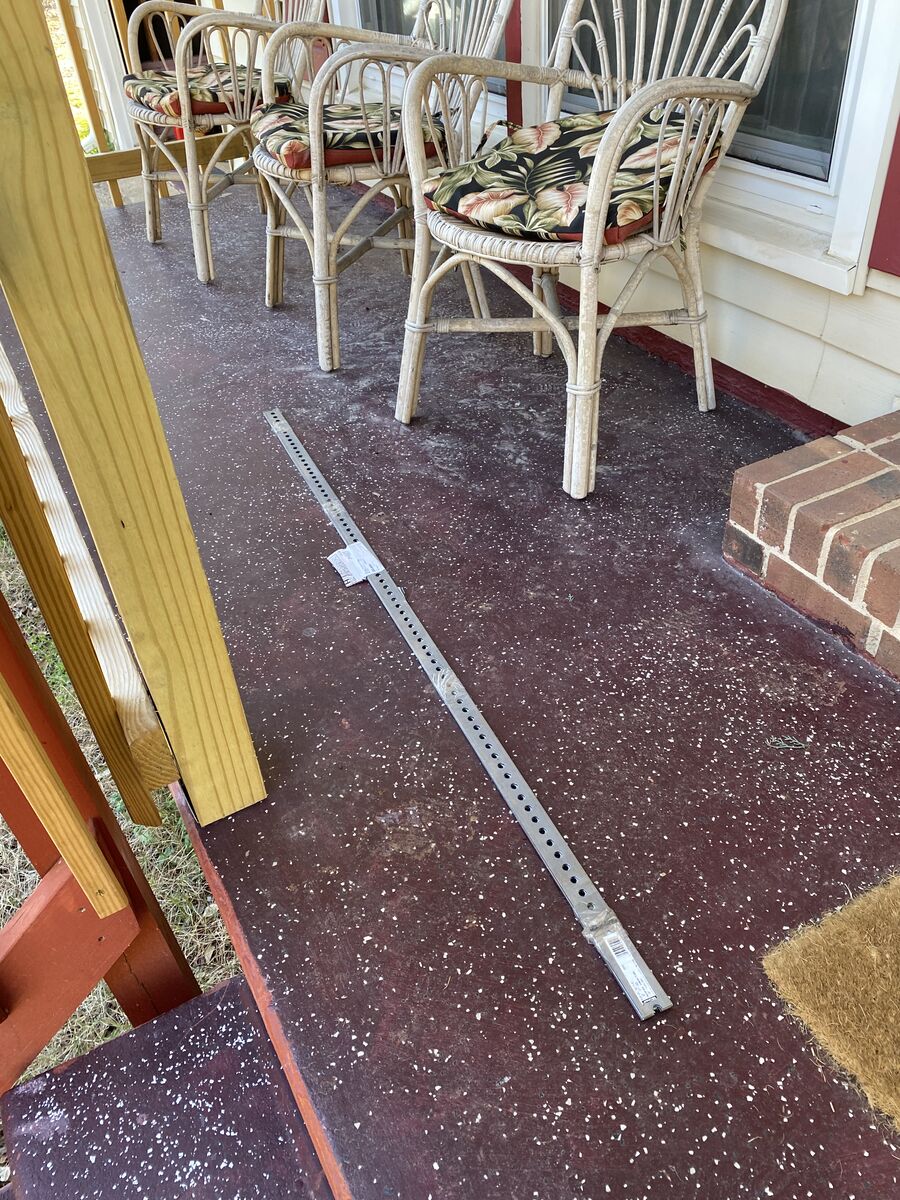
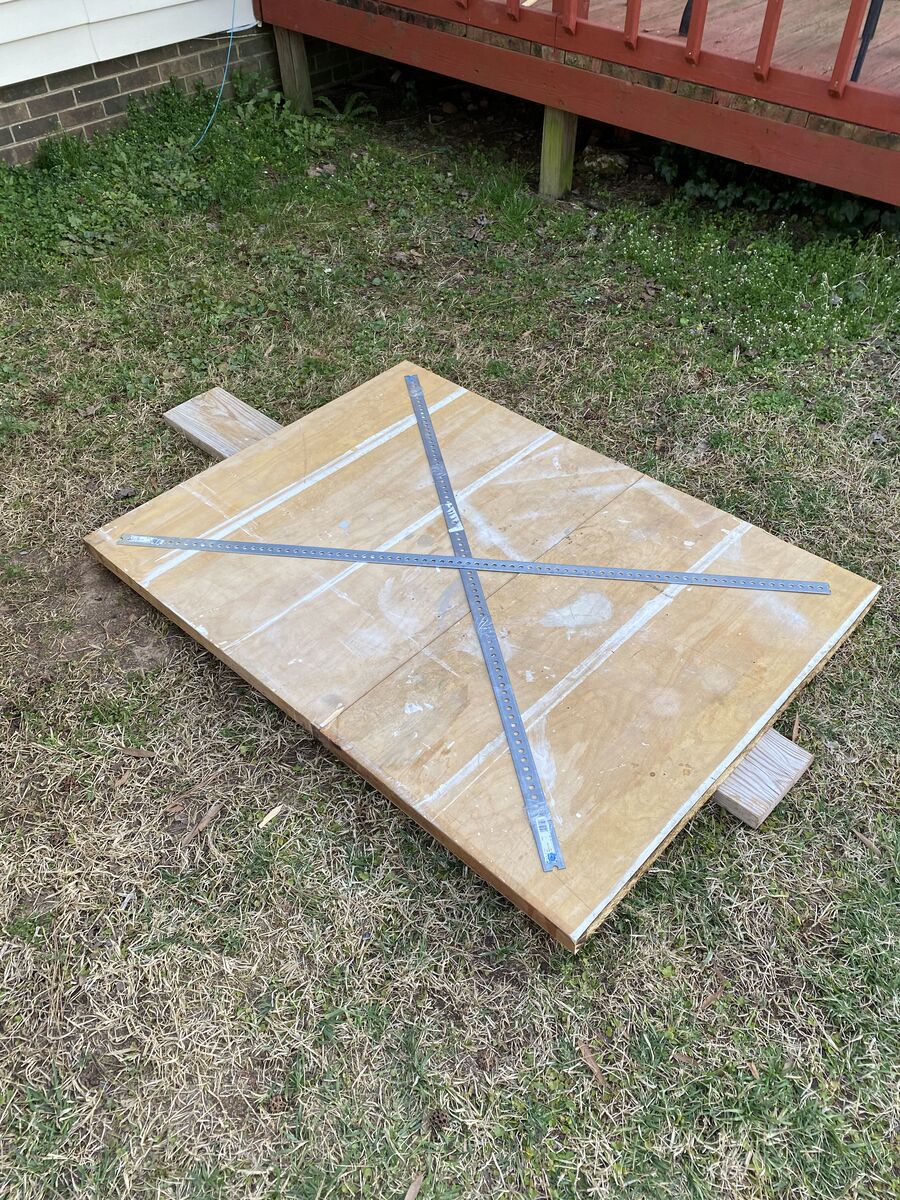
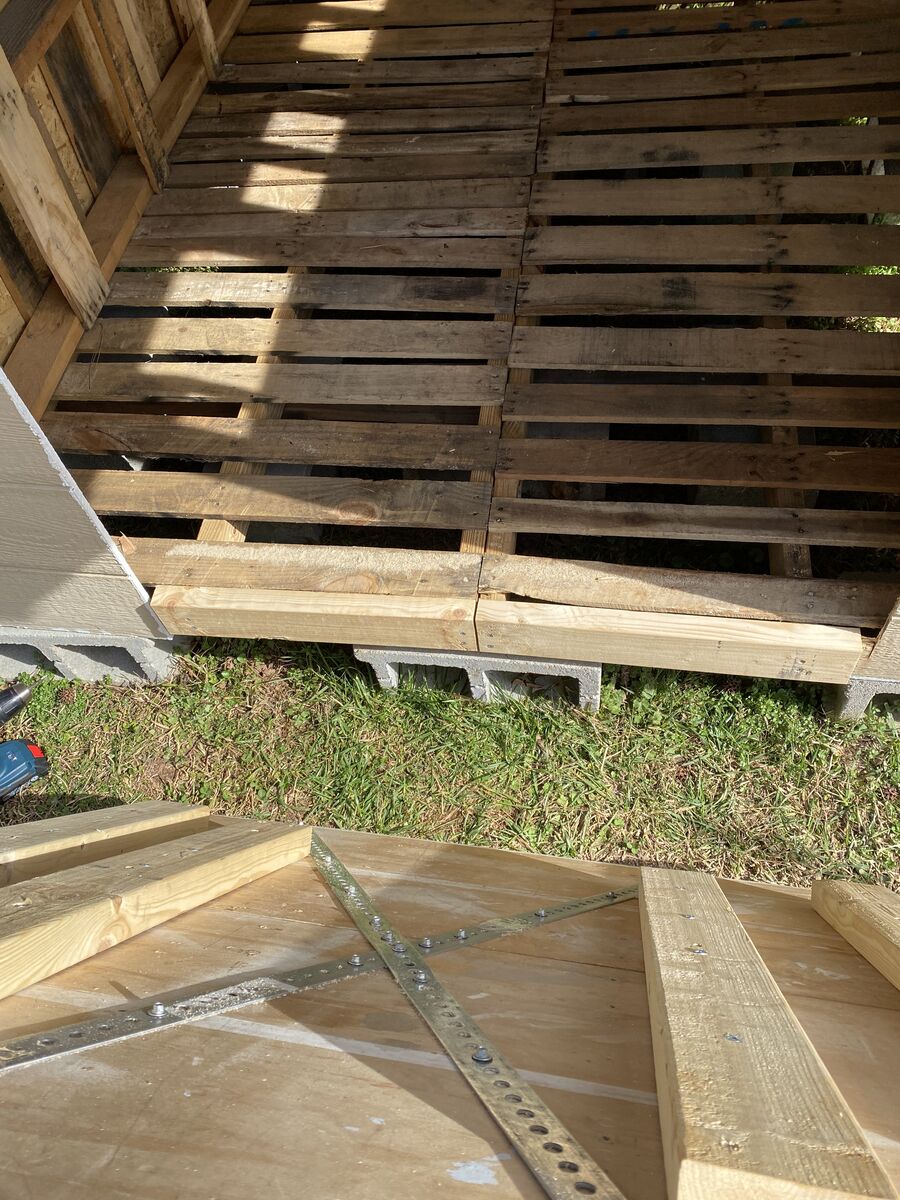
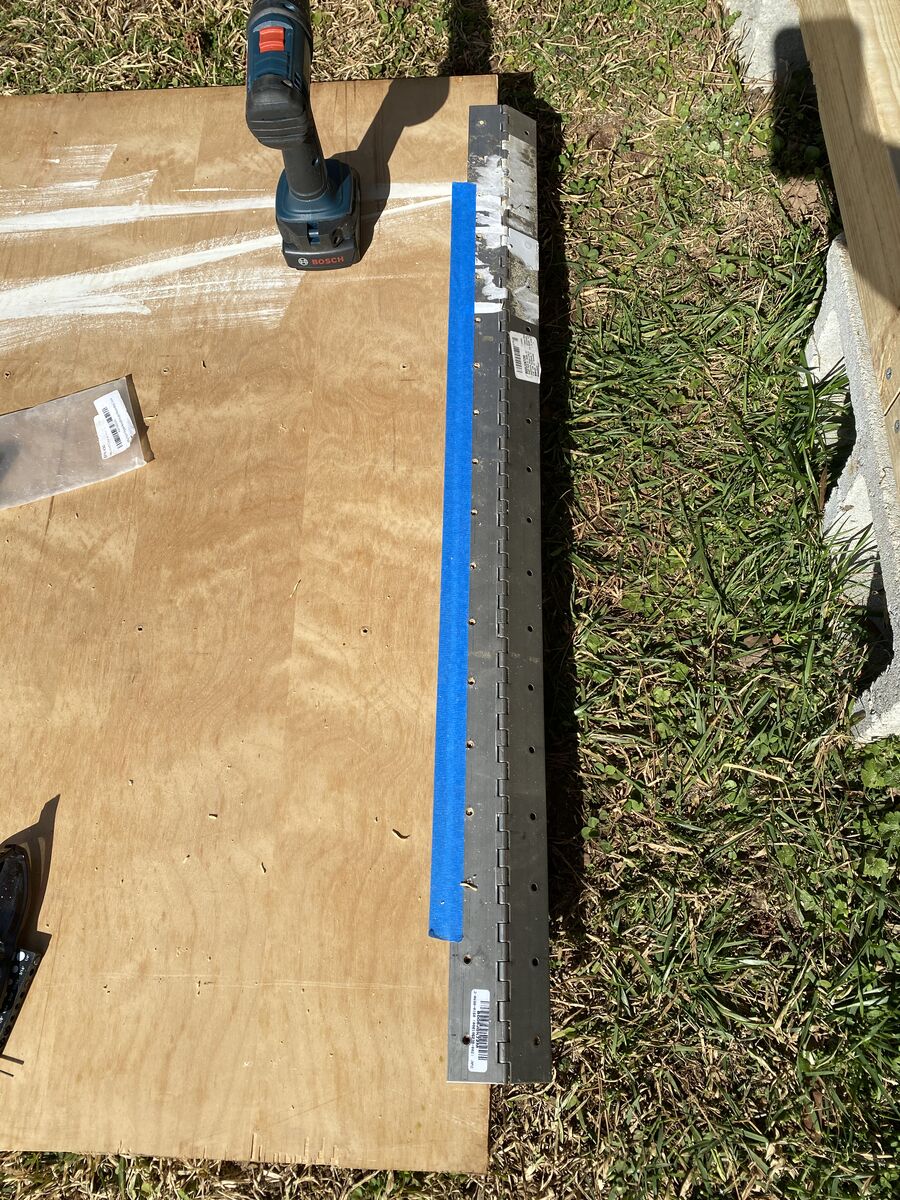
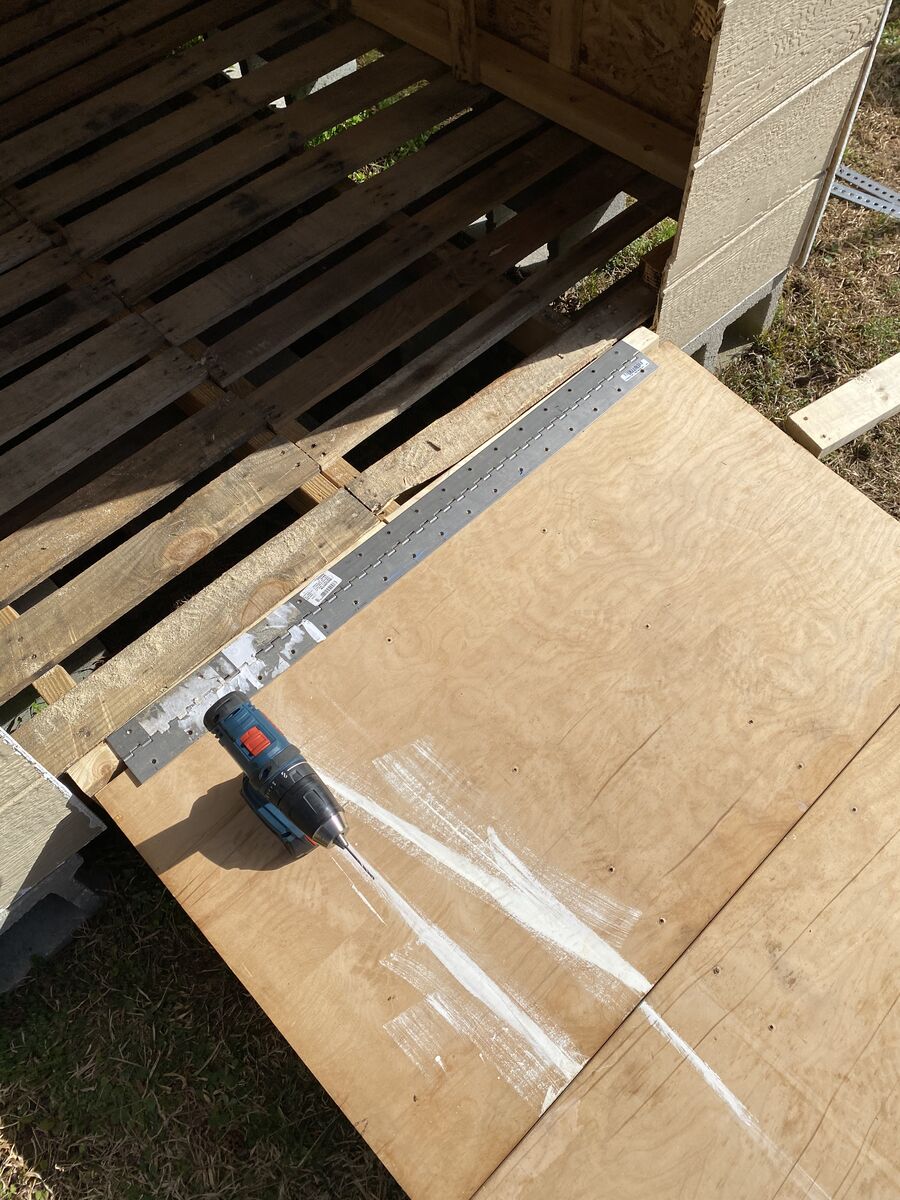
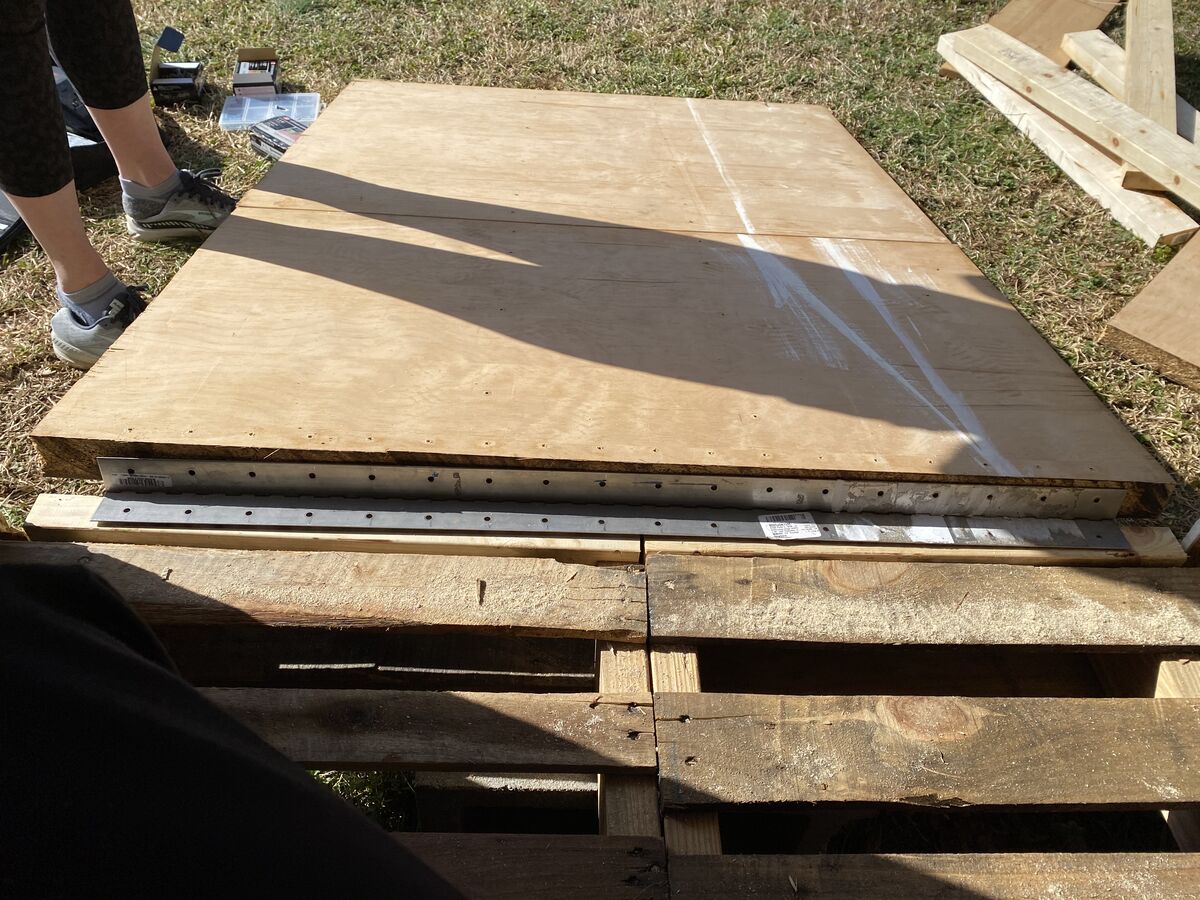
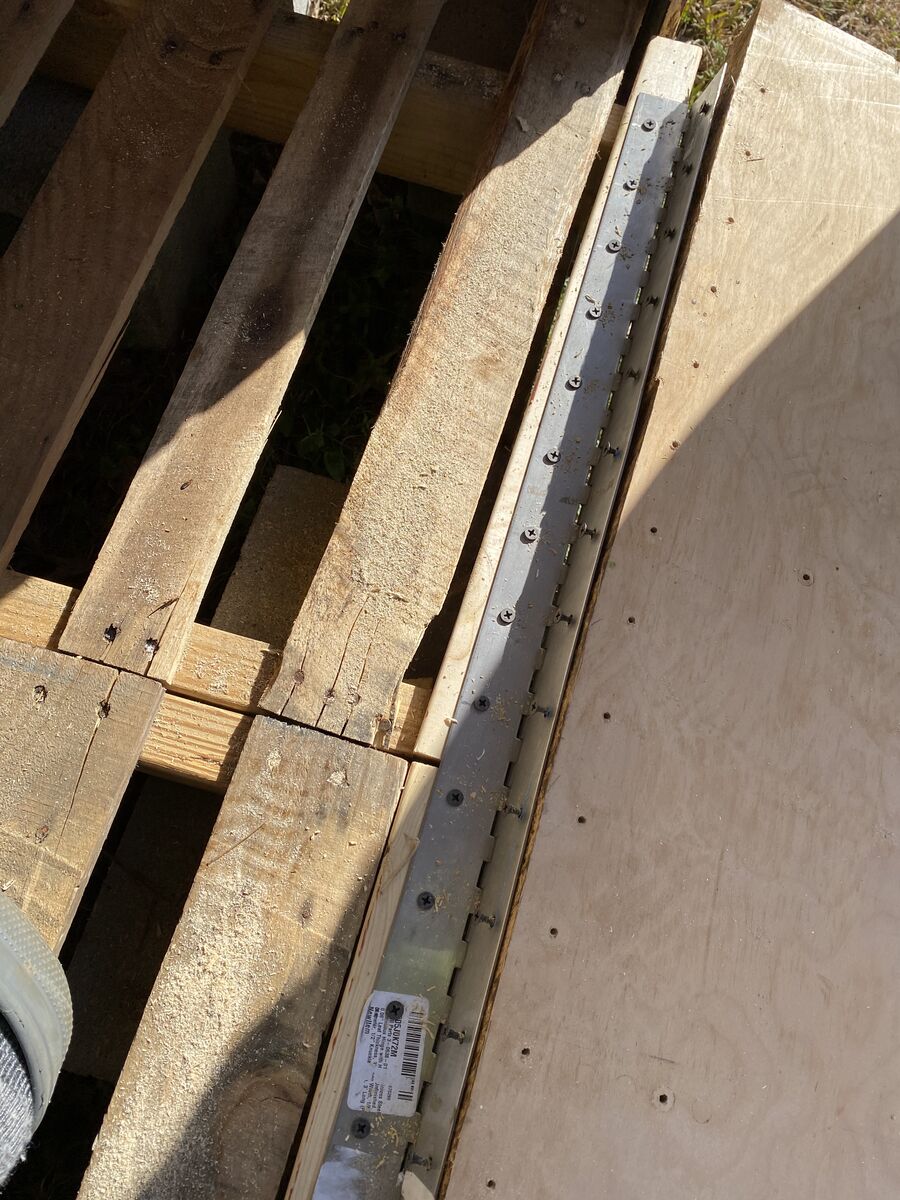
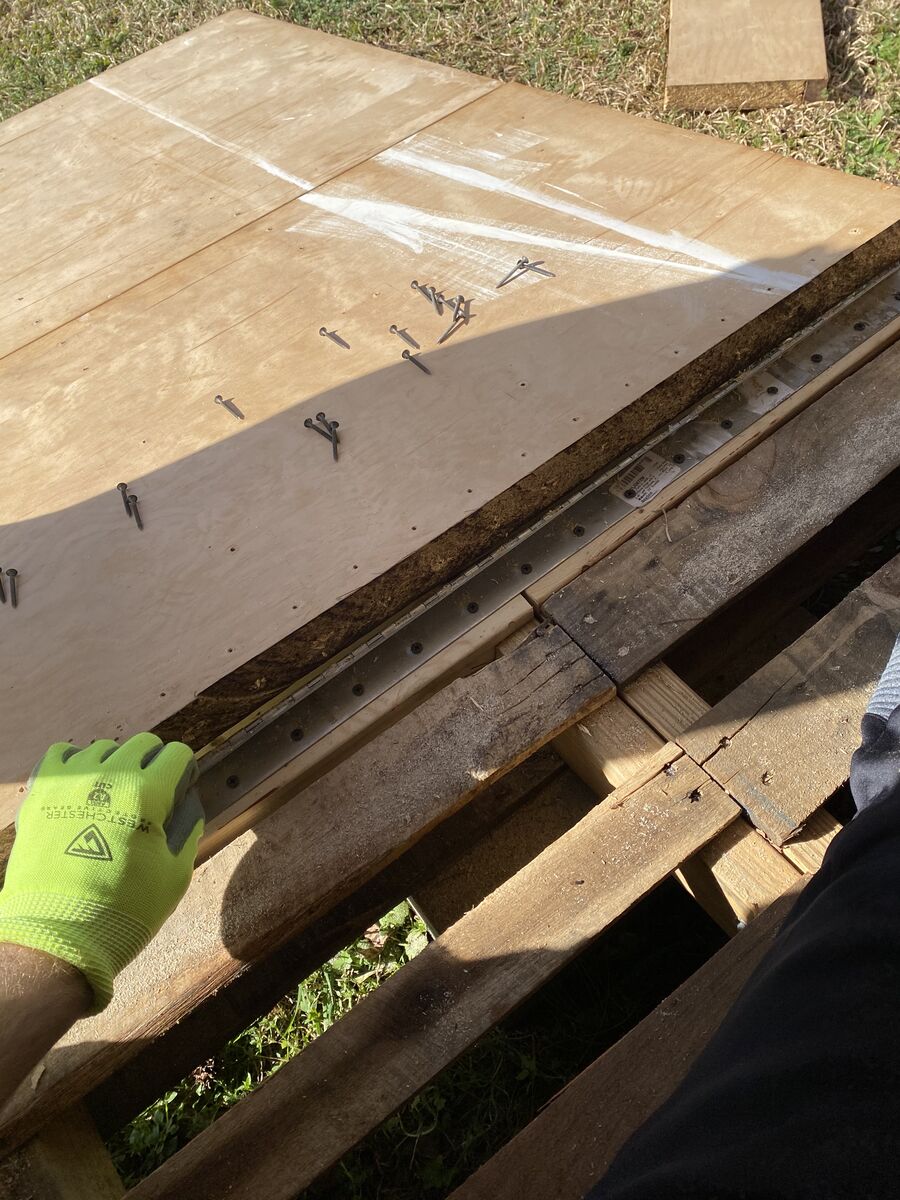
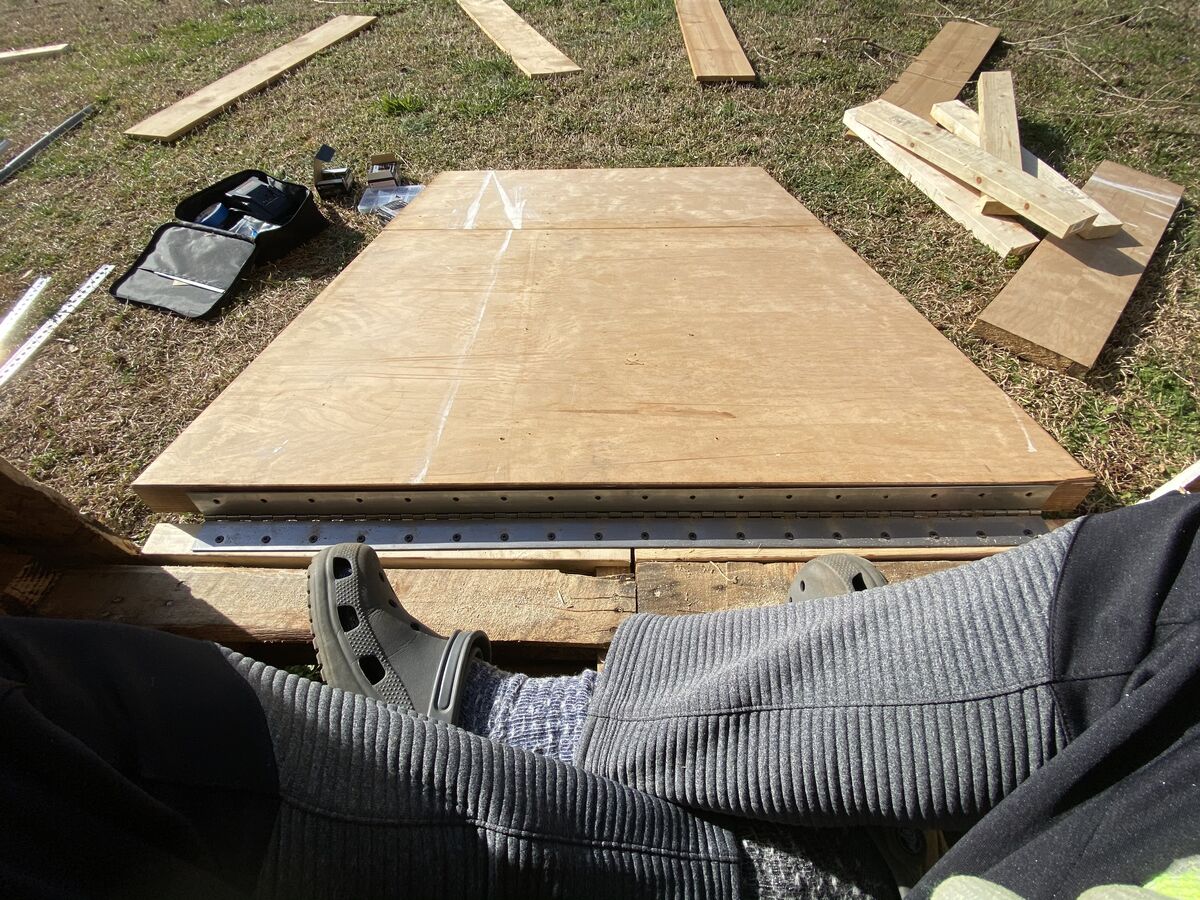
Cut it into two pieces that were the same width of the door. Now I had to secure those two pieces together very very firmly. My first idea of this metal thing was hilariously not strong enough at all. But I still used it anyways.
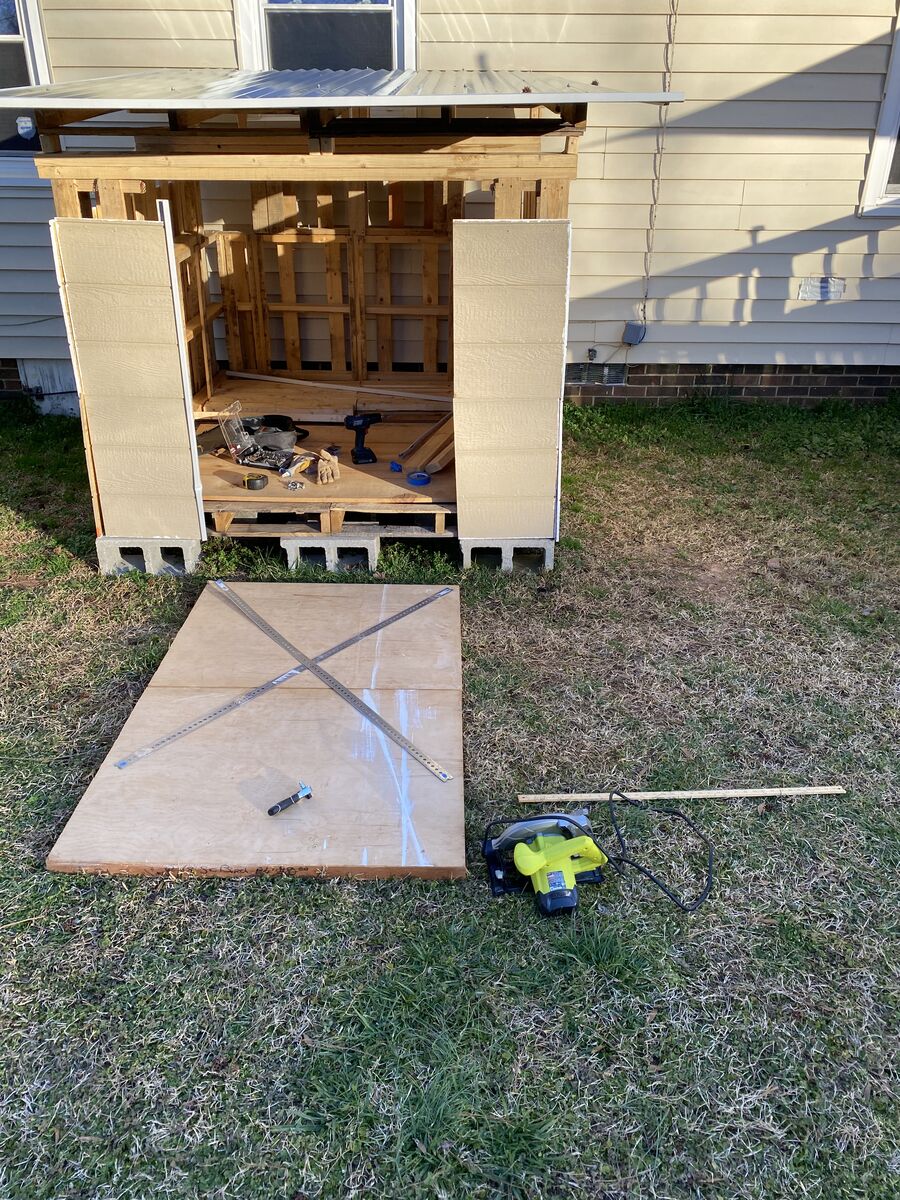
Decided to use some leftover two by fours and just really make this thing thick.
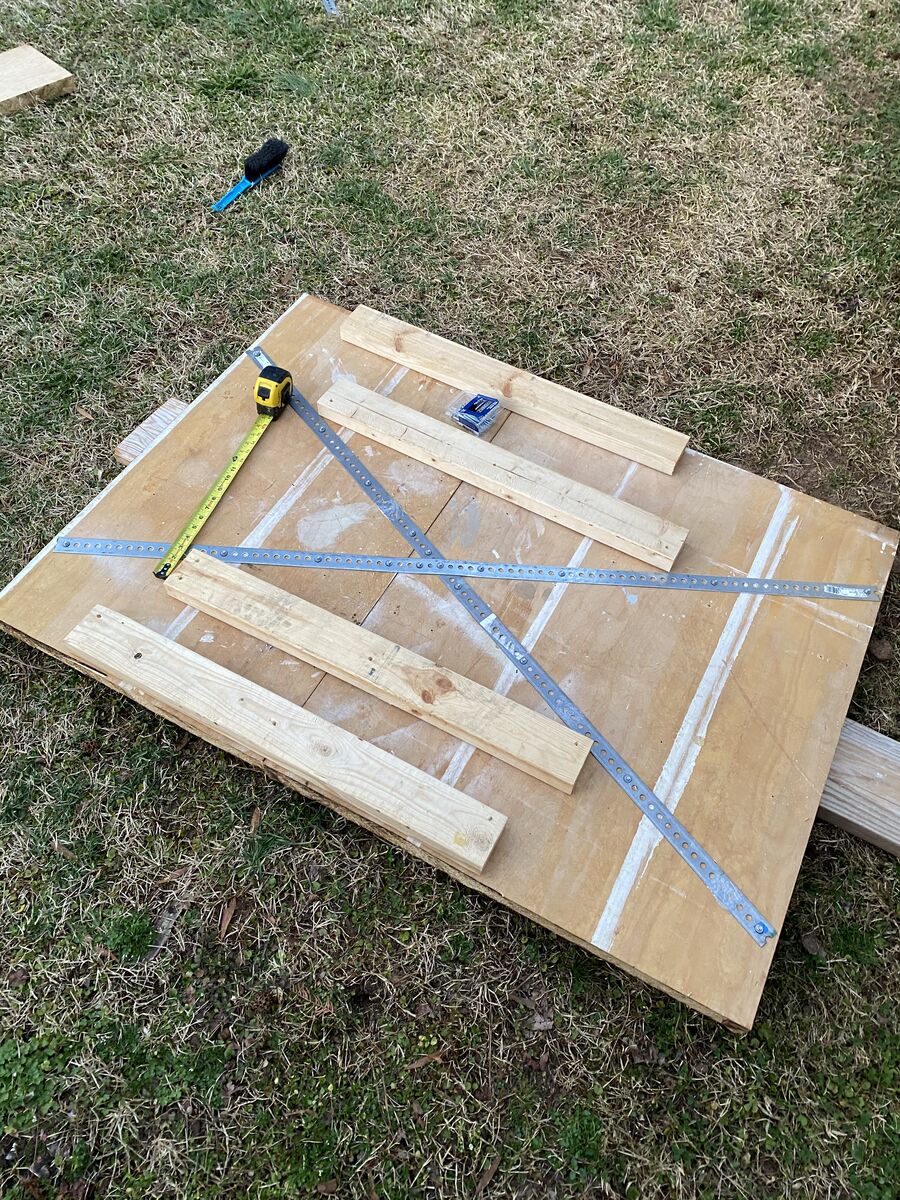
That made it nice and sturdy, now it looks good for the ramp and feels sturdy.
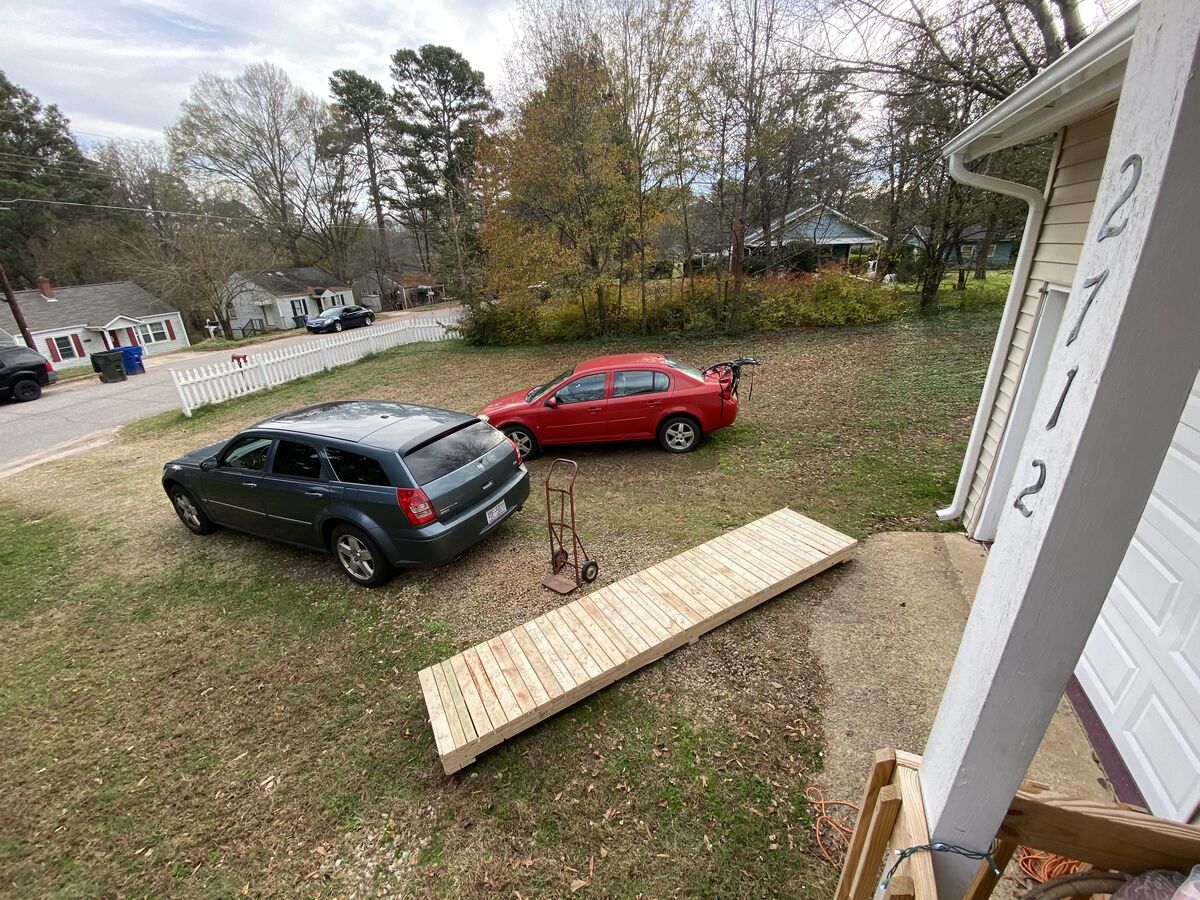
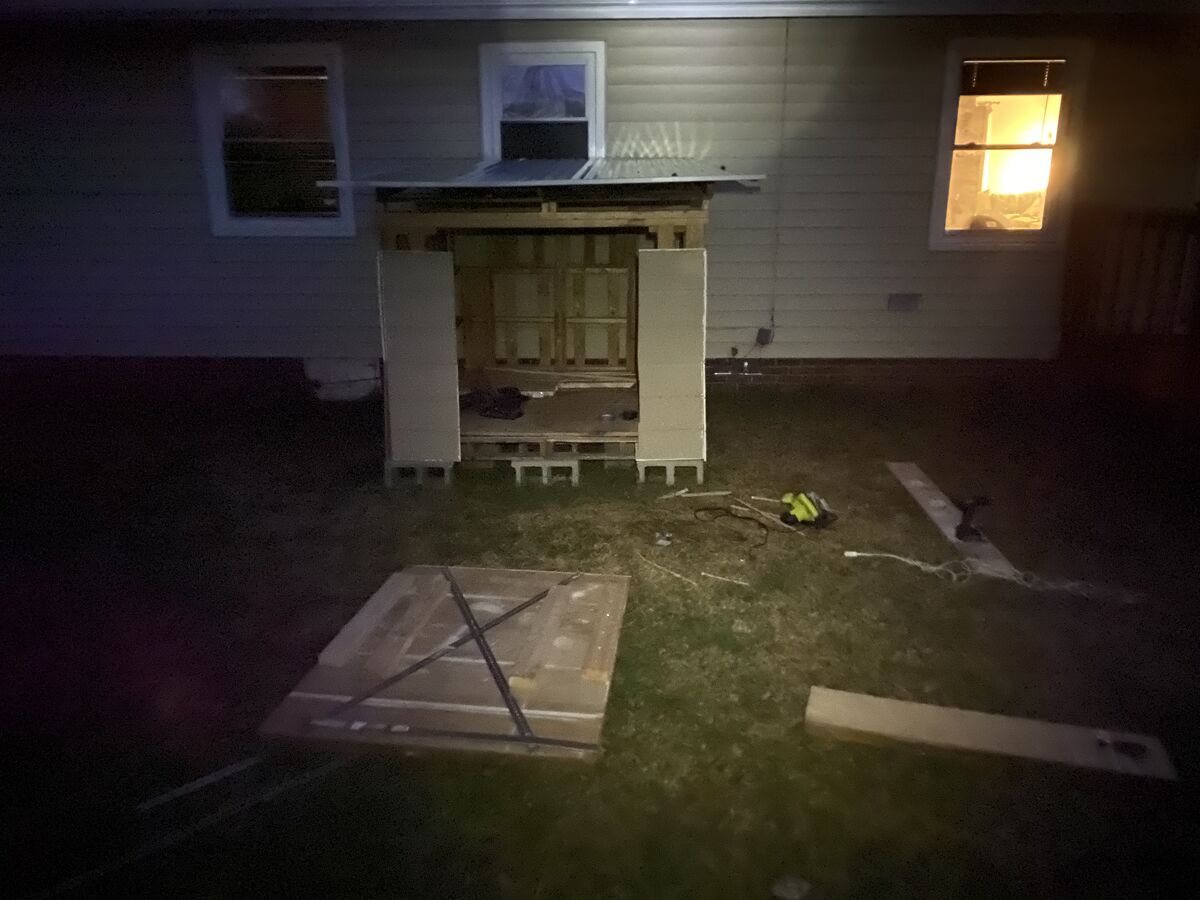
Getting dark so I'm calling it a night. Putting everything in the shed to get back to work another day.
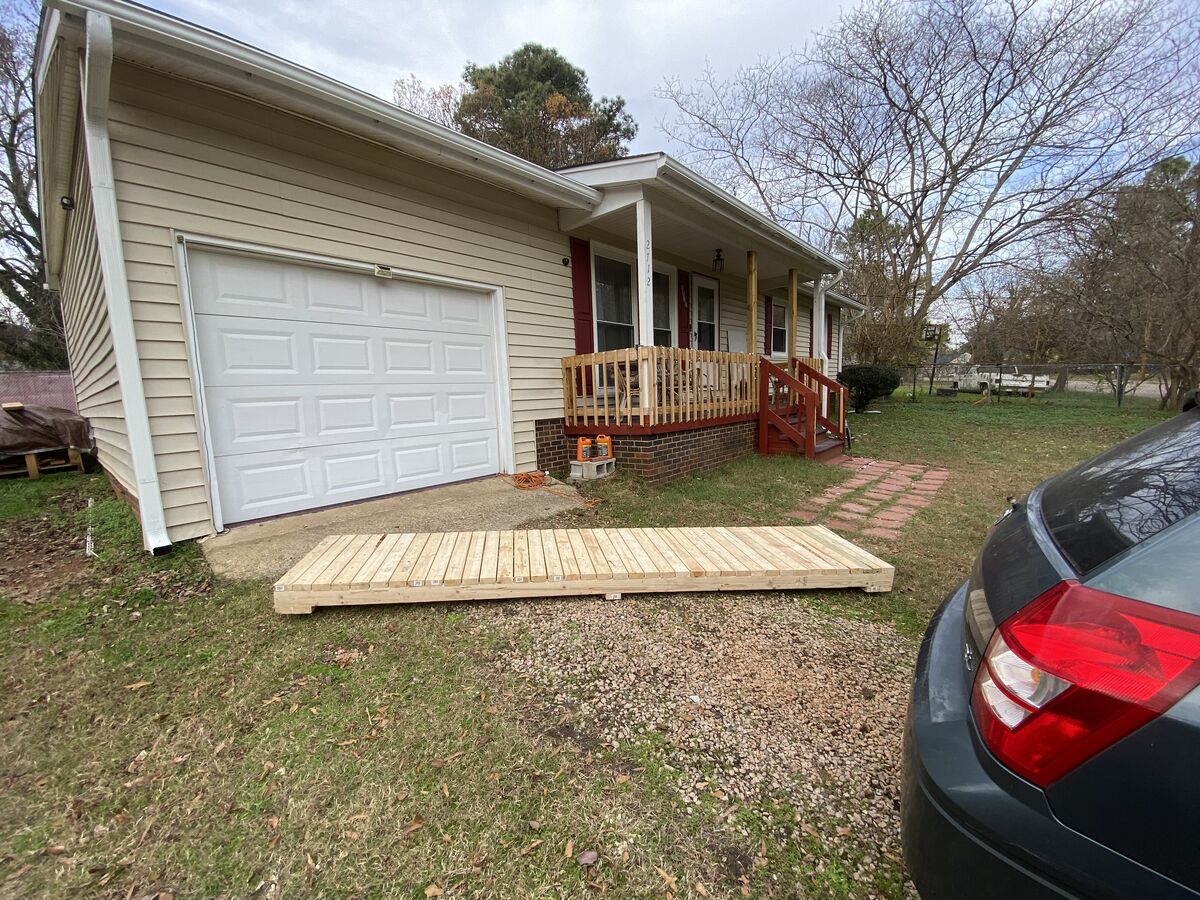
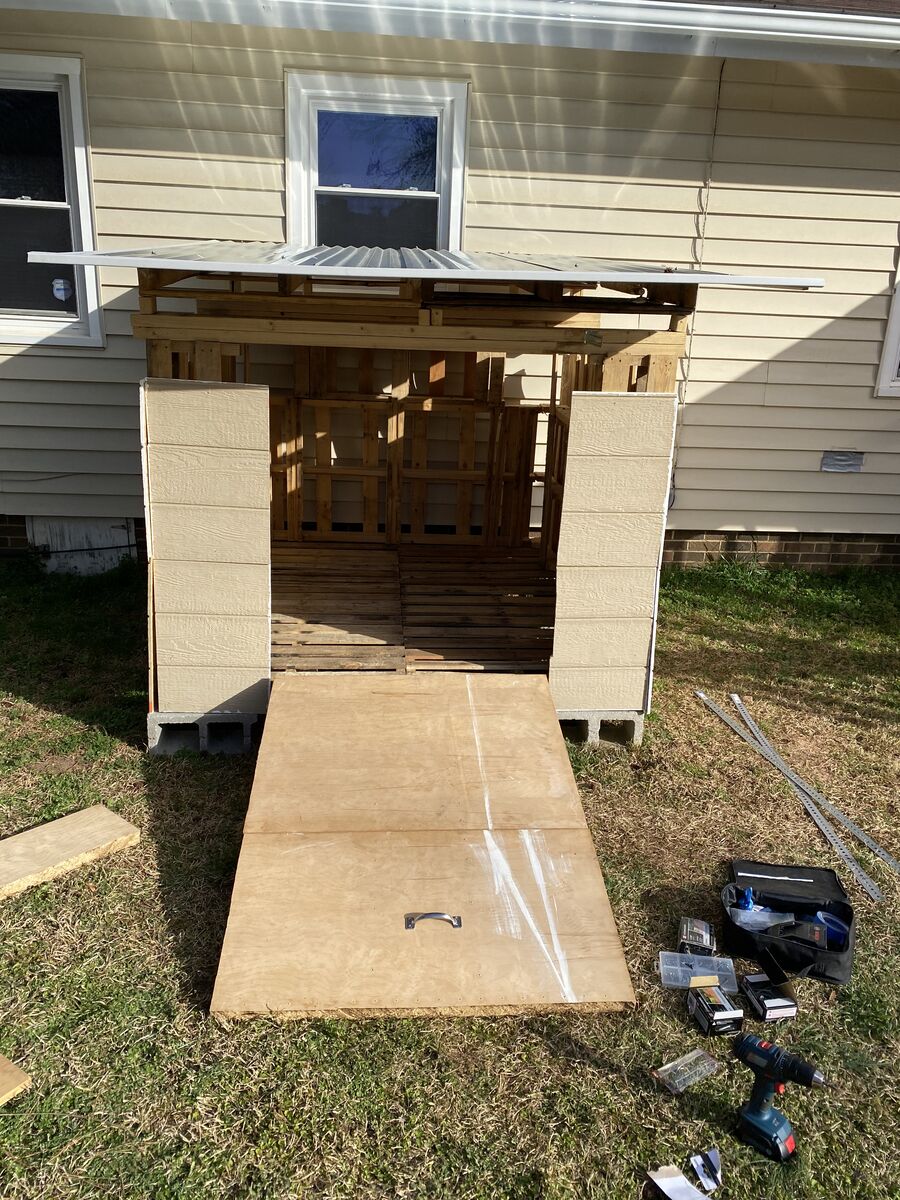
Next step it's time to install the ramp. After thinking through, I thought I would put a 2 x 4 on the outside lower edge of the door frame, and then I bought a piano hinge which would allow it to go up and down. I brought out all my scrap wood so I could use it to stack while I drill everything in place.
Reinforced bottom looks good, time to install the hinge.
Hinge is done, ramp is installed, and I'm feeling proud
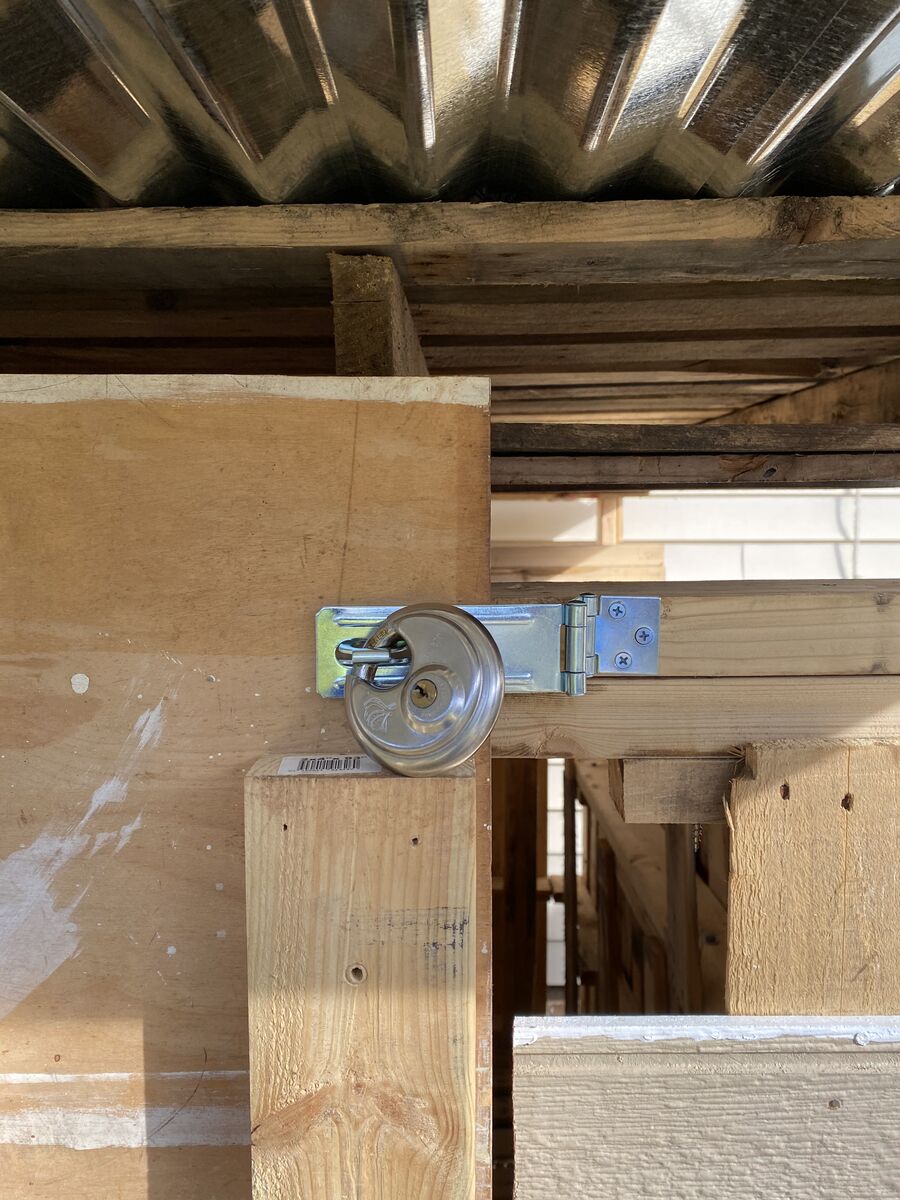
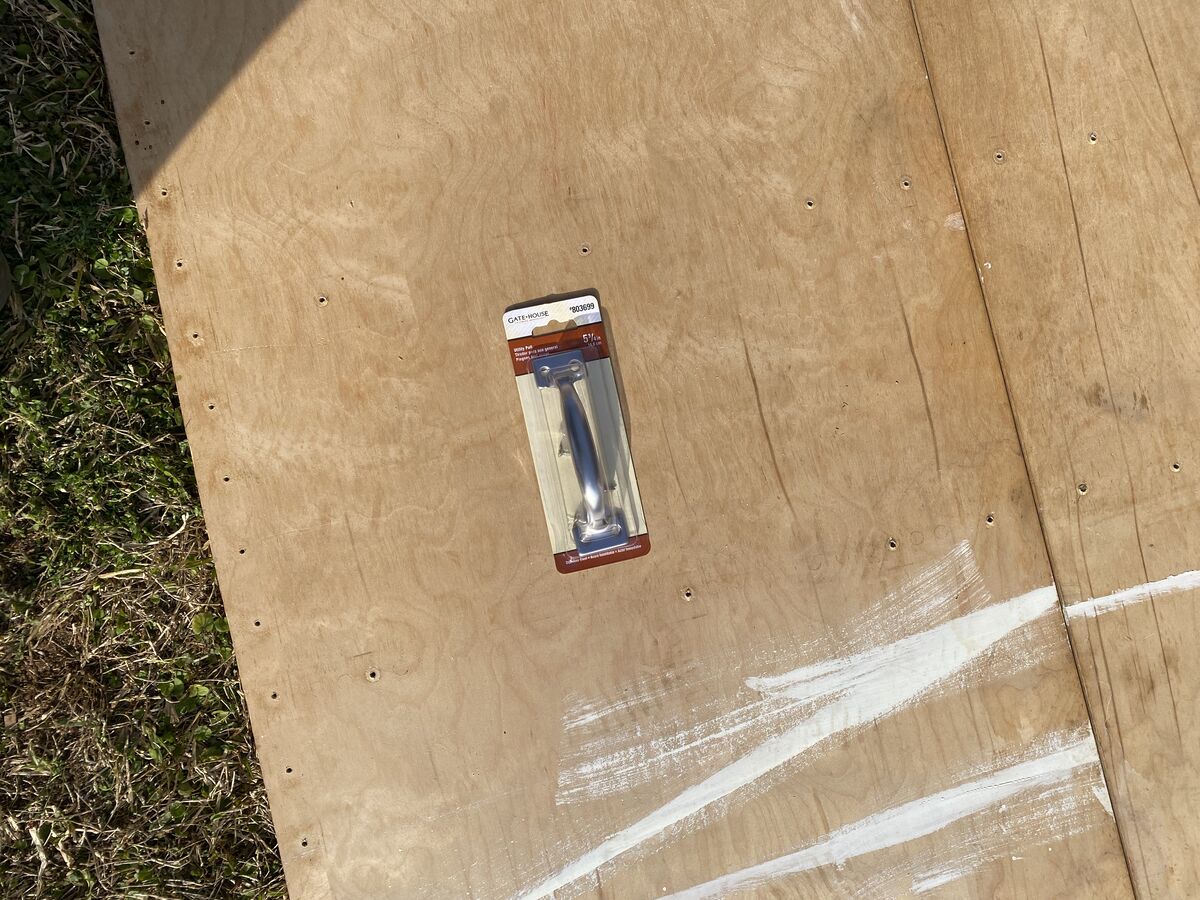
Next step I use this little latch that I would be able to hold it closed and lock it, and installing a handle. First up the latch. Handle was easy.
Wow, admiring this beauty that I've put together. A redneck engineers dream project. Doesn't look like the most attractive thing you've ever seen in your life, but by golly it's going to work. And I did it.
Calling it a day for now. All that's left are finishing touches.
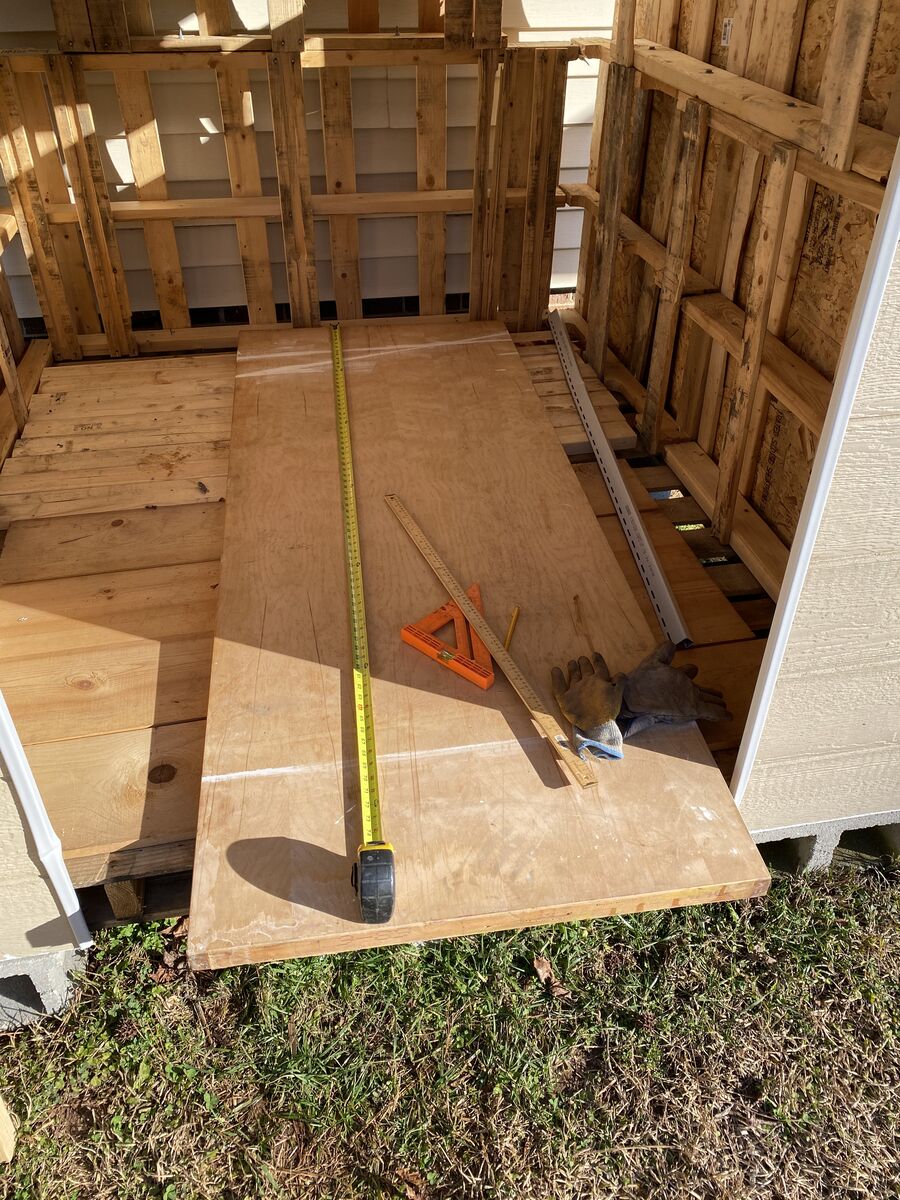
When I found the next window of time to work on the project, I had a final checklist – flooring, finishing deciding, filling it with junk.
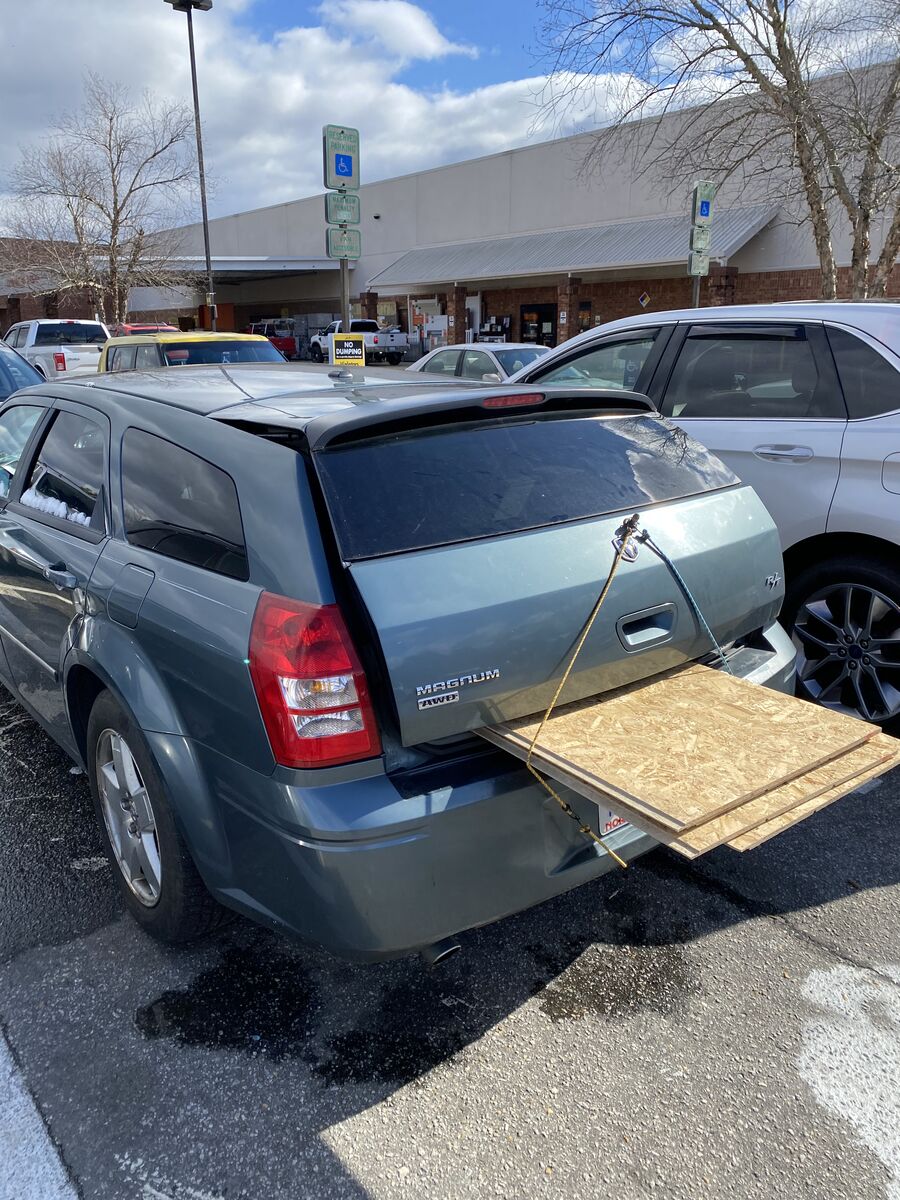
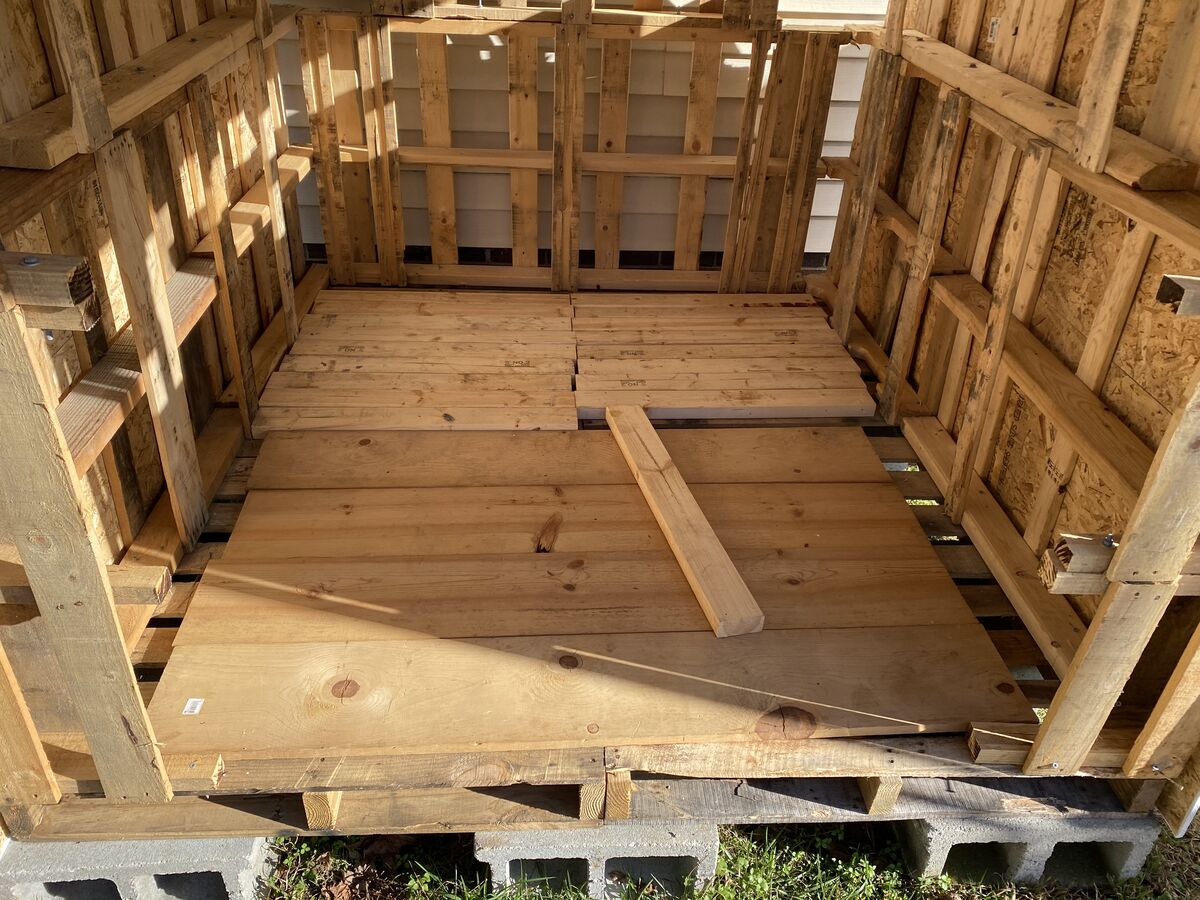
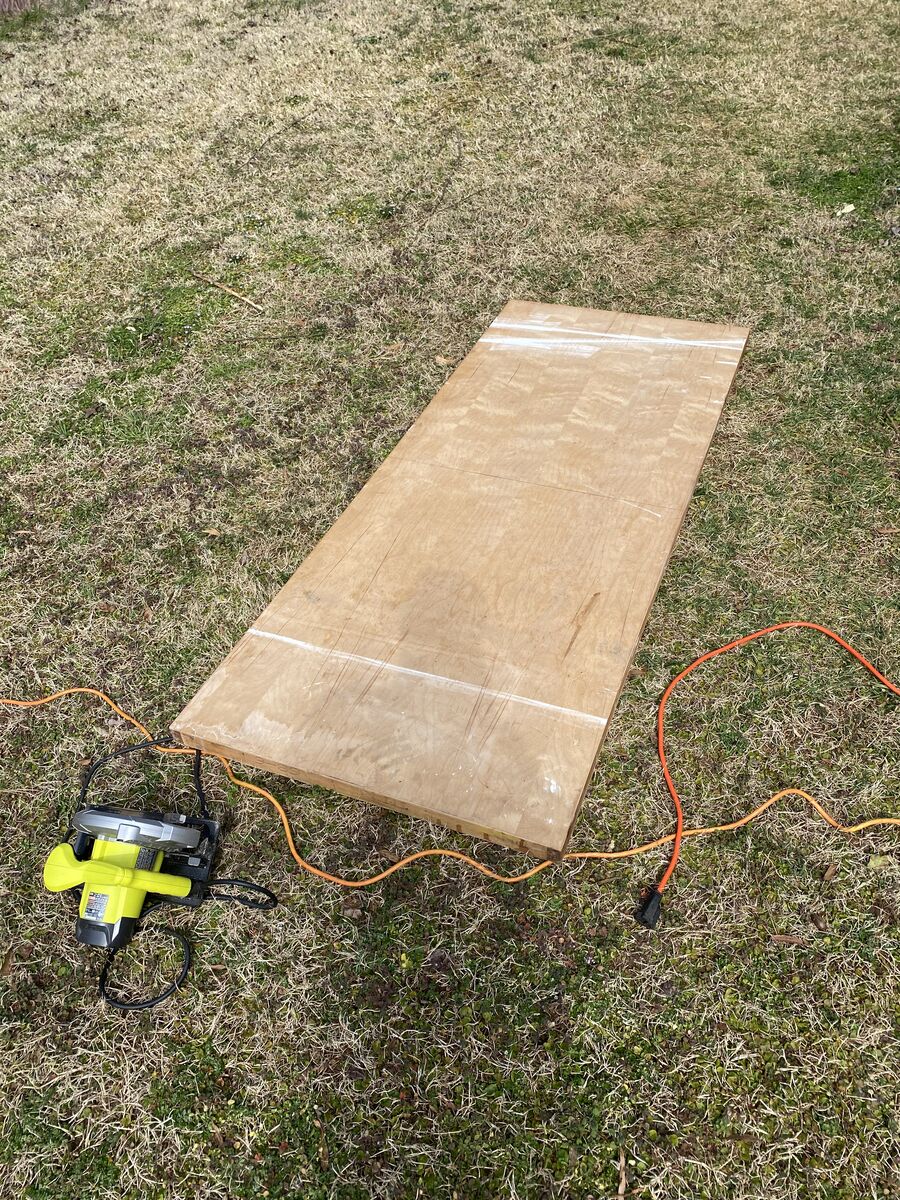
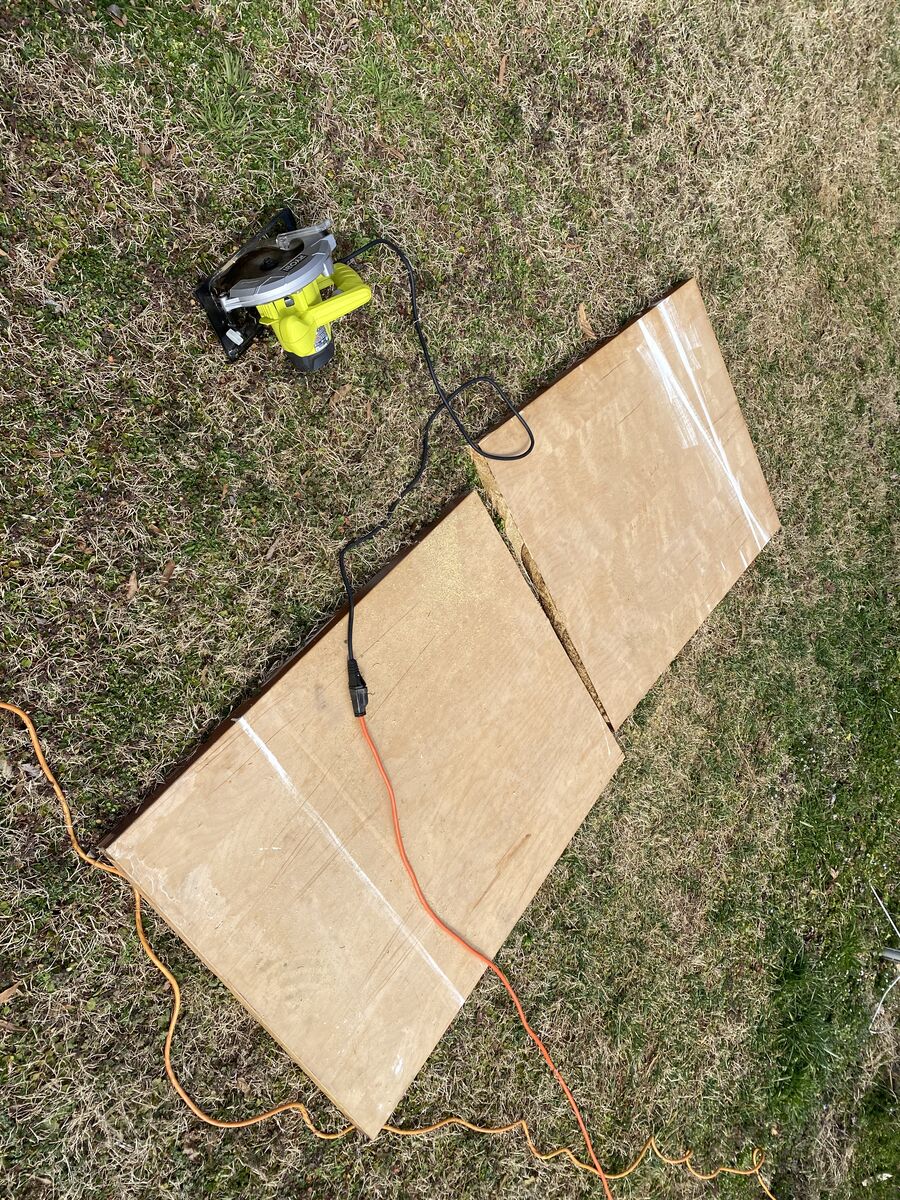
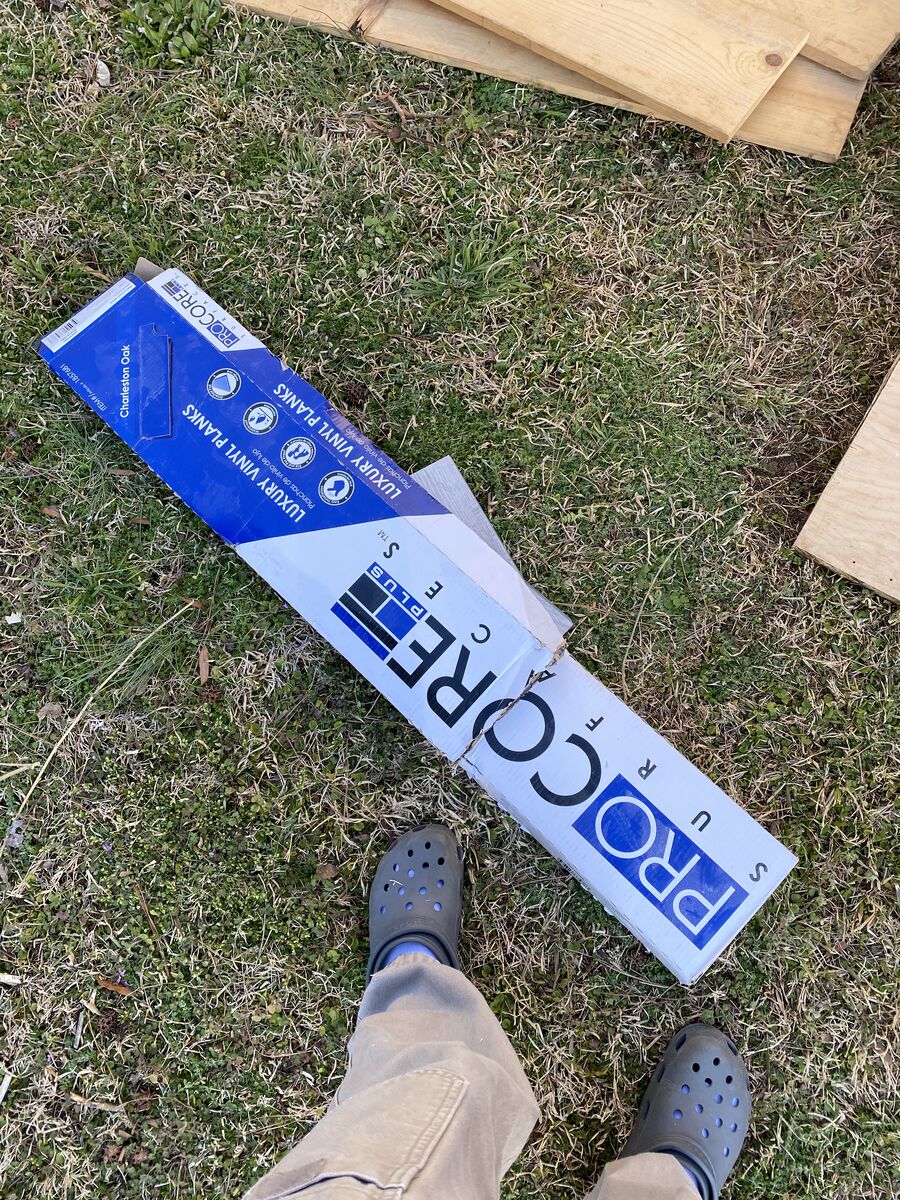
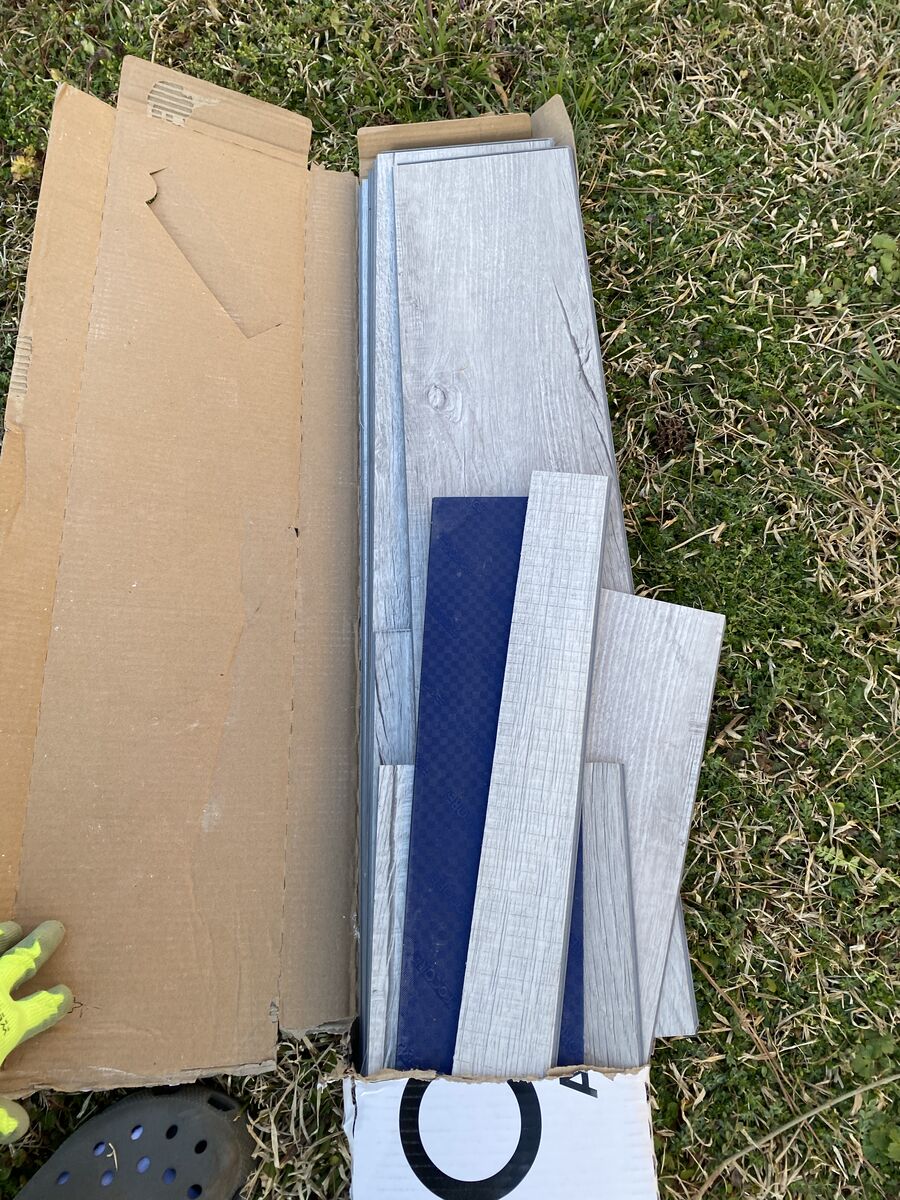
to start- - flooring. I decided I would buy pieces of plywood from Home Depot and then I had some leftover vinyl flooring from a bathroom project that I would use on top/for the remaining area.

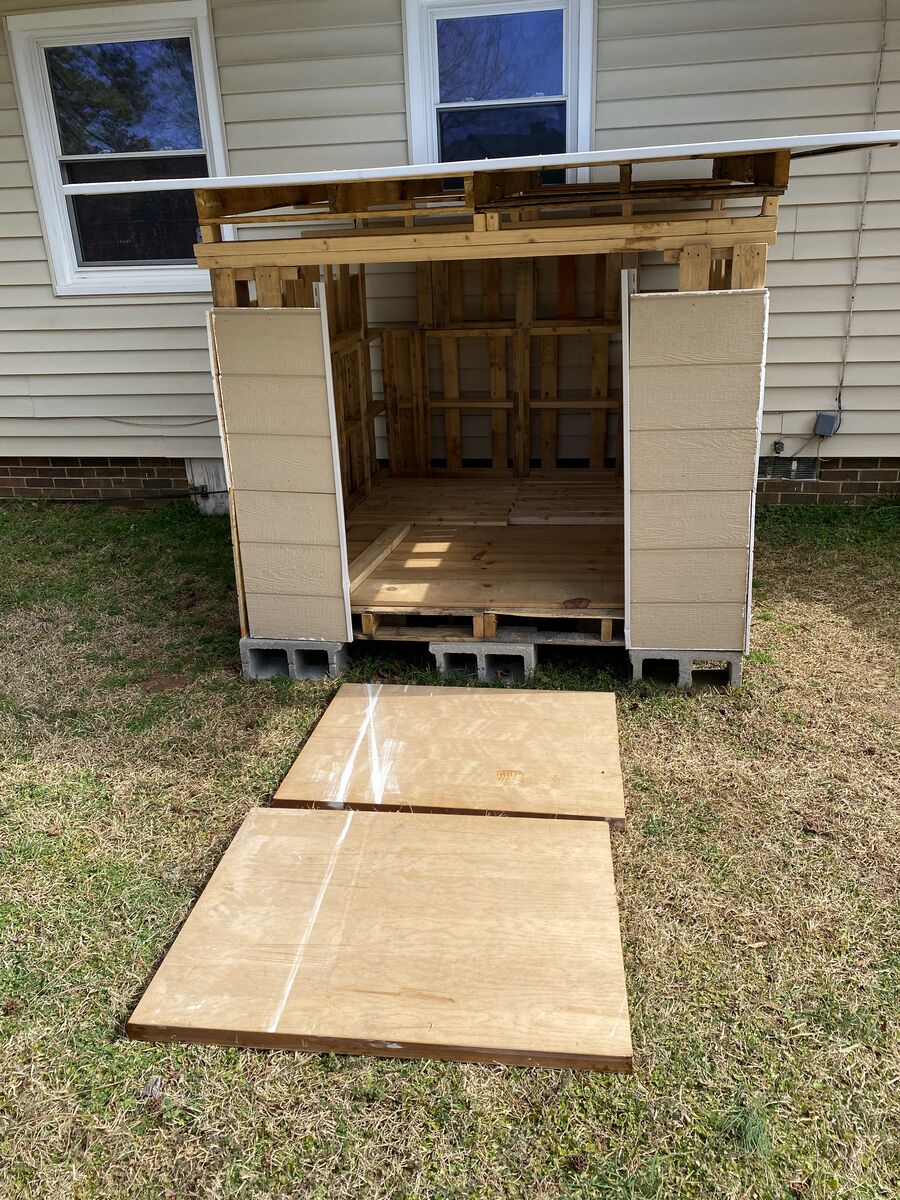
Look at that beautiful floor. So solid. Let's set up a nice little foyer with the vinyl floroing.
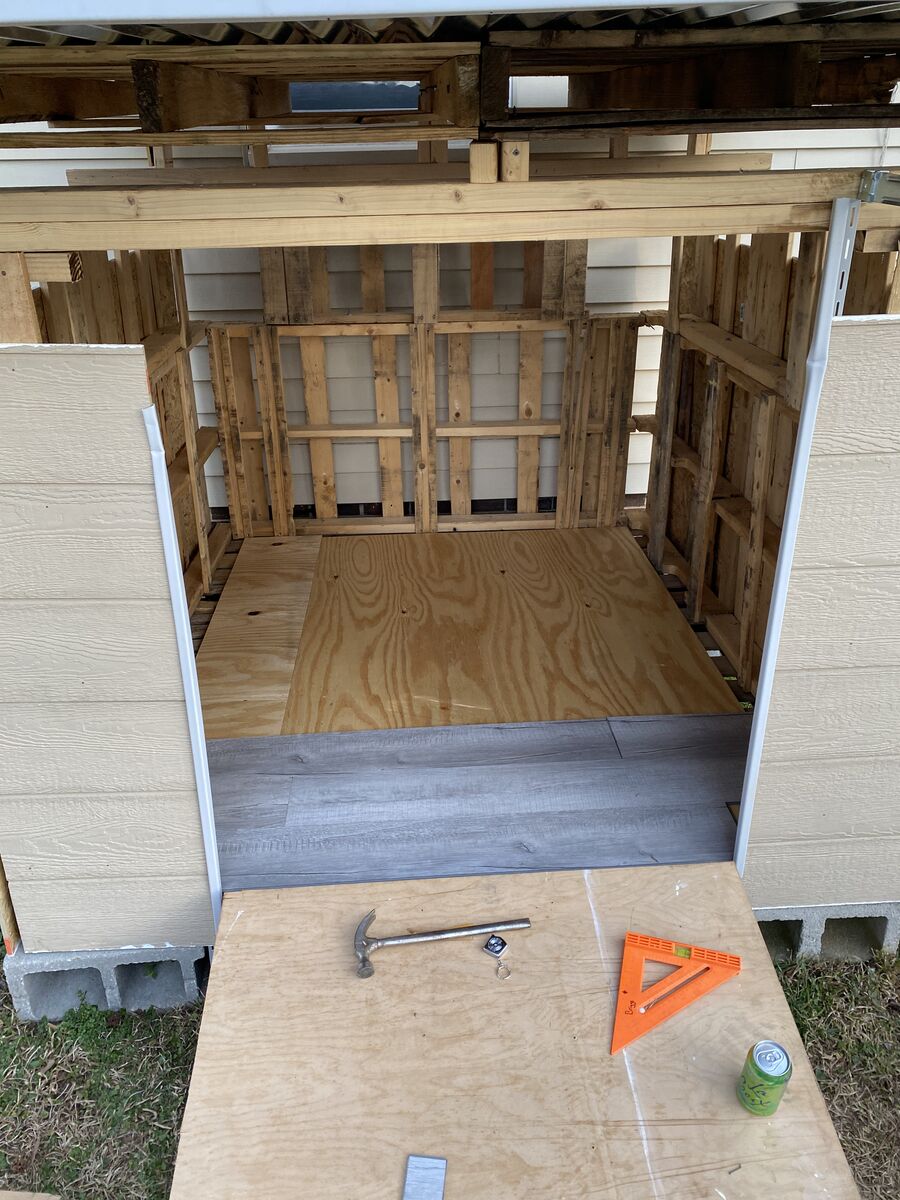
wonderful, a fancy foyer welcome room. welcome home lawn mower:
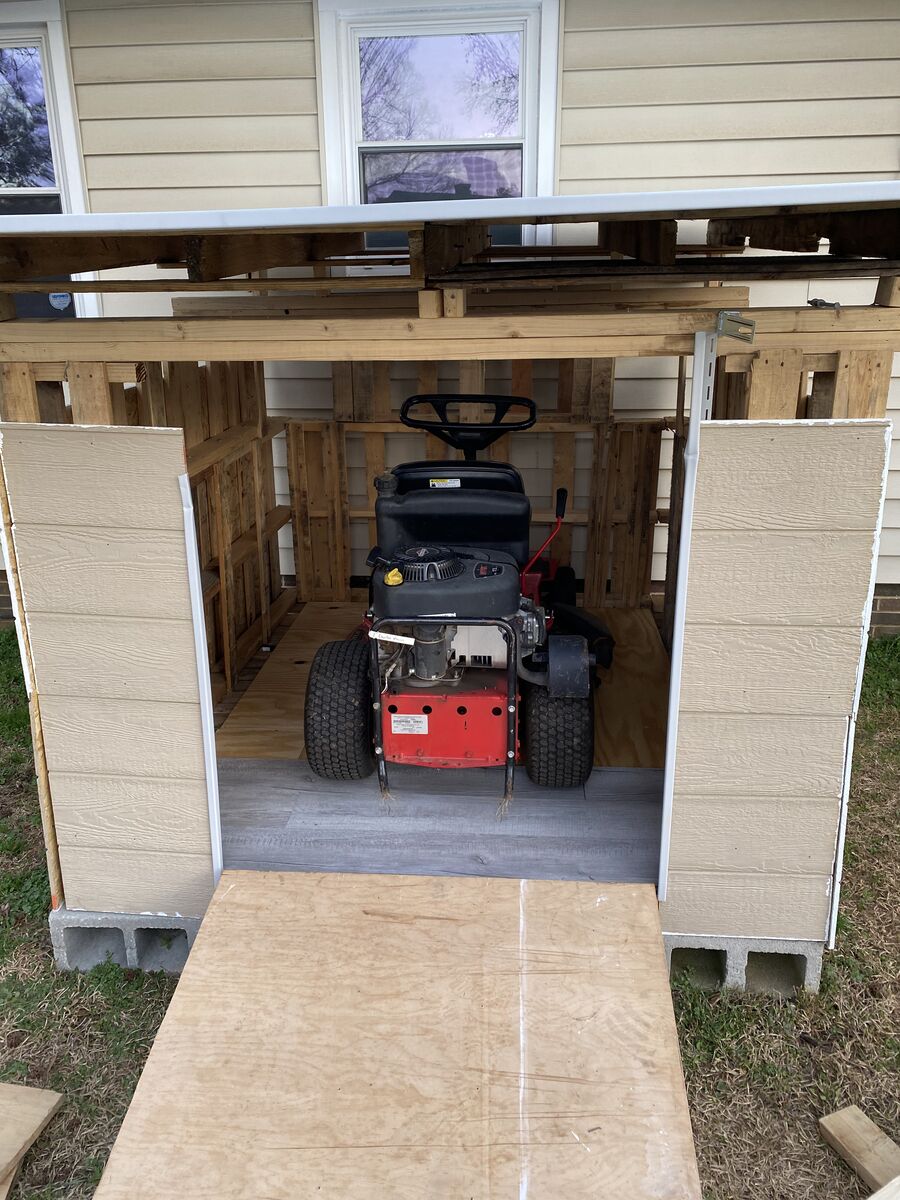
Fits like a glove. so proud of myself here. Forgot to mention a while ago, that at somewhere along the way, I realized that I miscalculated the dimensions and so I realized I wouldn't be able to put the lawnmower and the four wheeler in there. Even if I had got the calculations right, I didn't take any consideration in the doorway, which would've been pretty much impossible to have them both in there. But that's OK by this point I was glad to just find a home for the lawnmower.
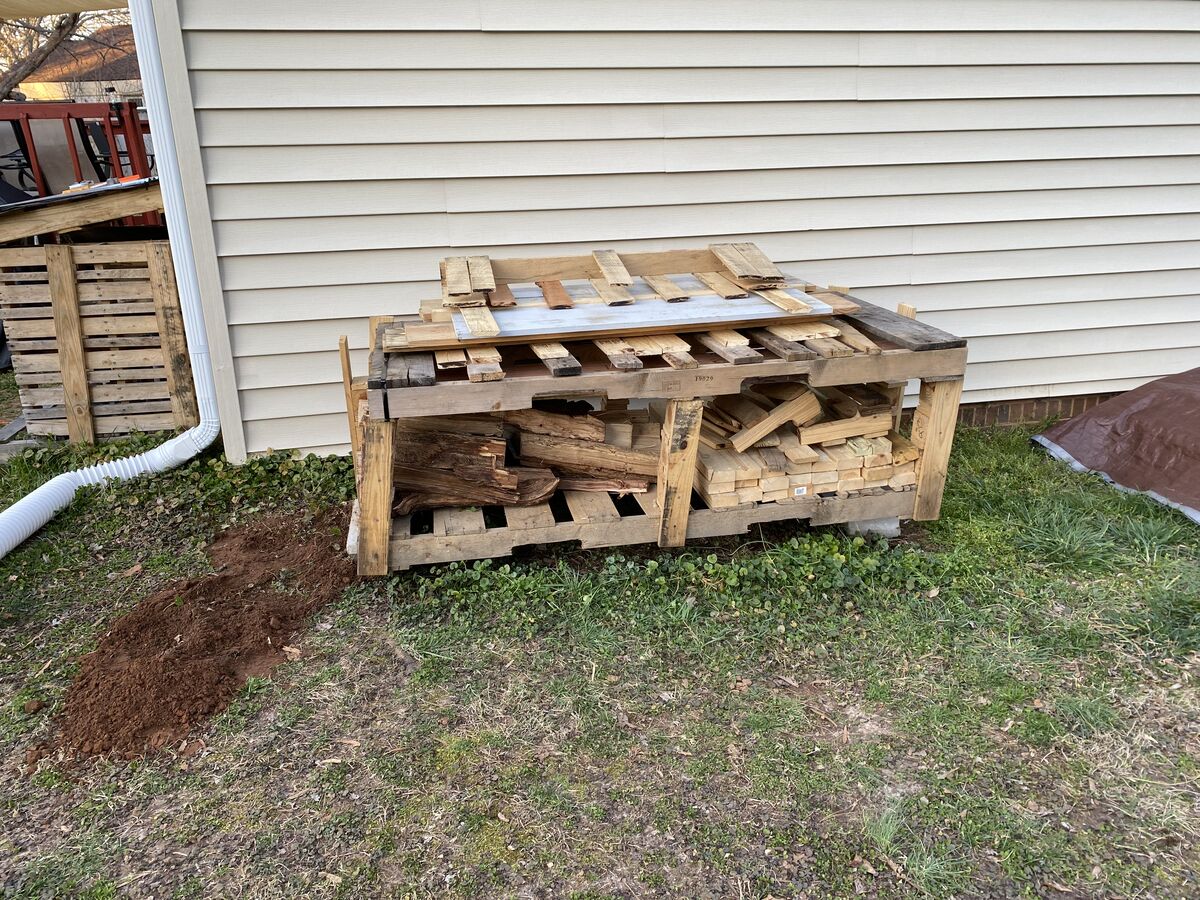
Time to finish up the siding and then clean up all my remaining wood pieces into my spare wood area.
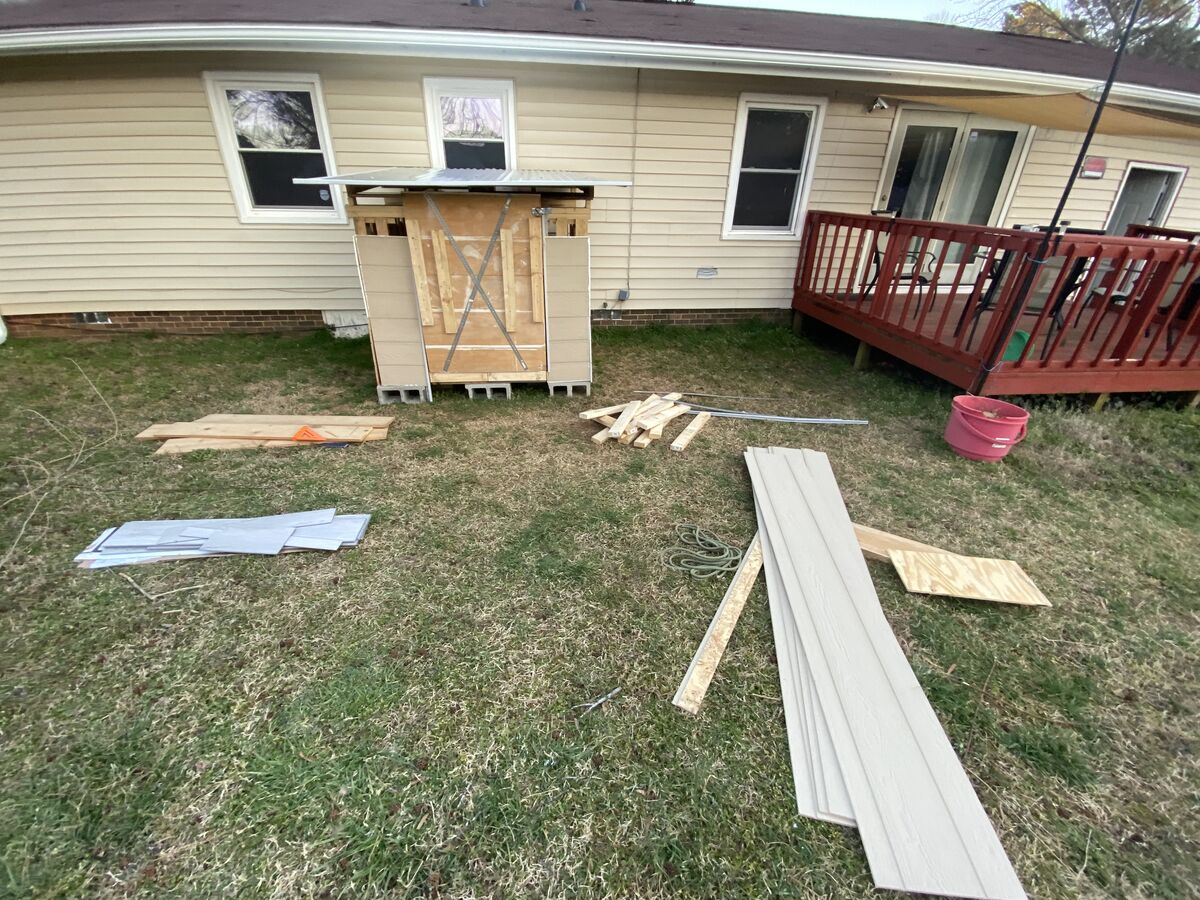
Oh there, you have it. My completed shed, keeps the water out, a home outside of my garage for the lawnmower, all completed myself, with a lot of the materials, being free (free pallets, some other free wood.) Very proud of it and proud of myself for being able to pull it off. Redneck engineering at its finest. Thanks for coming along on the journey.